This DIY Thanksgiving Wooden Centerpiece Box tutorial has been compensated by Collective Bias, Inc. and its advertiser. All opinions are mine alone. #Prep4Gathering #CollectiveBias
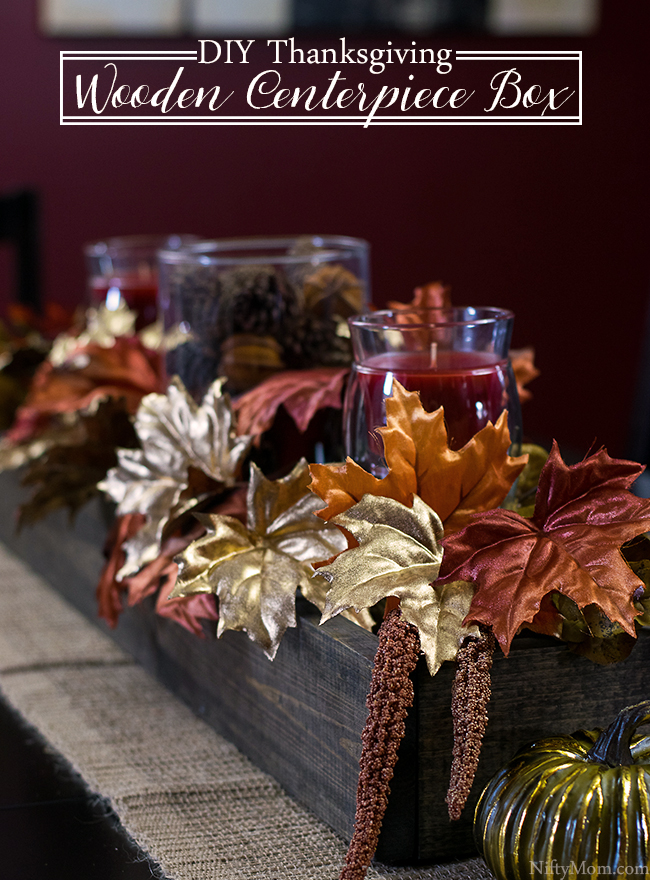
The holiday season is all about gathering with family and friends and making new memories. Each year our seasonal decor seems to grow exponentially. This year has been no exception, complete with this DIY wooden centerpiece box.
Ever since my husband and I purchased our house almost five years ago, we have hosted countless gatherings. We took over most holiday hosting, welcoming our families into our home often. There have even been some holidays we even had to host two gatherings on the same day. That’s how we prefer it though.
We love bringing our loved ones together, hearing old stories being told while creating new memories. Our home is quickly filled with extra laughter, joy and love.
Planning this year’s gatherings have been in full swing all month long. Planning also involves prepping the home, deep cleaning and decorating.
The only time we eat at our formal dining room table is when we have guests over. To get ready for Thanksgiving, we decided to give it a little fall ‘Thanksgathering’ makeover.
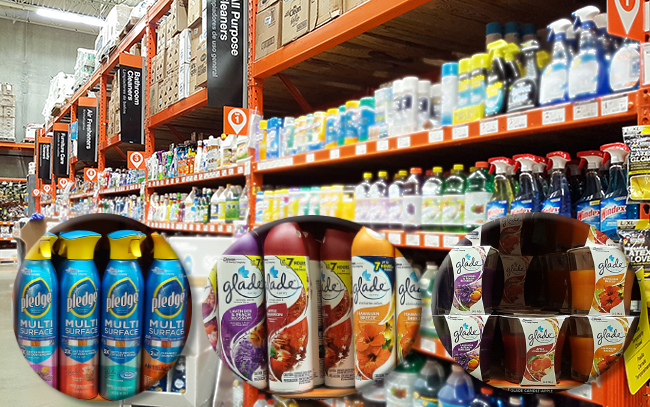
I headed to Home Depot for the lumber and supplies needed to make the wooden centerpiece. While there, I grabbed some cleaning supplies to stay prepared this holiday season. Hosting gatherings can get messy at times.
How to Make a Wooden Centerpiece Box
Wood boards needed (I used common boards):
- 1″ x 6″ x 6′
- (2) 1″ x 4″ x 6′
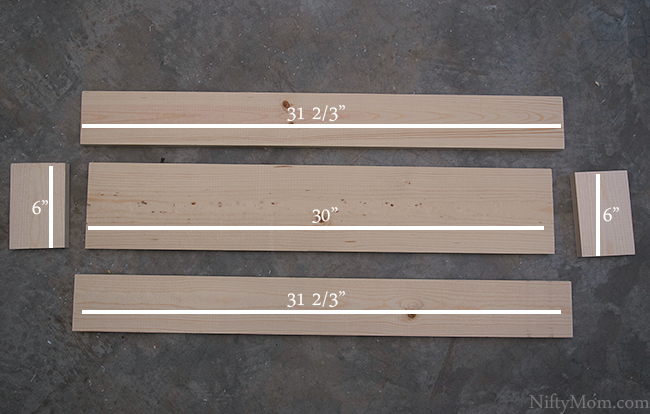
Cut the 6″ wide board to 30″ long for the base.
Cut the 4″ wide boards so you have two 31 2/3″ boards (for the long sides) and two 6″ boards (for the ends). If you don’t have a saw to cut the boards, see a Home Depot associate and they will do it in store for free.

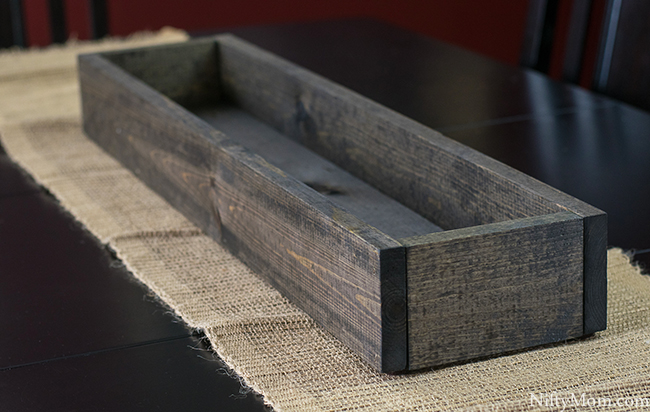
Stain the wood pieces your desired color. We used two coats of an ebony stain.
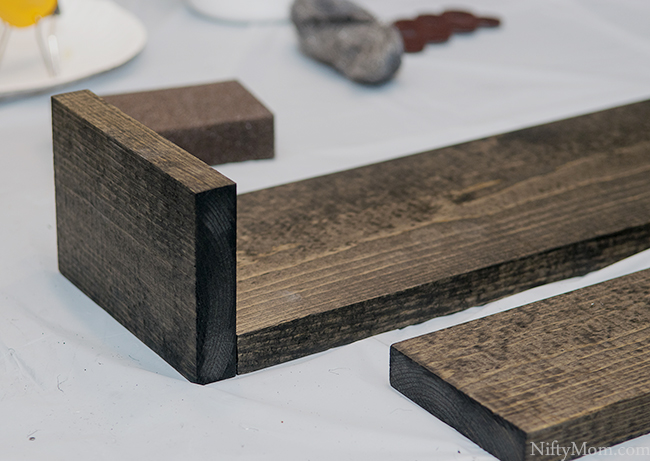
Once dry, attach the shorter end pieces to the base as shown above. This can be done with nails or a heavy-duty hot glue gun. Next attach the two longer pieces. Finish the box off by adding adhesive felt pads to the bottom to prevent scratching the table.
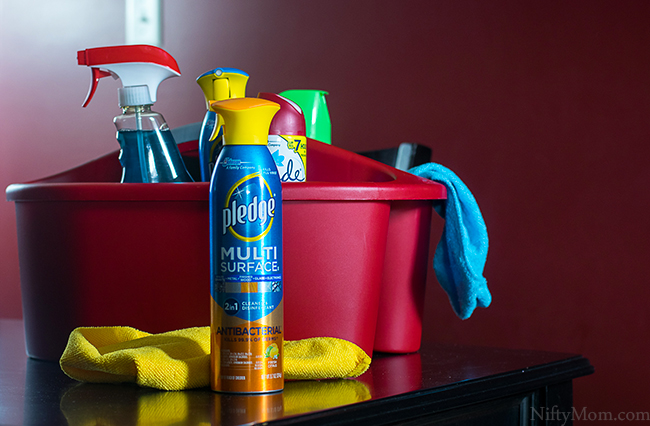
Before setting up the centerpiece and preparing for guests, I always do quick clean around the house. I use Pledge® 9.7oz Multisurface – Antibacterial to gently clean and protect hard surfaces throughout the home.
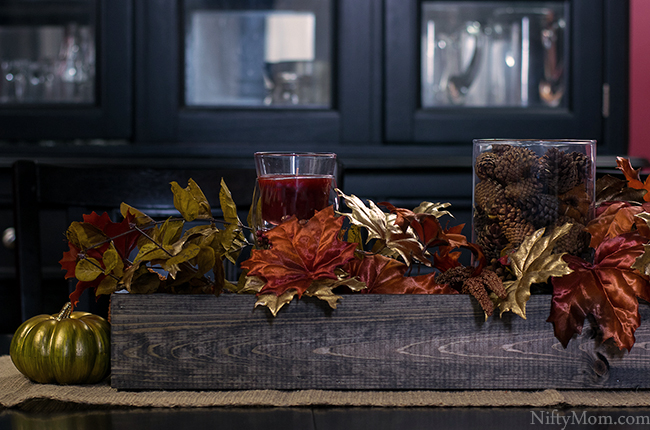
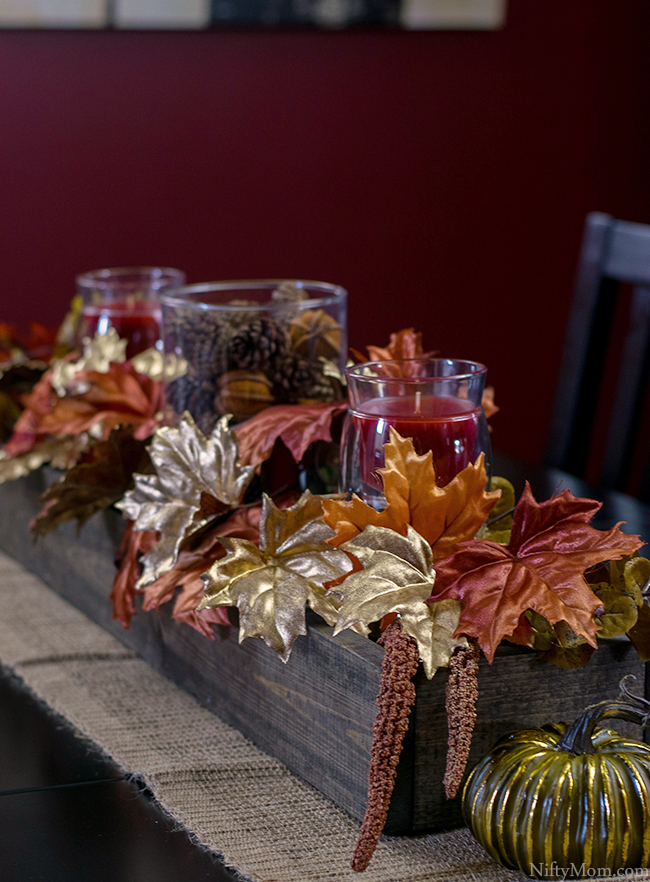
The centerpiece box is great directly on the table or on a table-runner. Since our dining room table is dark, I added a lighter colored table-runner for contrast.
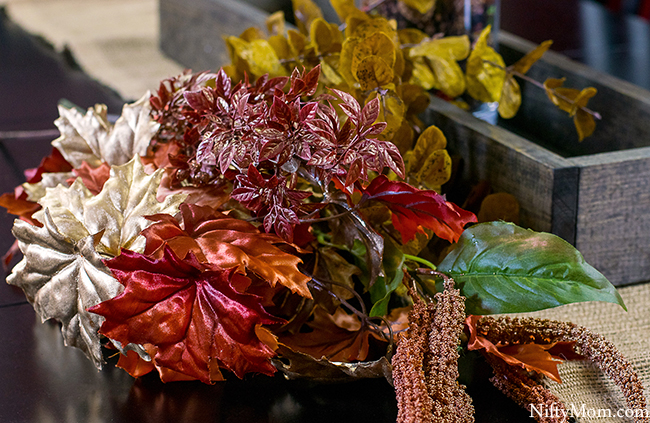
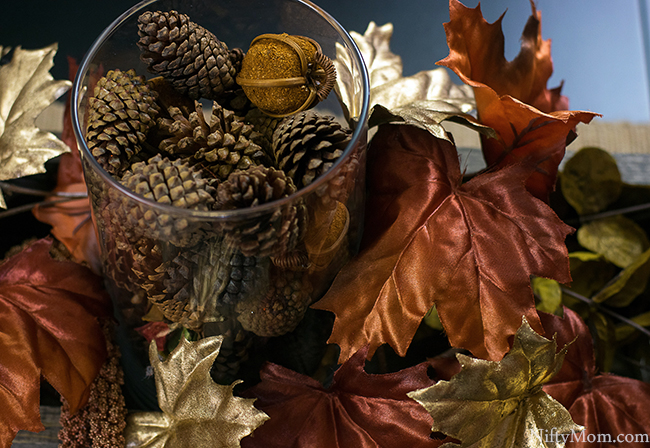
Now fill the centerpiece with candles, faux foliage, pine-cones, small gourds, vases, etc.
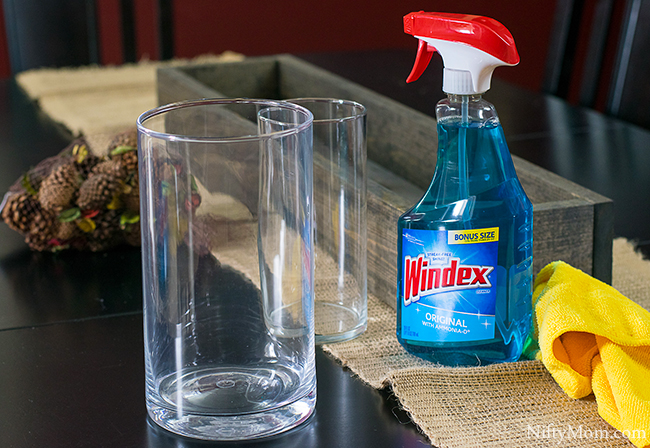
Glass vases are perfect for smaller decor items, such as pine-cones. Before filling, a quick clean with Windex® Original Glass Cleaner gives the glass vases a streak-free shine.
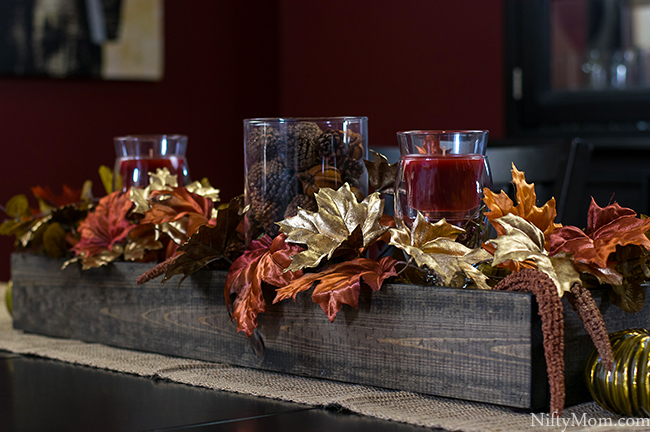
The centerpiece comes together with the faux fall foliage decor.

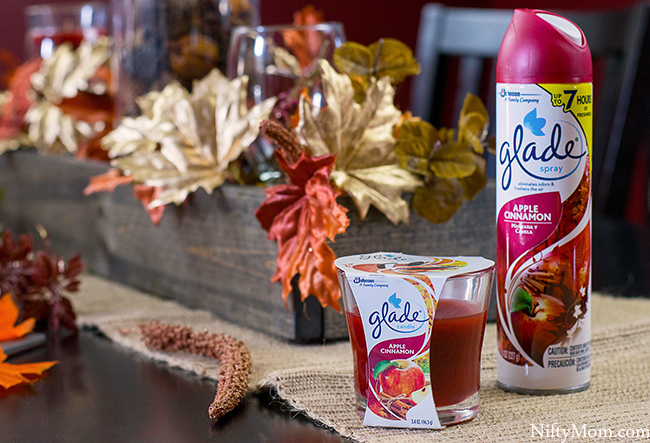
To finish off the room, scented candles and room spray are ready for when guests are on their way. Glade® Apple Cinnamon Candles and Glade® Apple Cinnamon Automatic Room Spray has hints of crisp McIntosh apples, cinnamon and nutmeg.
I can’t wait to host this year’s Thanksgiving, being surrounded by loved ones all day long.
For more Thanksgathering ideas, visit the social hub filled with great hosting tips.