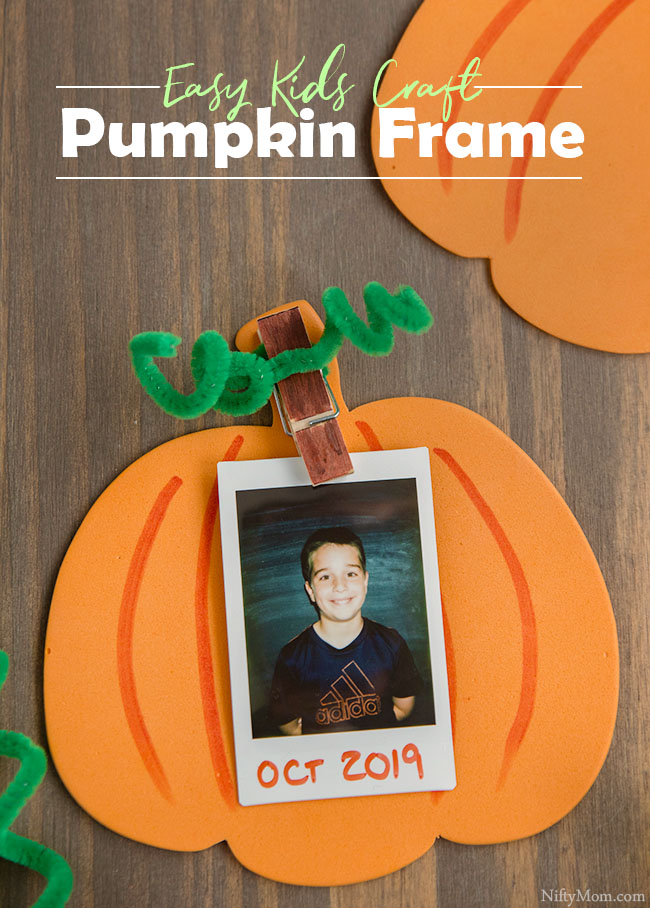
This Pumpkin Frame is an easy fall or Halloween craft for kids of all ages. It can also be a fun classroom activity in elementary school.
As a room parent at the kids’ school, there for at least three classroom parties a year (for each class) that I help plan and run. Last week was all the fall parties and as I was roaming Michaels in search of activities to do, I came up with this pumpkin craft.
Each party, I try to do one craft that includes a photo. As a parent, I love when the kids bring home things they made with their picture on it. When I do this, I bring along either my Fujifilm Instax Mini or my HP Sprocket Photo Printer so I can take and print the photos at the party. The kids love watching their photos come out!
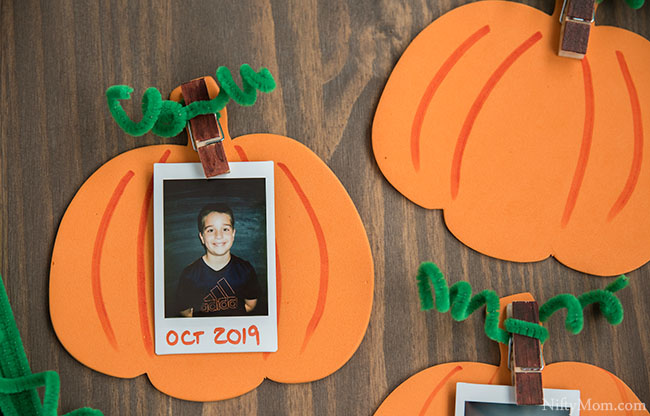
I wasn’t too sure how this craft was going to go in the classroom setting. To my surprise, the kids, parents, and teachers loved it last week.
Foam Pumpkin Frame Activity
I got most of the supplies at Michaels, so I have linked the supply list items to those that I used.
- Orange Pumpkin Foam Shapes (approx 6″x6″)
- Orange and brown permanent markers
- Small clothespins
- Permanent adhesive
- Green pipe cleaners
- Small photos (use Instax camera or HP Sprocket Photo Printer with your phone)
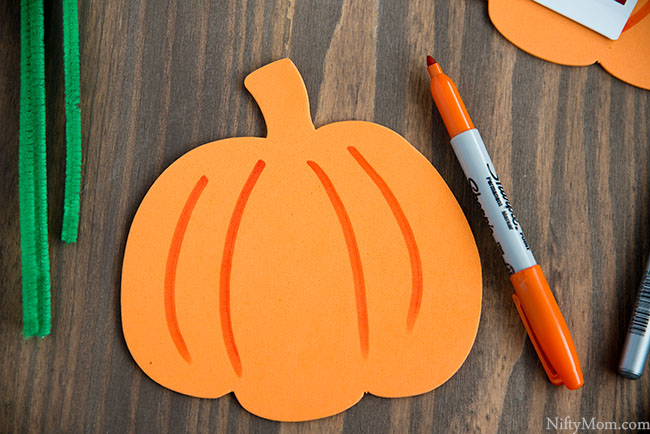
With an orange permanent marker, add curved lines to the foam pumpkin, giving it some dimension.
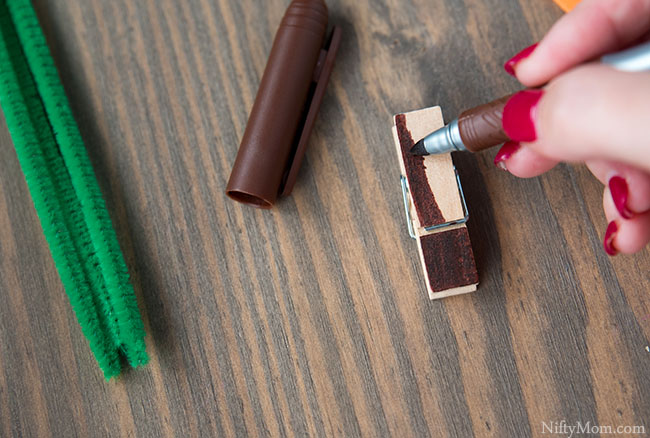
Color one side of the clothespin brown, if desired. You can also get different color clothespins from a craft or hobby store. I saw gold ones that would look great, however, I knew the kids would prefer to color theirs.
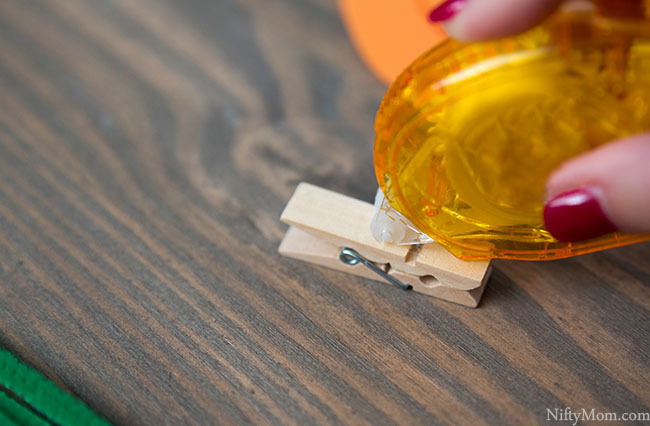
Add adhesive on the back of the pin and attach it to the stem of the pumpkin. The tape runner doesn’t have to dry, so it a great option for classroom parties and working with kids.
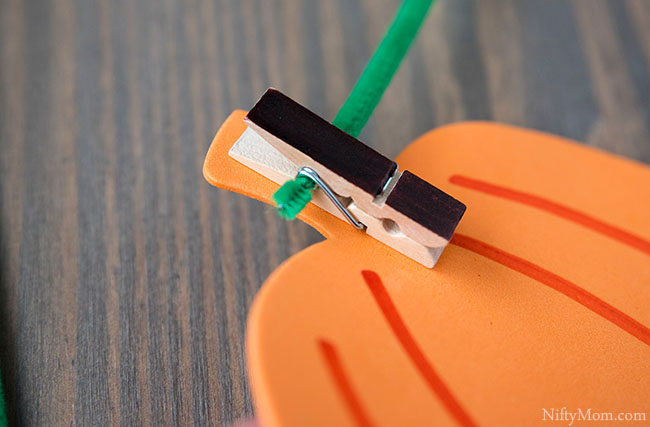
Insert the pipe cleaner through the spring of the pin and pull it about halfway through.
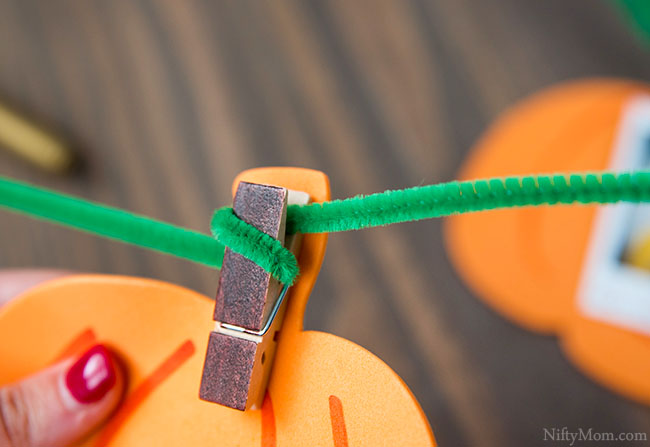
Fold one side around the front of the pin, so it doesn’t slide out.
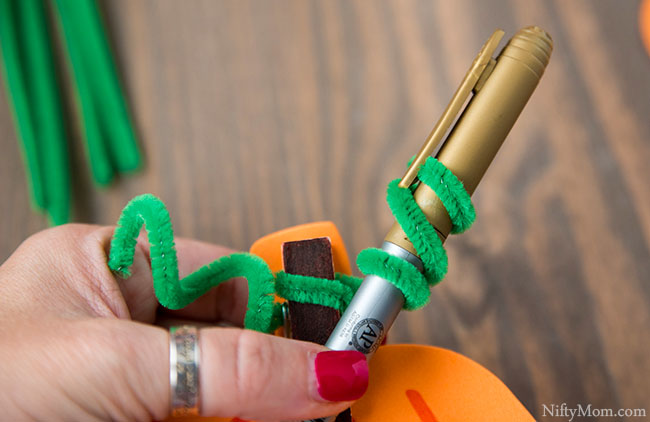
Twist each side around your finger or a pen. For the kids, it was overall easier for them to use a pen to twist it.
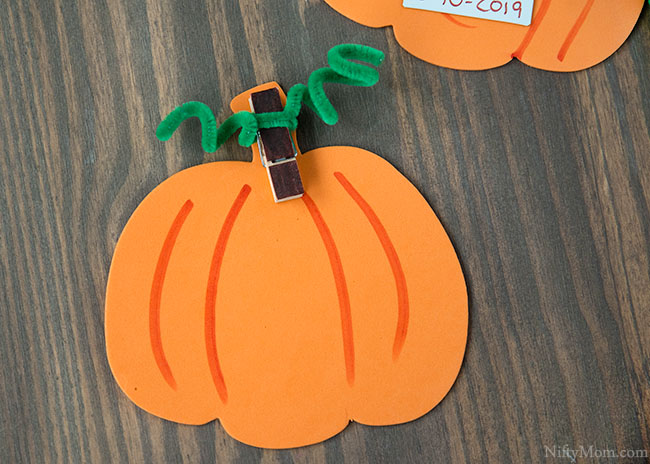
That is it!
If desired, the kids can add some foam leaf stickers, write their name, etc. Whatever they choose to make it their own.
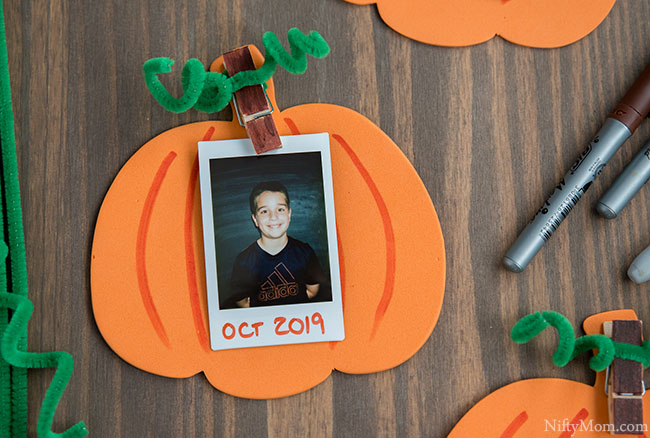
Add the picture at the end and don’t forget the date to preserve the memories.
One thing I didn’t do last week that I wished I had done was make a photo booth area. That way the kids can use photo props when taking the pictures for even more fun!
