This DIY log rack tutorial has been compensated by Collective Bias, Inc. and its advertiser. All opinions are mine alone. #RoofedItMyself #CollectiveBias
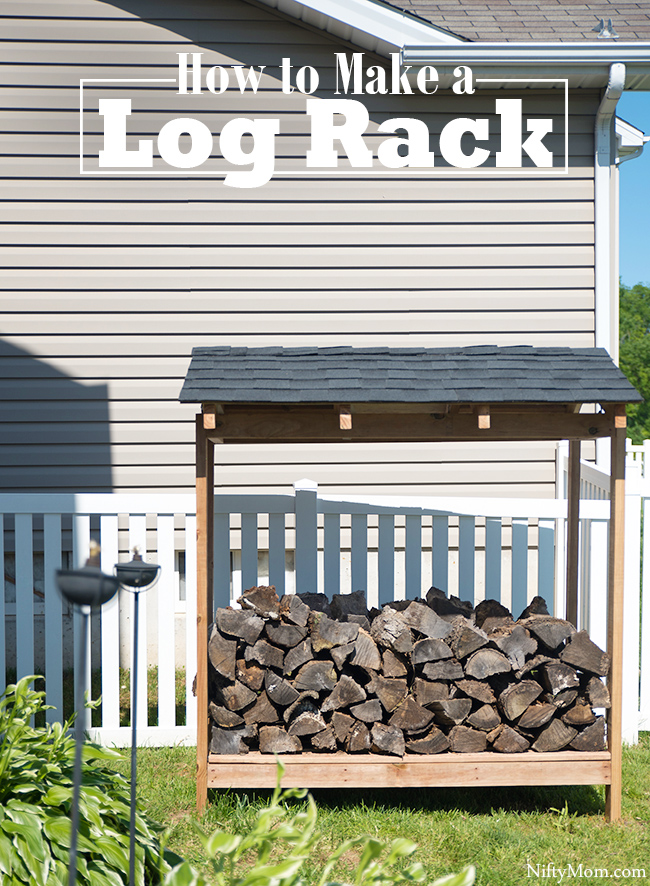
With the kids out of school and warmer weather, we spend a great deal of time in our backyard. This month, we took the time to do some outdoor projects to make the space more welcoming. One way we did this was my making a log rack.
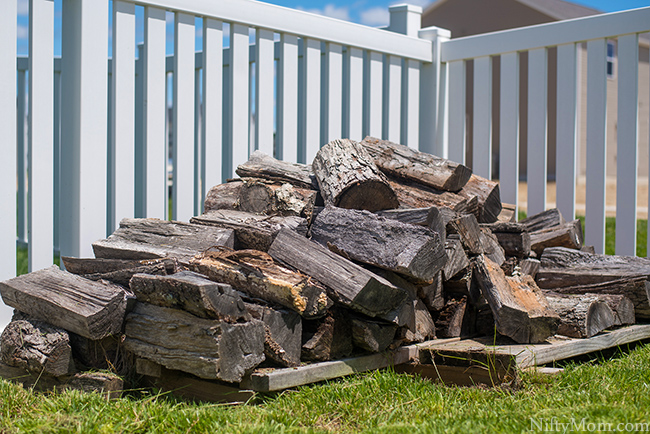
A few years ago, we purchased about a truckload of wood logs and ever since we keep a nice pile in our backyard. However, when we started the pile, we didn’t have a designated spot for them. We just had some boards down in the corner of the yard and the logs stacked on top.
We looked at purchasing a log rack a few times, but we could never settle on one. This year we finally decided to put my husband’s power tools to work and build one. My husband sketched out a few ideas. We knew we wanted a roof on the rack, because this month we had a ton of rain and our logs were consistently wet.
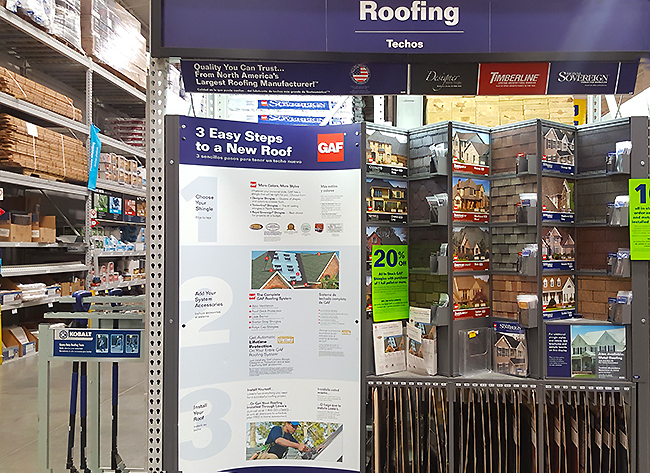
We agreed on a design and decided on dimensions before heading to Lowe’s to get all the wood and needed supplies. Before getting the wood cut, we made our roofing selection. There was a helpful roofing display on the end of the roofing aisle with selections and tips.
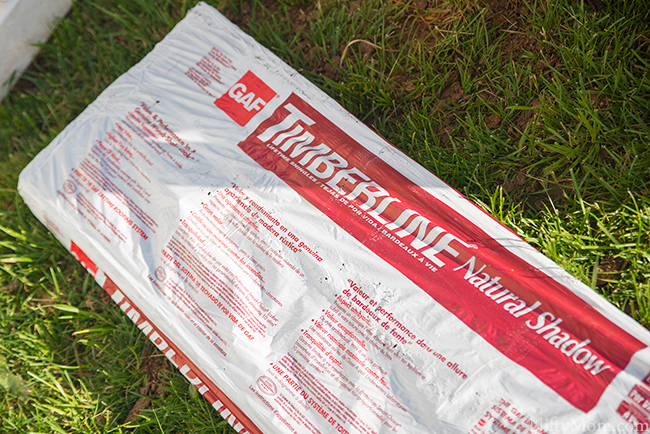
We decided on the Timberline® shingles, as they are the best selling shingle in North America. Made with proprietary, granular technology, they look great and are durable. Just what we needed for our backyard project. Plus, this company is willing to stand behind their product. If you would like information about their warranty click here.
For the wood needed, you can easily have Lowe’s cut all the wood to the exact size needed. This is helpful if you don’t have any saws at home.
How to Make a Roofed Log Rack
For this log rack, here are the supplies we used:
- Screws/Drill
- 8 hurricane clips (rafter ties)
- Timberline® Natural Shadow® Shingles
- FeltBuster® High-Traction Synthetic Roofing Felt
- Pro-Start™ Eave/Rake Starter Strip Shingles (optional)
- TimberTex® Premium Ridge Cap Shingles
- Nails: 1 ¼” galvanized steel roofing nails
- Nails: 1” – 1 ¼” round plastic cap roofing nail
- Hammer
- Tape Measure
- Safety-wear (goggles, gloves)
Wood Used:
- 2″x4″ Cedar
- (4) 5′ (base and top sides)
- (6) 32″ (base and top sides)
- (4) 5’6″ (outer posts)
- (4) 32″ (front roof base, longest edge to longest edge) -> board, each side cut at the same 22.5° angle
- (4) 24″ (back roof base, longest edge to longest edge) -> board, each side cut at the same 22.5° angle
- (4) 17 3/4″ (middle roof base)
- (2) 18″ (middle roof base)
- 1″x6″ Cedar
- (5) 5′ (base where logs sit)
- (2) 4’x8′ 1/2″ Treated Plywood cut to:
- (1) 32″x5’5″ (roof)
- (1) 24″x5’5″ (roof)
*note: before getting started, I recommend watching some videos on installing the roof. The GAF Roofing Youtube channel has a lot of informational and instructional videos.
Also, remember to measure twice to make sure all cuts are right and it is the size you want. A tape measure is my best friend when doing projects.
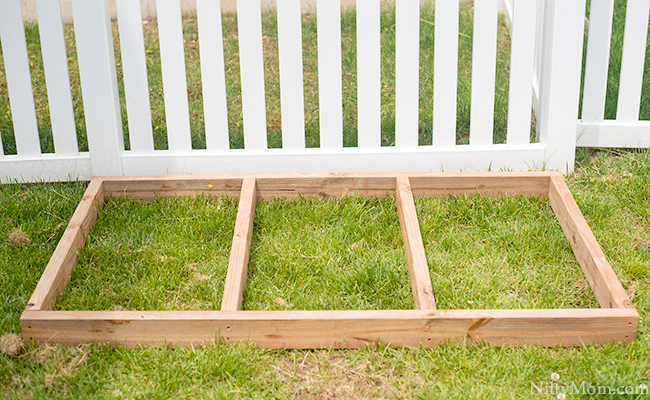
Start by making the base. The long pieces are (2) 5′ and the shorter boards are (4) 32″. we used a drill & screws to attach all the wood (until we got to the roof).
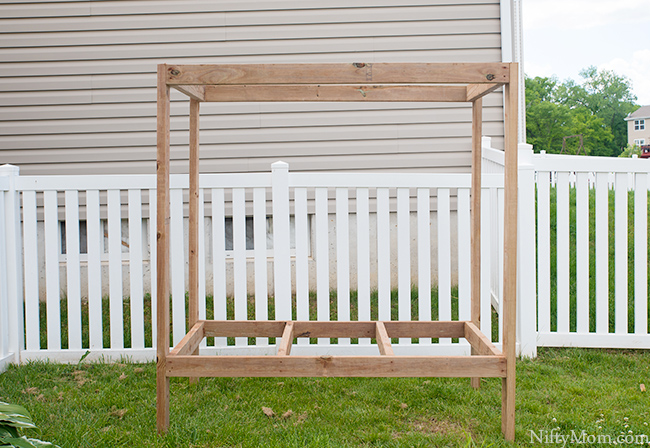
Attach the (4) 5’6″ boards to the base. The base should sit about 10-12″ from the bottom if you want to put the rack in the ground (for more stability & security). If not, I would have the base 3-4″ from the bottom.
Add the top rectangle with the last (2) 5′ boards and (2) 32″ boards.
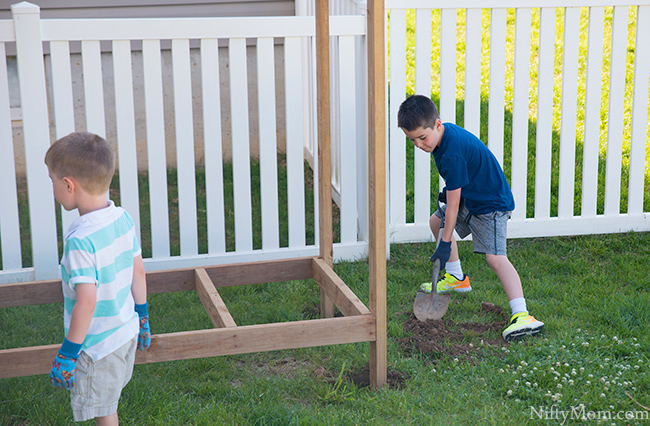
We wanted the log rack to be secure in the ground, so we dug about 6″ down to place and level and log rack. It was a great time to have the kids help.
Screw the (5) 1″x6″x5′ boards to the base.
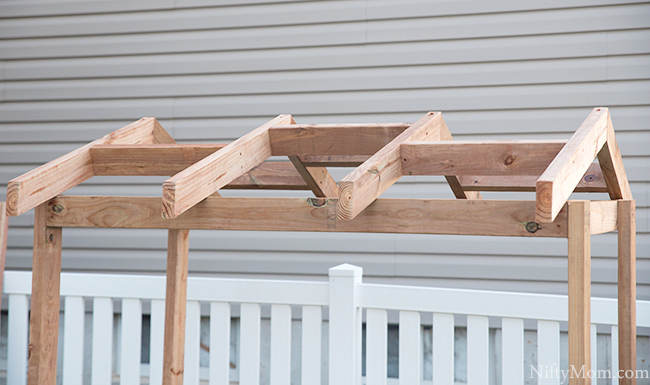
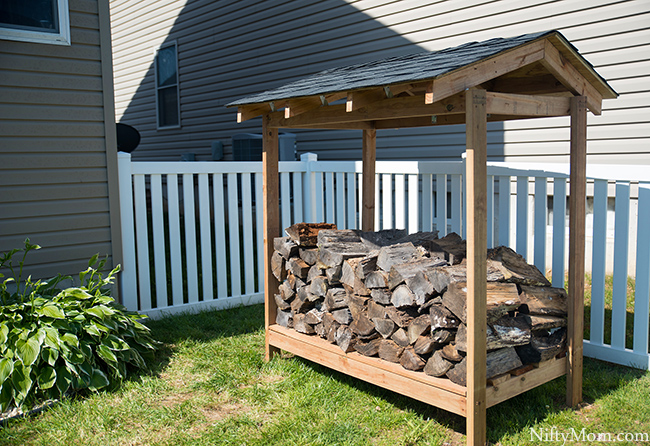
To make the base for the roof, make (4) roof trusses, attaching the two different sized angled boards as shown (32″ and 24″). You want the longer side on the side you decide that will be the front.
Connect the 4 pieces together with 17 3/4″ boards between the outside pieces and the 18″ boards in the middle (as shown above). There is one between each section on the front and the back.
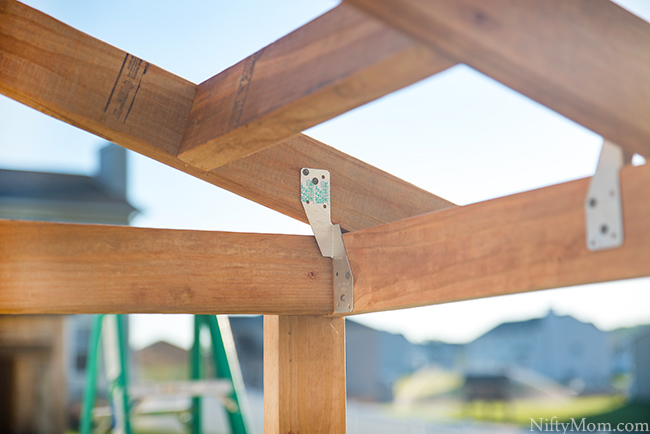
Attach to the structure using hurricane clips.
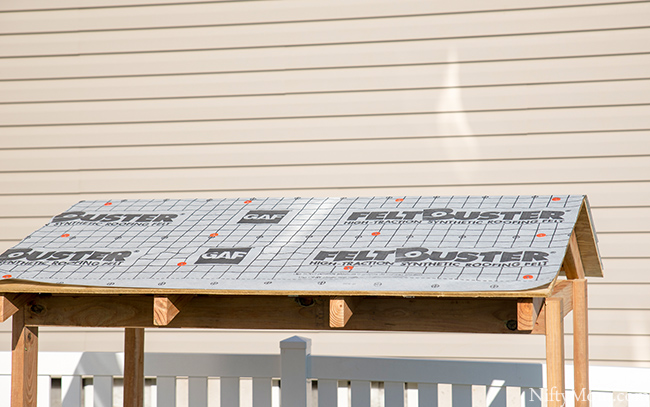
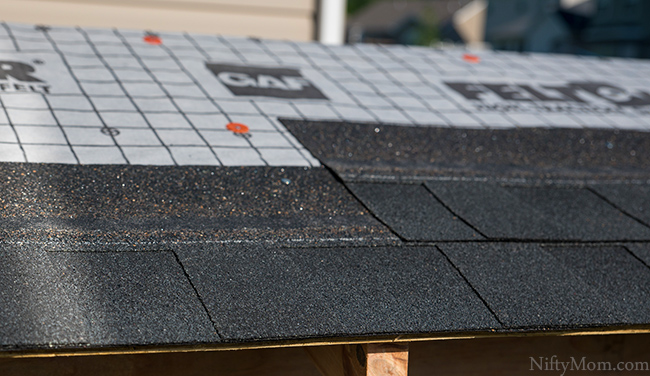
Nail plywood to the roof base. Each side will have about 2.5″ overhang. Measure FeltBuster® to go over the plywood and cut. Nail down with the round plastic cap roofing nails.
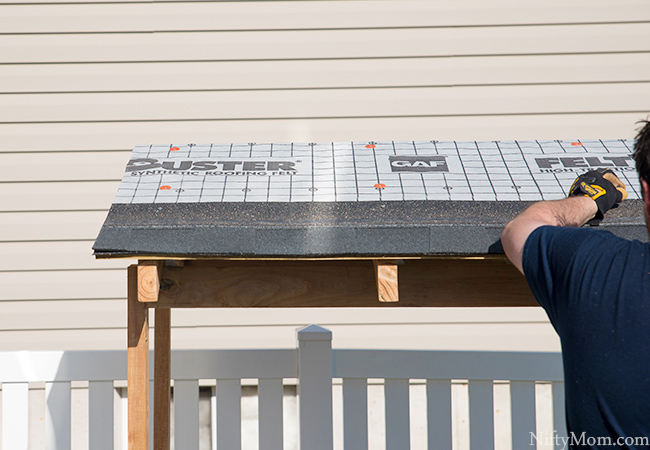
To shingle the roof, start at the bottom edge. You can either use the Pro-Start™ Eave/Rake Starter Strip Shingles, nail down an upside down shingle.
Add rows of shingles moving up the roof peak, alternating the rows of shingles. Do this with both sides of the roof. The FeltBuster® is extremely helpful with the lines marked on it. This allows more precision and accuracy when adding the shingles.
For the top peak, use ridge caps (or overlapping cut shingle pieces.
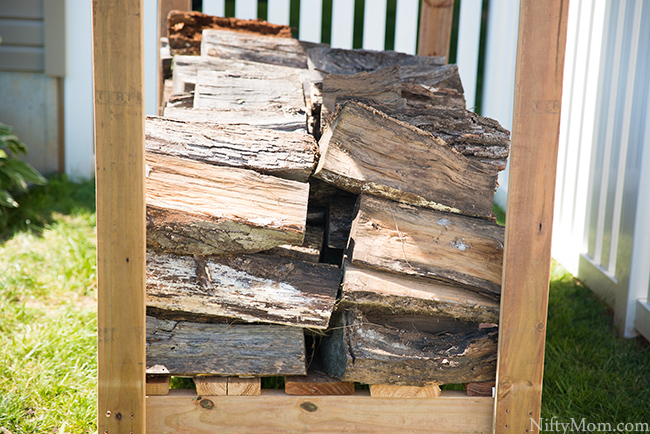
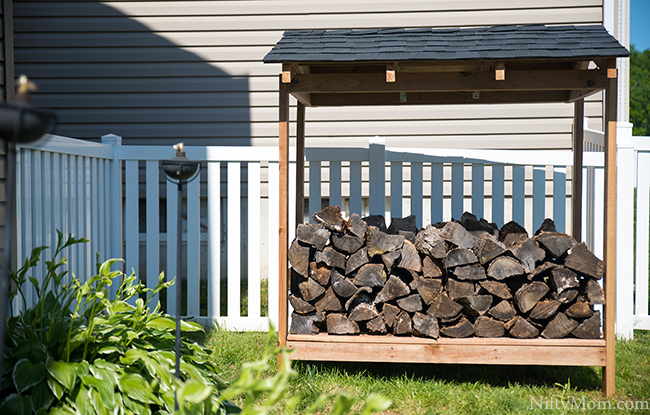
Once complete, the logs can be stacked in two rows. No more logs all over the back corner of our yard, and it’s closer to the house/porch so less distance to get firewood.
Next, we will be rocking around the log rack and adding some plants to finish off that corner of the yard.
For more backyard project ideas and inspiration, visit here.
What kind of project would you use GAF Roofing on?

