This Mini Layered Peppermint Christmas Cakes recipe been compensated by Collective Bias, Inc. and its advertiser. All opinions are mine alone. #BakeInTheFun #CollectiveBias
‘Tis the season for holiday baking! Holiday baking has always been a family tradition for me. It’s all about creating new memories each year and getting everyone in the kitchen to make delicious cupcakes, cookies and treats. Everything we make is great for gifting to loved ones and to serve at holiday events.
This year is no different. In a little over a week, I will be in the kitchen with all three boys making dozens upon dozens of cookies. Until then, we will be making all kinds of other fun treats. While I love baking with them, sometimes I head to the kitchen solo to bake. That way I can try out different recipes we will possibly serve at our holiday family events (of course I have to do a taste test before I serve it to others).
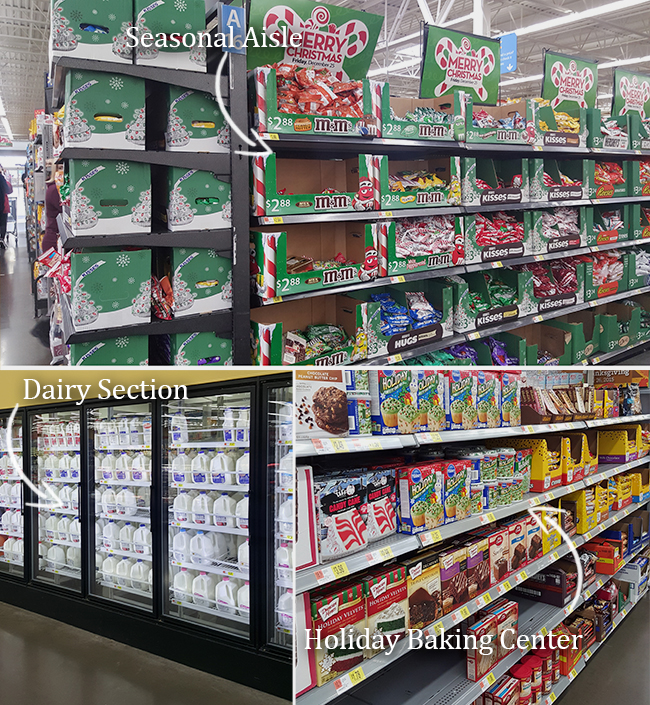
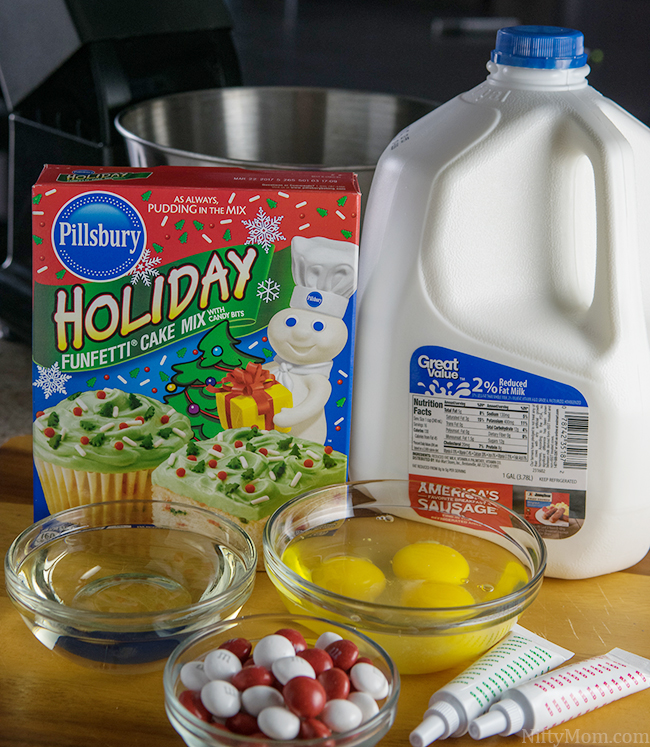
Over the last few weeks, every trip to Walmart involves some sort of holiday purchase. I can’t pass up all the Christmas decorations, candy and seasonal items without grabbing a few. Last week, I noticed the Pillsbury™ Funfetti® Holiday Cake Mix and Pillsbury™ Funfetti® Holiday Vanilla Flavored Frosting and knew it would be perfect for all the holiday baking. I already had a bunch of the seasonal M&M’s® candies I have been wanting to bake with. That’s when I decided to try to make some stacked mini cakes. (Note: When you are out shopping for the ingredients, use Ibotta for additional savings.)
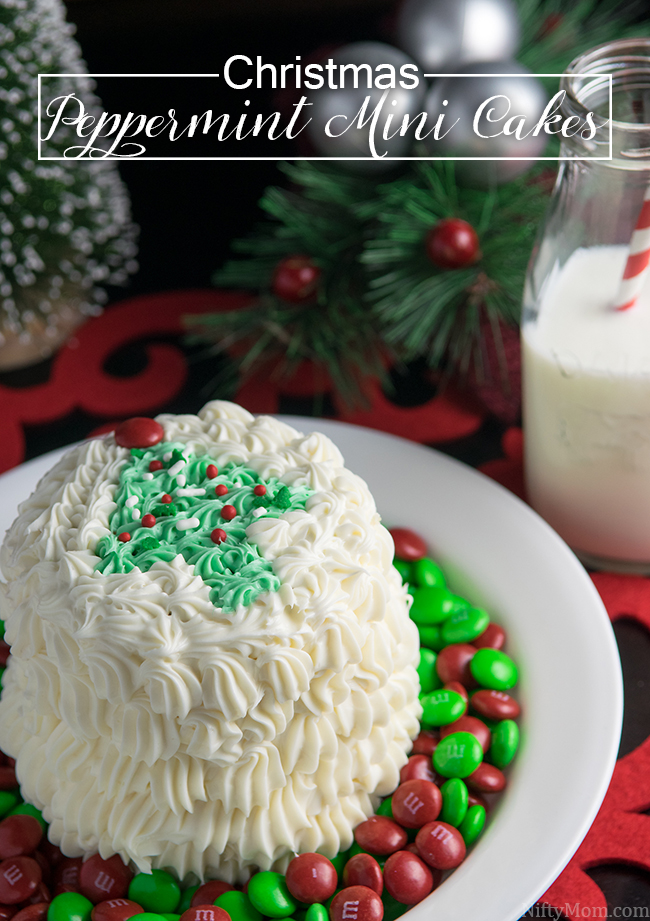
For the mini cakes, I made 2 boxes of cake mix and then cut the layers with a large cookie cutter. To make the cake a little more festive, I had a green and red layer with a Funfetti® Holiday layer in the middle.
Ingredients:
- 2 boxes of Pillsbury™ Funfetti® Holiday Cake Mix
- 2 cups Great Value Milk
- 1 cup vegetable oil
- 6 eggs
- red and green baking coloring gel
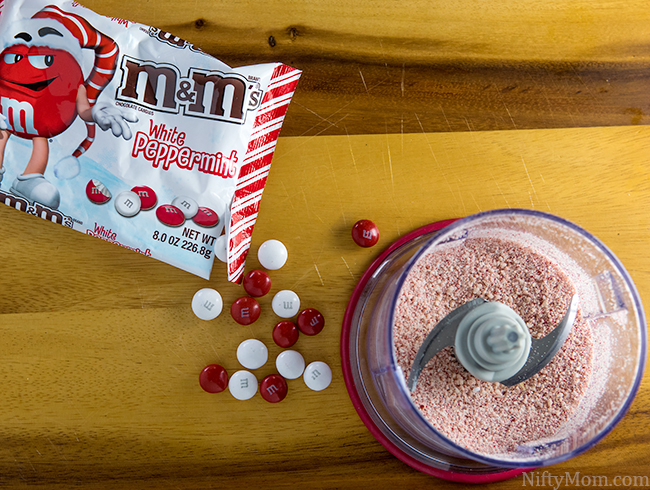
- 1/2 cup M&M’s® White Peppermint
- Pillsbury™ Funfetti® Holiday Vanilla Flavored Frosting
- Pillsbury™ Vanilla Frosting
Preheat oven to 350°.
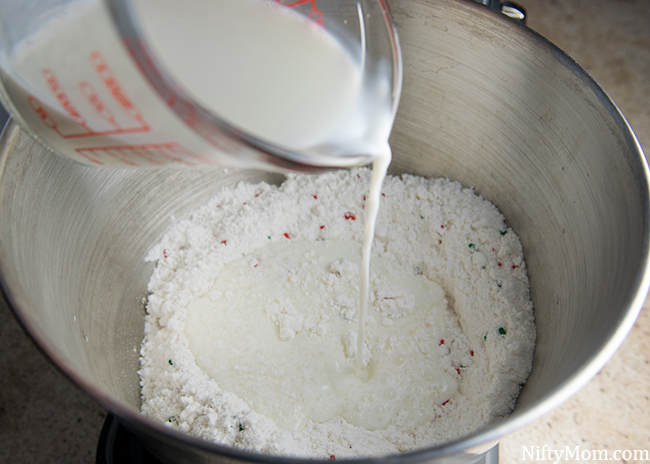
Start by mixing one box of cake mix with a cup of milk (replacing the water from the box ingredients), 1/2 cup of vegetable oil and 3 eggs.

Using a mixer makes this step quick and easy. If you don’t have one or need a new one, be sure to enter the sweepstakes at the end of this post for a chance to win 1 of 8 KitchenAid® mixers!
Once completely mixed, pour the batter into a 9×13″ baking dish. Bake according to the back of the box.
While the first cake is baking, prepare the next box of cake mix as stated above. This time when it is completely mixed, split the batter into two bowls. Put a few drops of green baking color gel in one bowl, and red in another. Mix thoroughly, adding in more drops if needed.
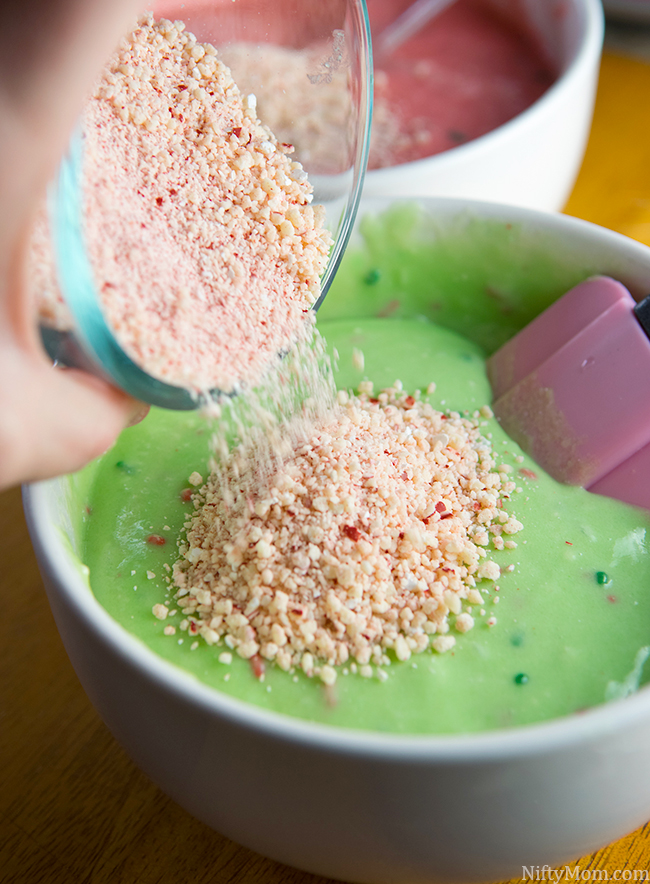
Next, finely crush M&M’s® White Peppermint. Put about 1/4 cup into each batter mixture and fold into the batter.
When the first cake is baked, remove it from the oven to cool. Pour the red and green batter into seperate round baking dishes and bake as directed on the box.
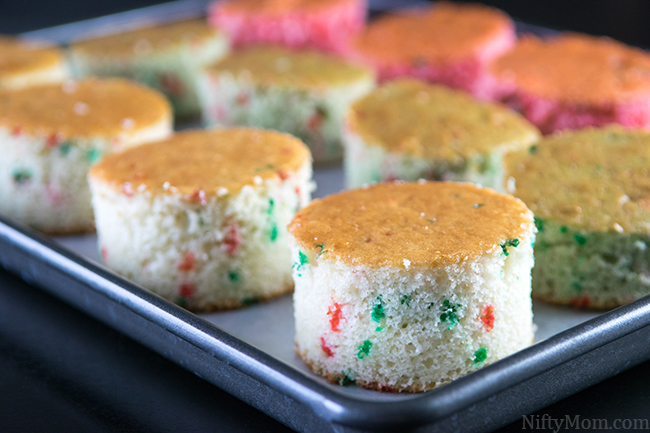
Once all the cakes are cooled, place them in the refrigerator for about 30-60 minutes. This makes it easier to cut with less crumbs when using a cookie cutter.
Next, using a large cookie cutter, make 4 (or 5 depending on size) mini cake layers per cake. There will more left over cake without any coloring. You can use that for cake balls or a truffle.
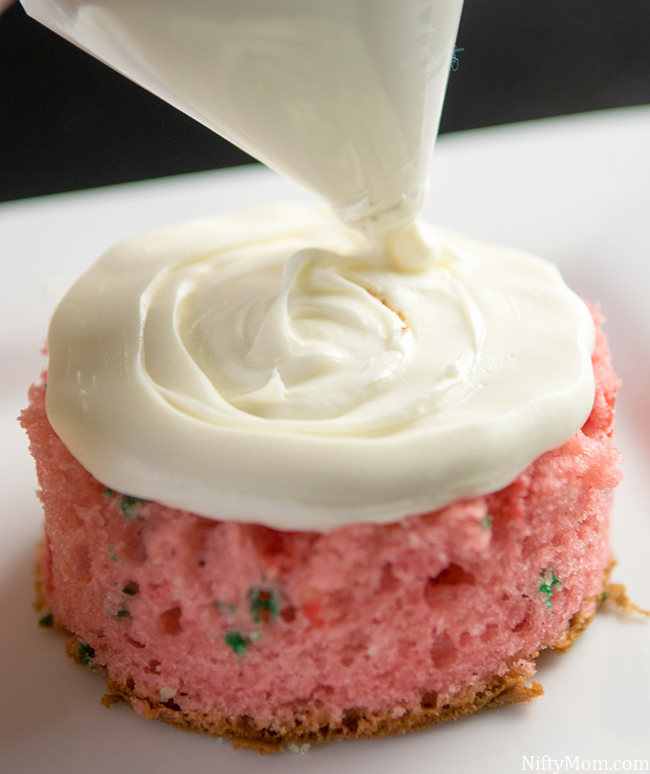
Level out the circle layers with a knife, if needed. I make mine a little shorter and took a layer off the top and bottom. I did leave the bottom on the red, since it was going on the bottom of the mini cakes.
Place the vanilla frosting in a plastic bag (or icing bag) and cut the corner. Pipe the frosting thickly on the red layer.
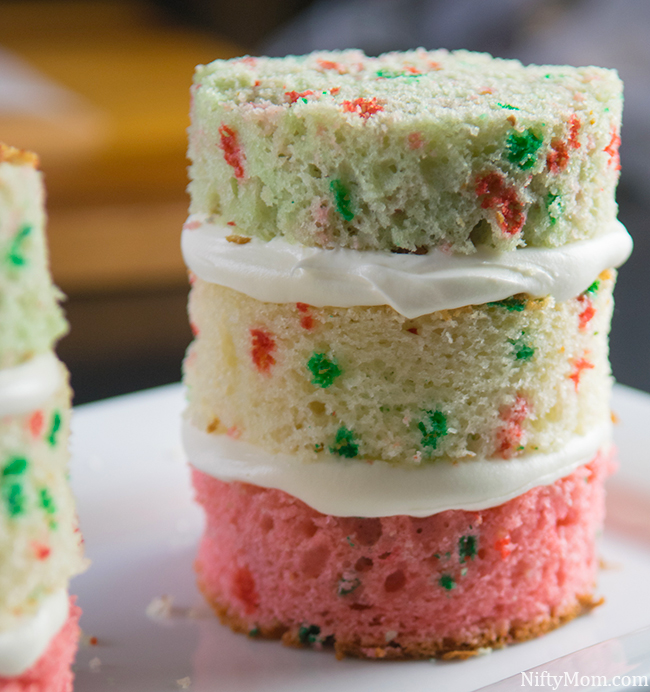
Top it with a Pillsbury™ Funfetti® Holiday layer, icing, and finally the green layer.
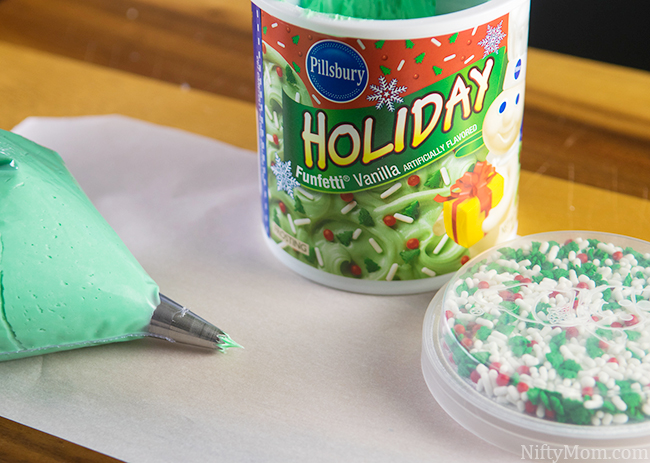
For the tops of the cake, I used both vanilla frosting and Pillsbury™ Funfetti® Holiday Vanilla Flavored Frosting. Start with the Pillsbury™ Funfetti® Holiday Vanilla Flavored Frosting, putting some in a plastic bag (or icing bag) with a 22 icing tip.
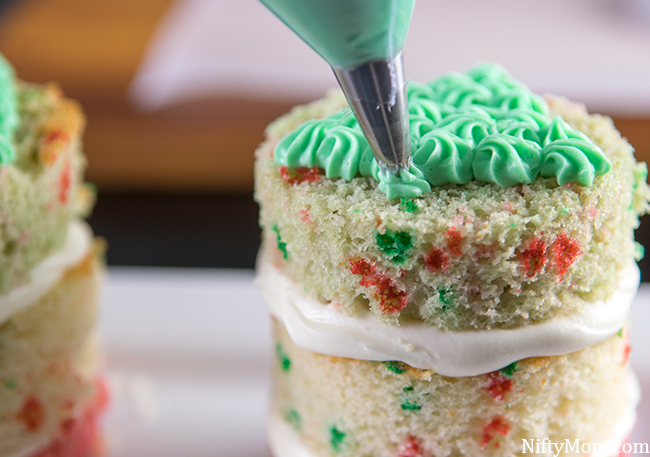
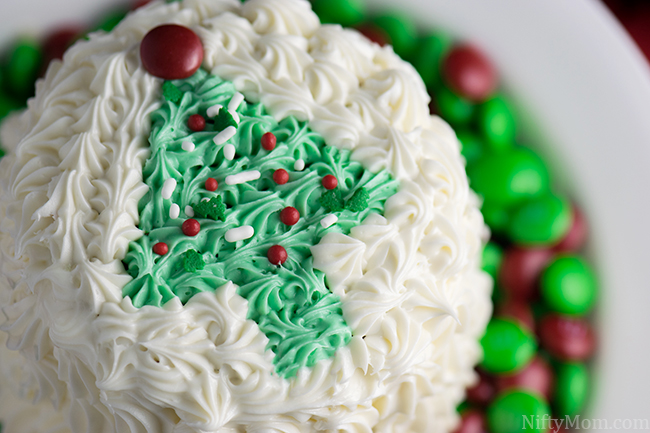
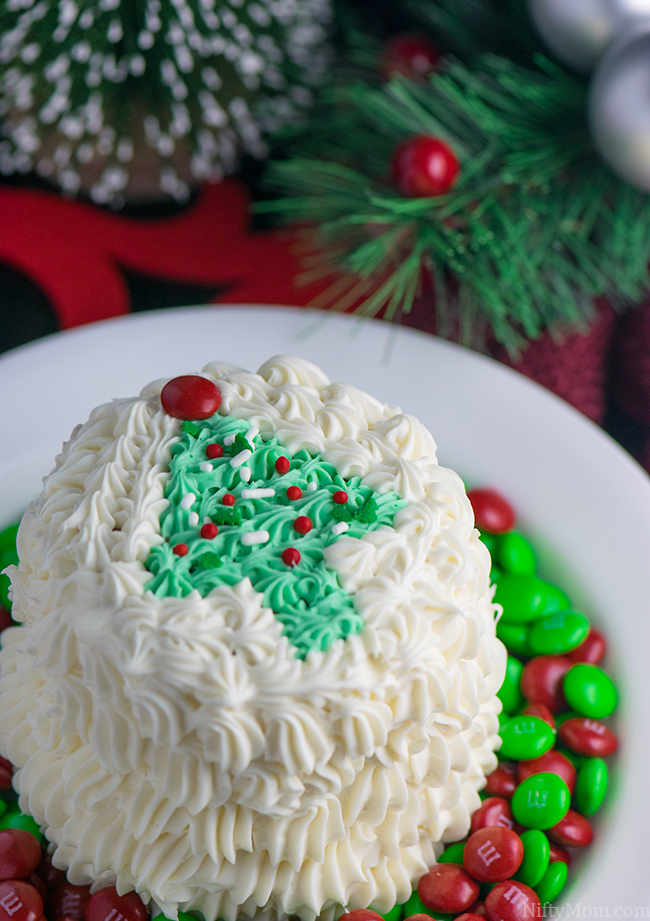
Use the green frosting to put a tree shape on the top of each mini cake. Once the tree was done, cover with sprinkles to decorate the tree. Doing it before the rest of the frosting made it easier not to get it on the white frosting.
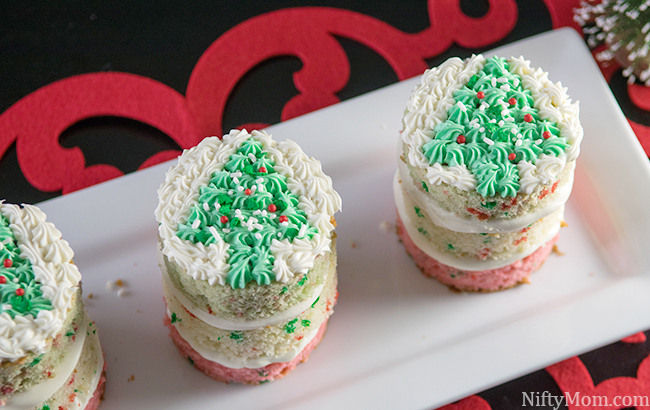
Using the same icing tip and the vanilla frosting, I filled in the rest of the cake top, around the tree.
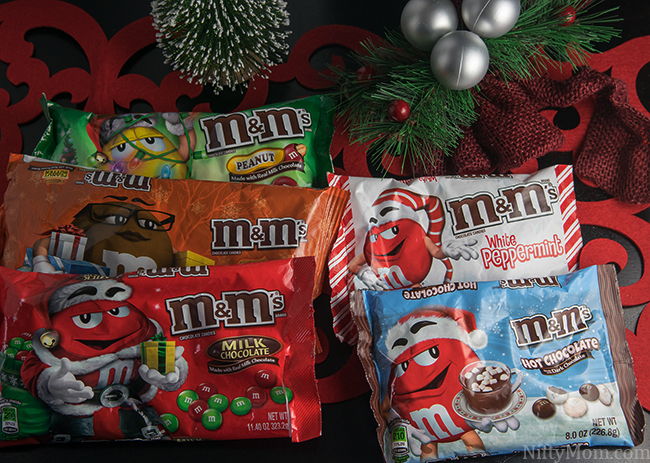
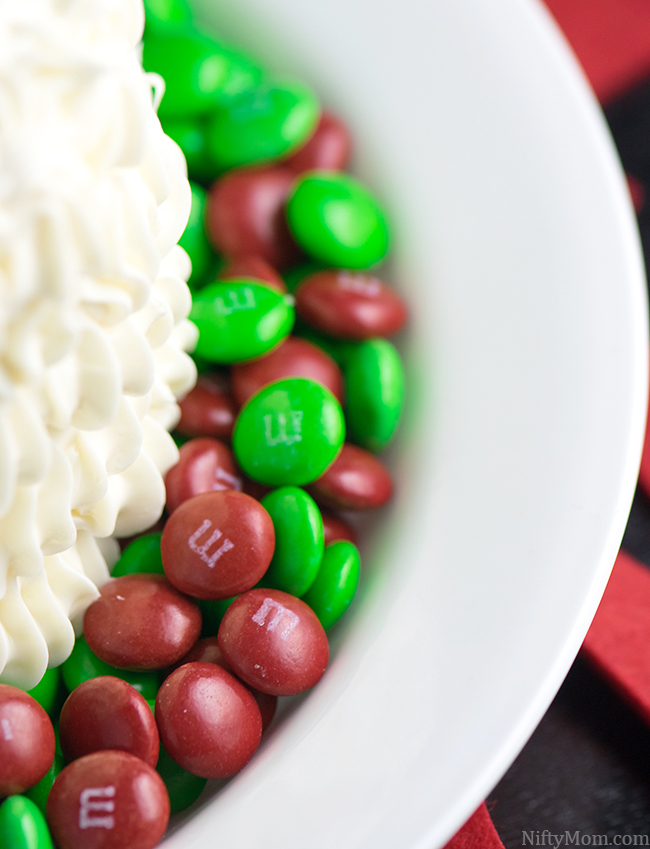
To go display the mini cakes, I filled to bottom of the plate with a selection of seasonal M&M’s® (M&M’s® Holiday Milk Chocolate, M&M’s® Holiday Peanut, M&M’s® Holiday Peanut Butter, and M&M’s® Hot Chocolate).
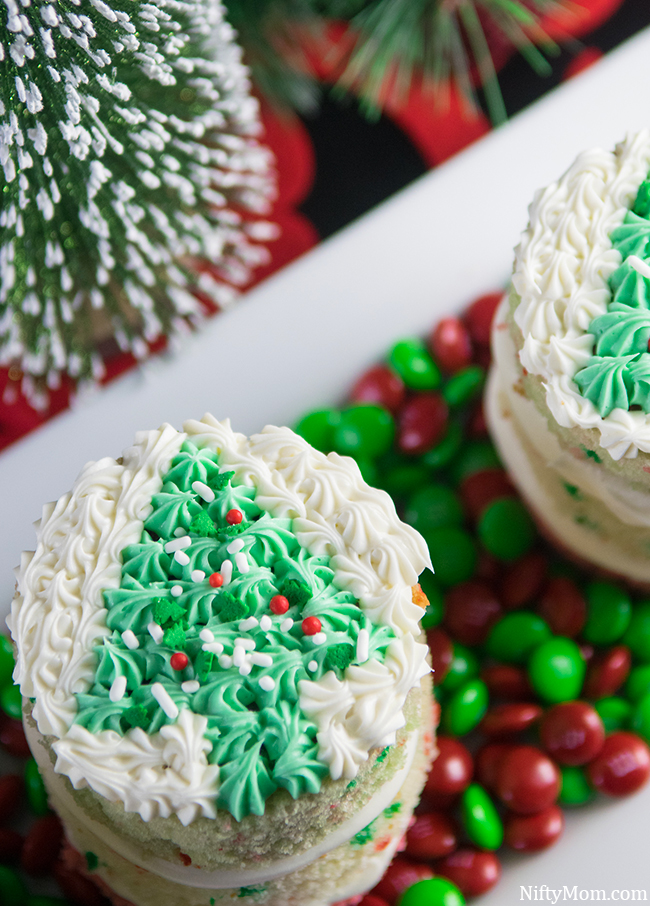
The mini cakes can be left as is, or you can add some icing around the outside.
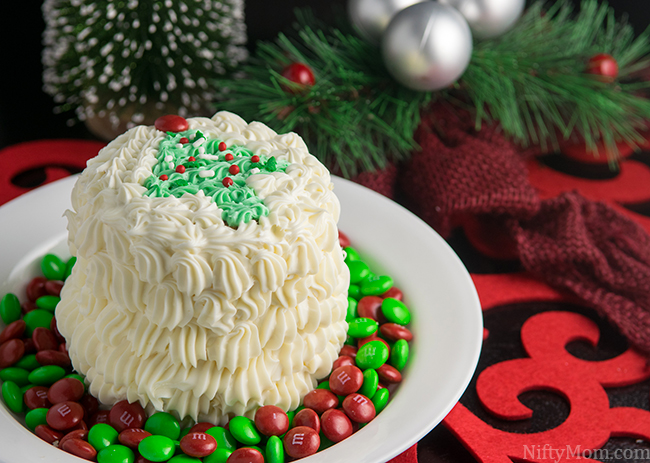
To ice the whole cake, I used a 32 tip around the cake to cover it completely.
The cakes are best served with a tall glass of cold milk, which we always have gallons of in our refrigerator. However, many hungry families on our own communities are missing out on the essential nutrients supplied by milk because it is not typically donated to food banks. My family loves to give back and donate when we get a chance and we found out that for a small donation at pourmilklove.com, The Great Milk Drive deliver a gallon of milk to a family in need on our local community.
We already helped a little when we were shopping at Walmart, because with a purchase of 2 bags of M&M’s® (9.4 oz bags or larger), up to a gallon of milk will be donated to the drive.
Remember earlier when I mentioned a sweepstakes? Well enter below and vote for your favorite recipe picture!
Holiday #BakeInTheFun
Be sure to check out more delicious holiday baking recipes. I’d love to hear about your favorite holiday recipe!

