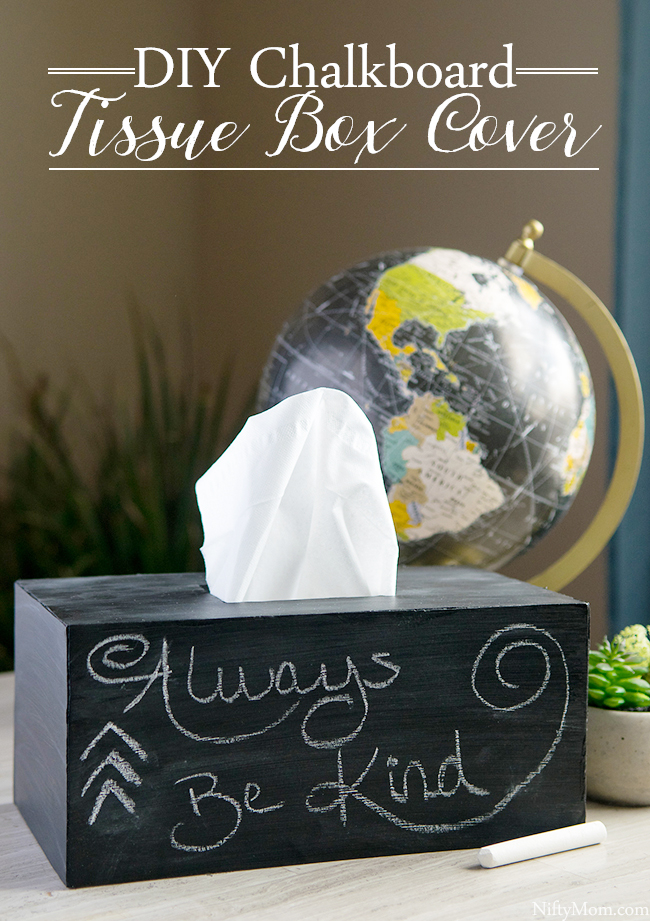
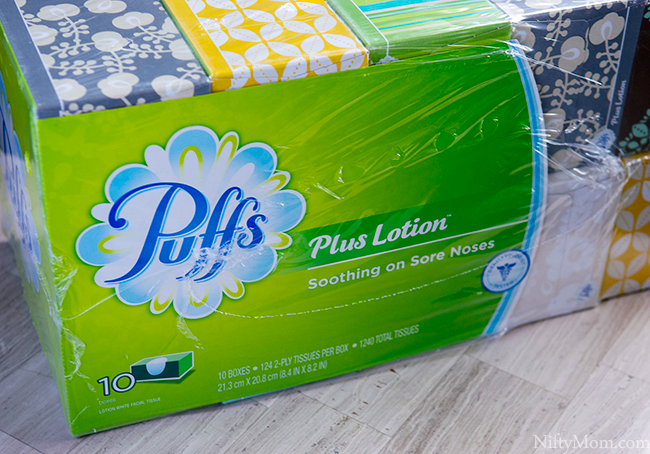
This chalkboard tissue box cover tutorial is sponsored by Acorn Influence and Puffs. All opinions are my own. #StockUpOnSoothingSoftness
We are almost a month into the school year and do you know what that means? More germs coming into our house than ever before. It never fails, within days of going back, stuffy noses fill my house and we begin going through tissue boxes daily.
On top of that, allergy season hasn’t been too easy on us already. All five of us have been fighting symptoms on and off for the last few weeks. Due to all the sore and runny noses, I keep a box of tissues in numerous rooms throughout the house. It is basically a necessity these days.
To make sure we are always fully stocked, I have to purchase larger quantities at Sam’s Club.
The new 10-pack of Puffs Plus Lotion at Sam’s Club fits our family needs. Infused with a touch of shea butter, aloe and vitamin E, the tissues have the comfort of soothing softness. With the constant need for tissues, softness is extremely important, especially for the kids’ little noses.
How to Make a Chalkboard Tissue Box Cover
One thing often requested throughout the school year at the kids’ school is tissues. This year they just started school in a newly built school in the district. That means they are lacking a lot of ‘extra’ supplies not only in the classrooms, but also in school clinic.
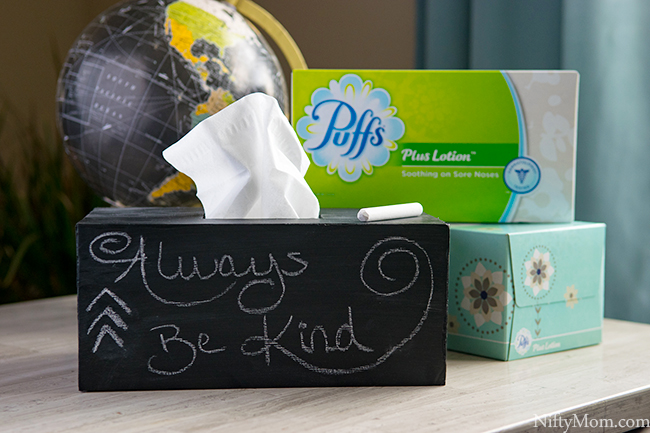
I grabbed a few extra Puffs Plus Lotion 10-packs to take up to the school for the cold/flu season. To go with it, I decided to make a little tissue box cover for the nurse. It is also a great touch to any room around the house.
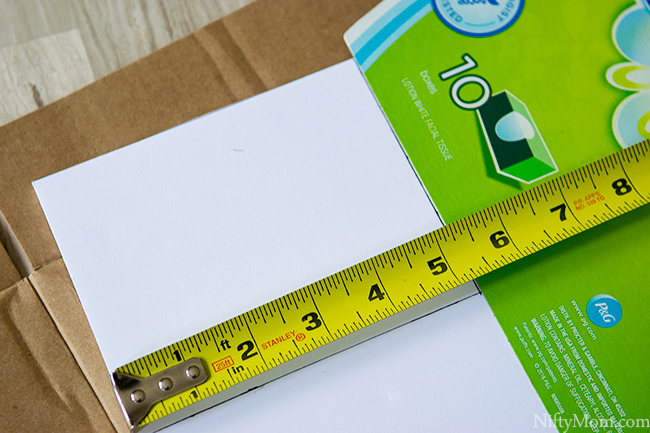
Supplies:
- Foam Board
- Tape Measure
- Pen
- Straight edge (I used cardboard)
- Retractable Razor Knife
- Thick cardboard
- Hot Glue Gun
- Paint Brush
- Chalkboard Paint
- Chalk
Instructions:
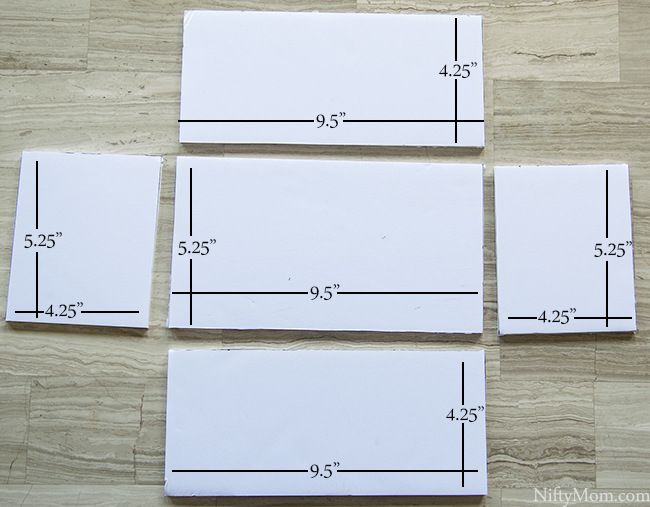
Start by cutting 5 rectangles out of the foam board. It is best to place the foam board over thick cardboard and use a razor blade to cut. The following measurements are to fit over the Puffs box:
- (1) 9.5″ x 5.25″
- (2) 4.25″ x 5.25″
- (2) 9.5″ x 4.25
In the 9.5″ x 5.25″ board, cut a rectangle out of the middle where the tissues will be pulled out from.
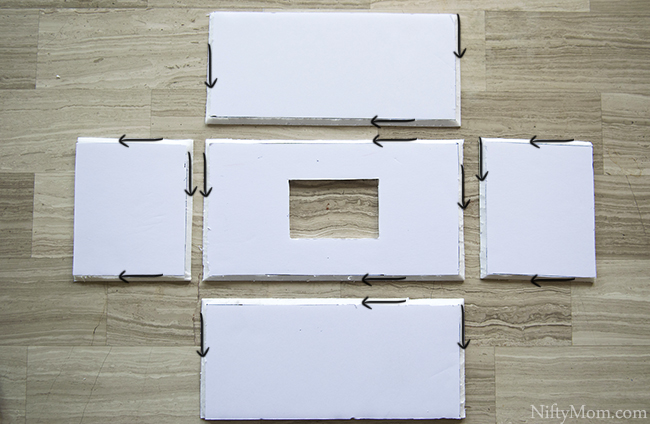
Next, all the edges that will be glued together need to angled for a clean, sturdy fit. All the edges marked with arrows in the picture above are the ones that will need to be angled.
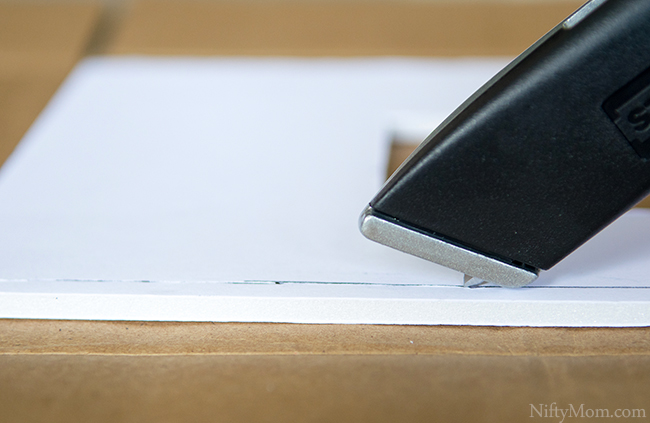
To do this, mark those edges, drawing a line inside about the thickness of your foam board.
Lightly score one side of the foam board. Be extra cautious, as you only want to get the very top layer and not cut all the way through.
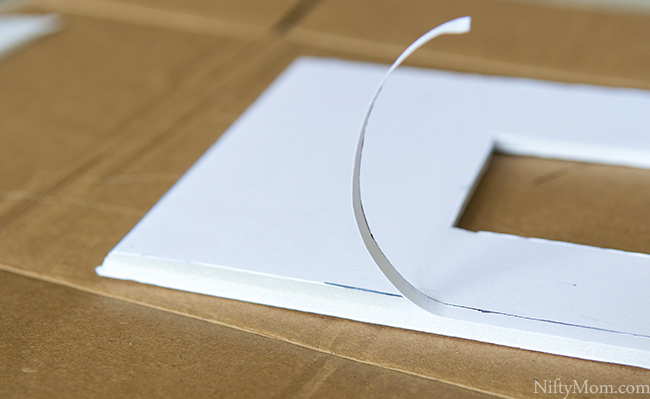
Peel back the paper exposing the foam core.
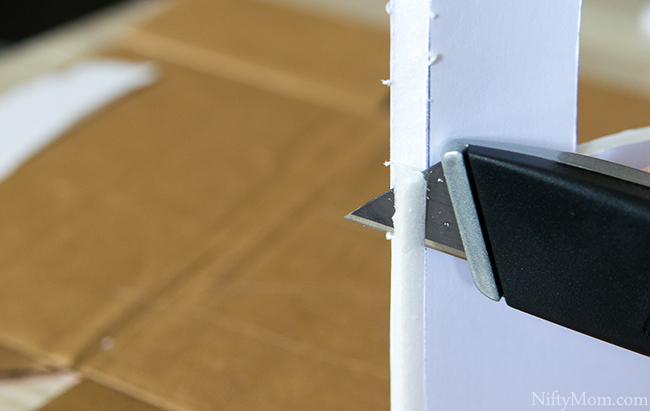
Angle the razor blade as shown above and cut the exposed foam at an angle. It doesn’t have to be pretty or perfect, as it will be the part that is glued together.
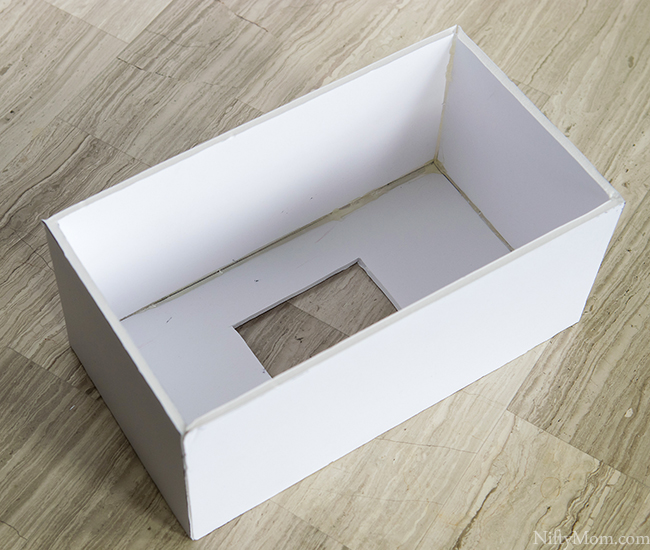
Using the hot glue gun, glue each piece together forming the rectangle to go over the tissue box.
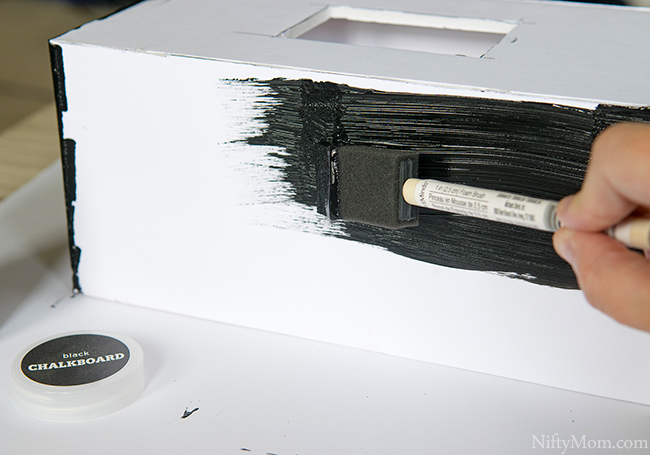
Paint the outside with chalkboard paint.

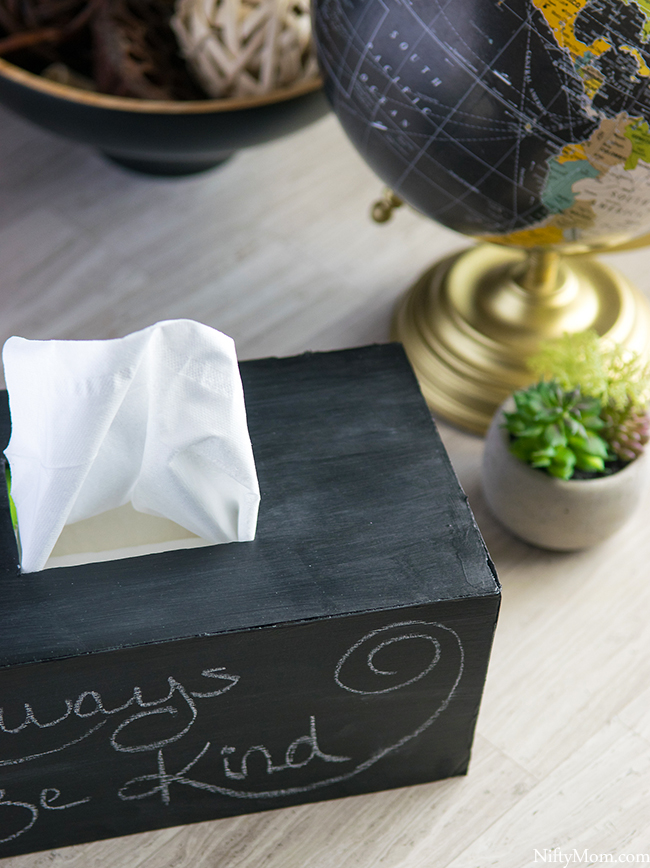
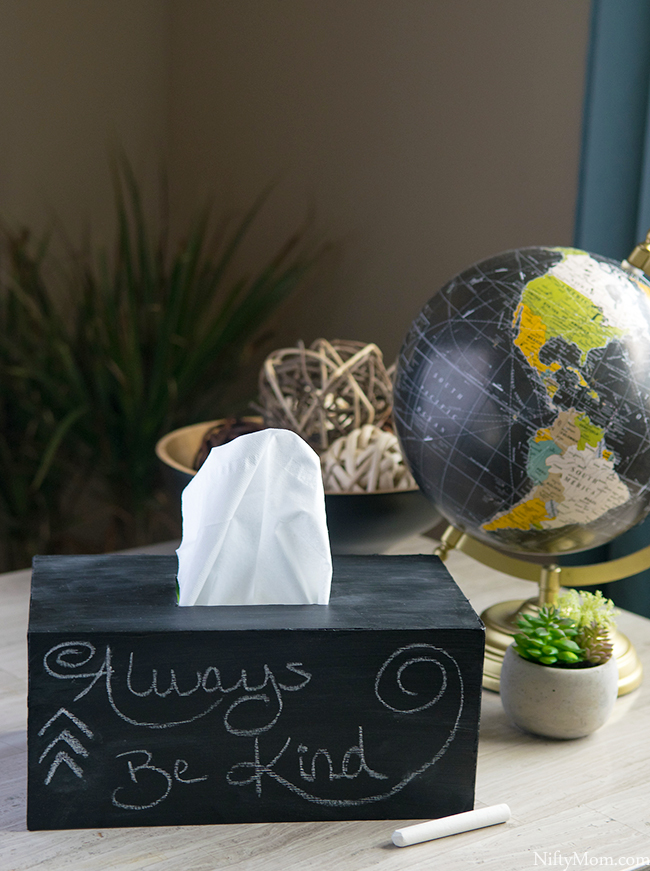
Once dry and cured accordingly to the paint instructions, scribble chalk all over the painted box and wipe off with a tissue or paper towel. This gives it the effect of a used chalkboard and not just a flat black paint look.
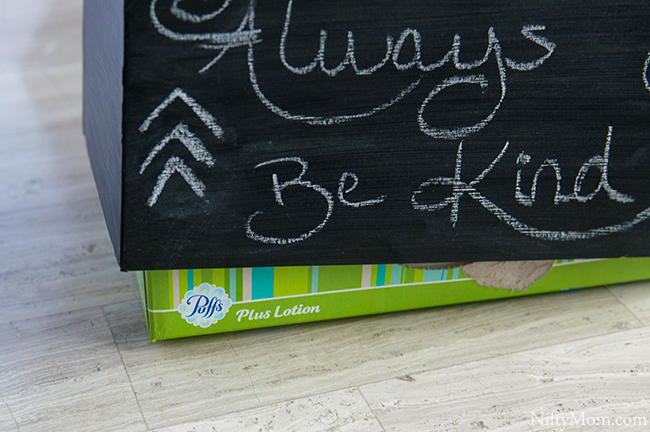
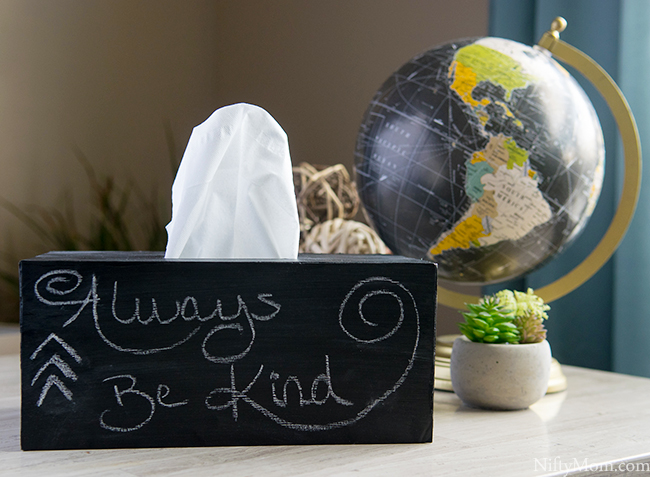
Open the tissue box and place the tissue box cover over it. Write anything on it, place in your house or gift to friends, family, a sick loved one or your kids’ school. You could probably make 3 or 4 with just 1 large piece of foam board, so make a few as gifts!

Feeling lucky? Enter to win one $250 Sam’s Club gift card for yourself and then $250 Sam’s Club gift card to give!
GOOD LUCK!
