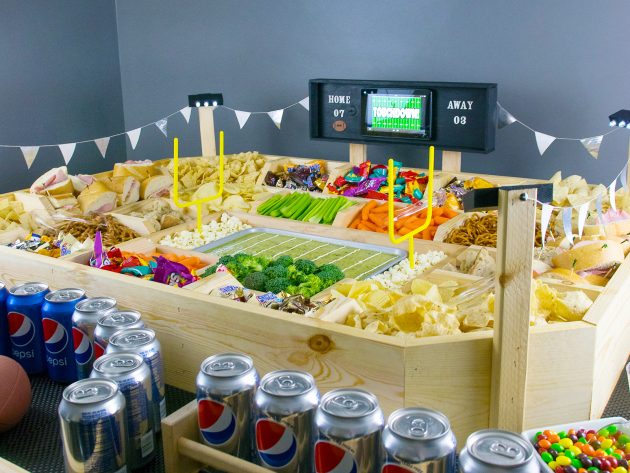
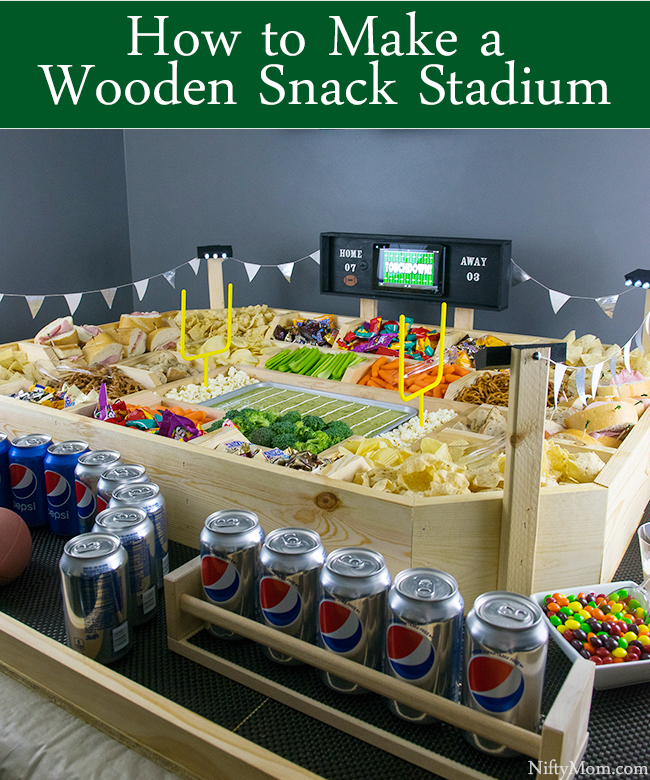
This epic reusable snack stadium tutorial has been compensated by Collective Bias, Inc. and its advertiser. All opinions are mine alone. #GameDayGlory #CollectiveBias
Football season is pretty popular in my family. When there’s a big game on TV, there’s sure to be lots of family, friends and food close by. People always coming and going, cheering and yelling, munching and eating. Sundays are full of excitement.
The amount of food it takes to feed a house full of football fans can be enormous. We often have countertops and tables filled with Pepsi™, SNICKERS®, TOSTITOS®, dips, snacks, finger foods and desserts. However, this year my husband wanted to make a snack stadium. A huge epic reusable snack stadium made with wood to be exact. It’s so big and heavy, we had to make a base over 5 foot wide for it.
How to Build a Wooden Snack Stadium
Materials required:
- ½ Plywood, 4’ x 8’
- 1” x 6” x 20’
- 1” x 4” x 16’
- 1” x 3” x 6’
- 1” x 2” x 18’
- ¼” x 2” x 4’
Tools used:
- 10” double bevel miter saw (my husband’s favorite new tool)
- Circular Saw
- “Hot” Wood Glue Gun
- Battery powered drill
- Finish Nail-gun
Hardware:
- 1-1/4” Finishing Nails
- 1-1/4” Wood Screws (if needed)
- 3/4″ Corner Braces
Inside Field area:
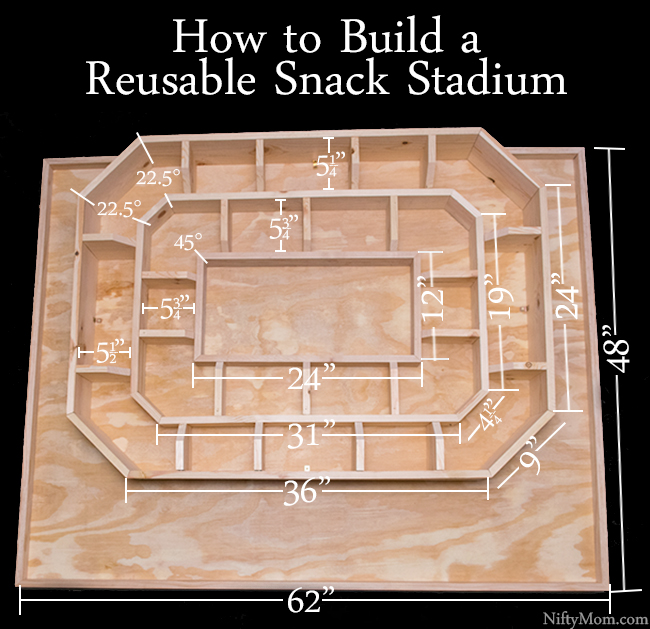
Cut two 24” pieces and two 12” pieces, mitered at 45 degrees using the 1” x 3” material. Assemble using wood glue, and a few 1-1/4” nails. (I used my finish nail gun)
Lower Level Sections:
Using the next size for the lower level, and a 22.5 degree miter, cut two 19” pieces, and two 31” pieces of the 1” x 4”. These will provide the outside walls. To give the snack stadium a more life-like shape, I cut four 4¼” pieces also at a 22.5 degree angle. Assemble the lower level exterior wall using the same 1-¼” nails, with some wood glue to strengthen the hold.
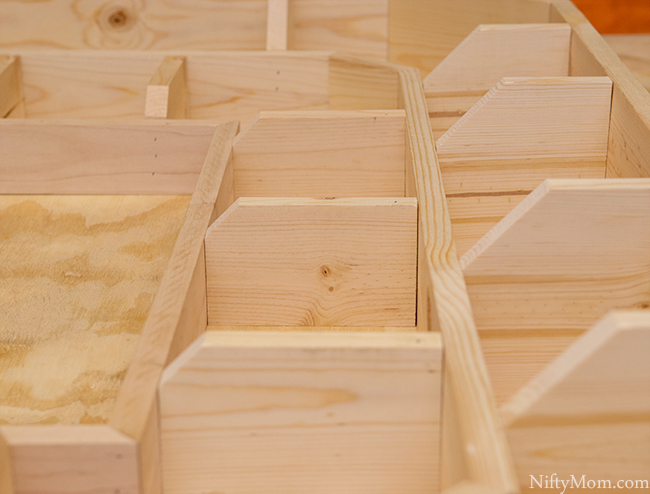
The lower level is connected to the inside field area using eight 1” x 6” x 5-3/4” pieces. I dry fit them and marked where the lower level meets the field level, and a cut the corner at a 45 degree angle to add an additional step-down look to the stadium. You can choose any size or number of bins you’d like. I spaced the bin dividers 2 inches away from the corners, and centered the remaining divider on the longer side of the field.
Once again use the wood glue and 1-1/4” nails to connect the dividers to the walls.
Upper Level Sections:
The upper level is constructed and connected to the lower level in the same manner as the previous step. Cut two 1”x6”x24” pieces, two 1”x6”x36” pieces, four 1”x6”x5-1/2” pieces, and eight 1”x6”x5-1/4” pieces, using the same 22.5 degree mitered cut. The dividers were again placed 2” from the mitered corner, and secured using our glue and nail method. I chose to divide the long section of the upper field into 4 equal compartments.
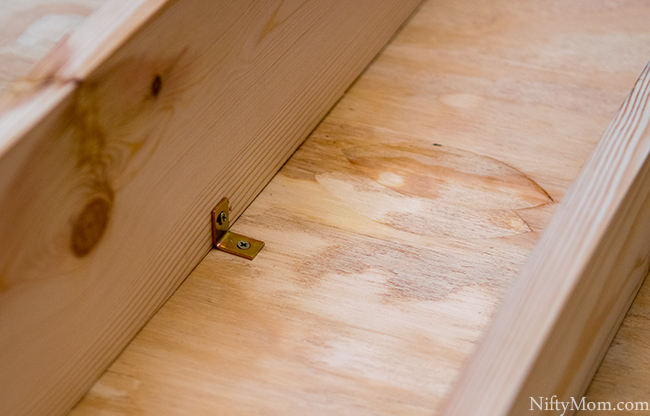
The completed stadium frame can be secured to the plywood base using 4, 90 degree brackets. It’s a wise choice to use a nice treated metal as it will be coming into contact with food later. The frame should be centered on the long edge of the plywood, and moved flush to the back of the 48” side.
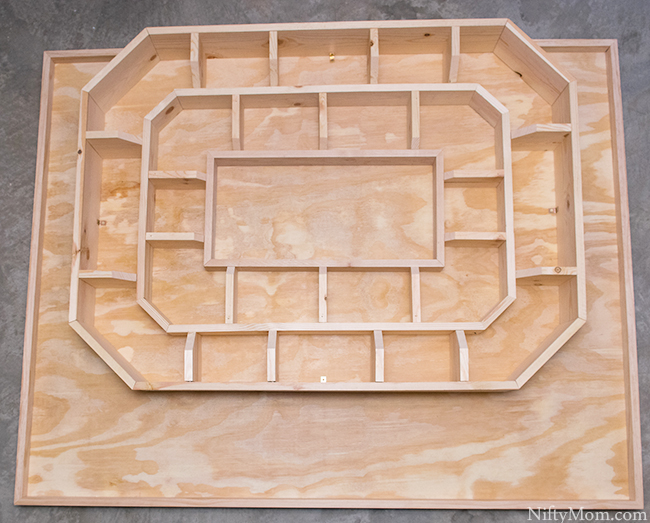
A frame was added around the perimeter of the plywood using 1”x2” wood, cut at 45 degrees. Your cuts should be 62”, two 48” cuts, and two 12” cuts. However, we recommend measuring constantly throughout the project as a little variation can impact your piece sizes more and more drastically as your stadium grows.
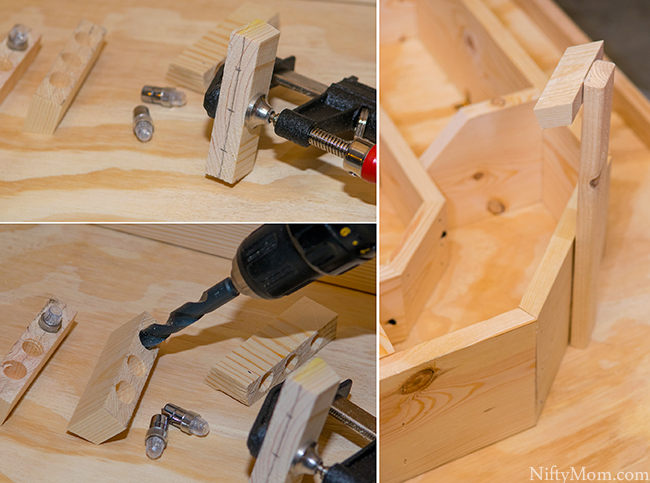
The light poles were a neat add-on we came up with using mini LED balloon lights. They are really inexpensive and are good for two days easily once activated.
For the poles, cut four 1”x2”x1’ pieces. Using the scrap pieces from the first miter cuts on the 1”x4” material and a wood clamp, we drilled three evenly spaced ¾” deep holes the same diameter as the lights. The rubber gasket fits perfectly and didn’t even require glue to secure them in the slot.
To attach the light block to the pole, glue the mitered side of the scrap piece evenly to the top and further secure it with a nail or two.
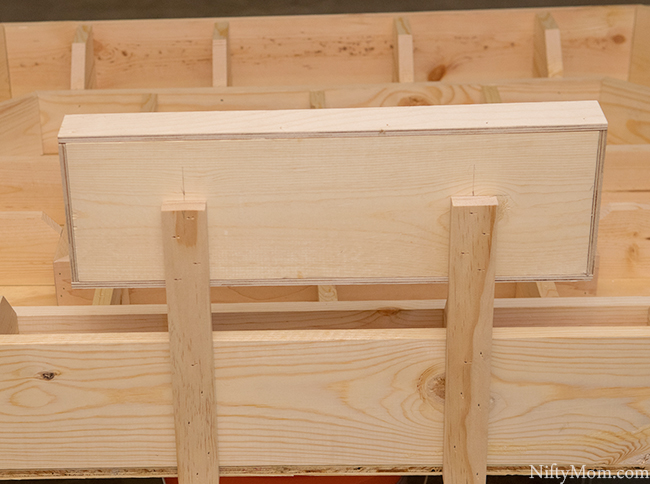
The scoreboard was created using the last 18” of the 1” x 6” material, cut standard without any miters. For added effect, we boxed it in using the ¼” x 2” plywood (or hobby board). The piece sizes should be 18-1/2” for the top and bottom, and 5-3/4” for the sides.
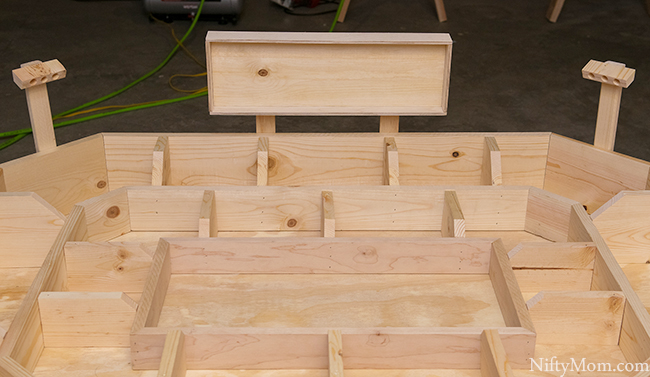
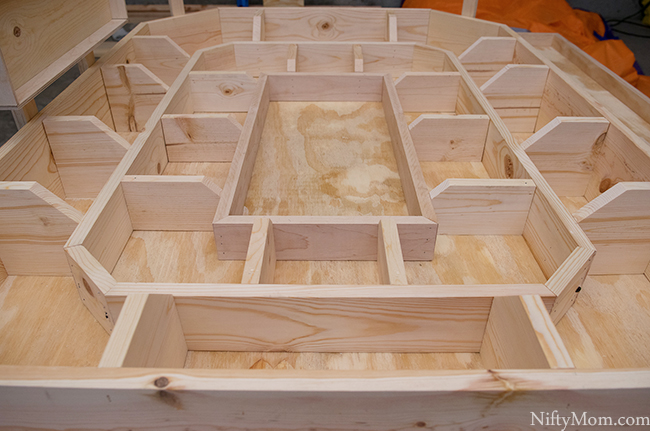
Finishing the stadium is really just personal preference but you need a protective barrier against anything you may put in it later. Of course sand your stadium thoroughly to remove any rough edges, pencil marks, or imperfections in the wood. I also recommend using a tack cloth to remove as much sawdust as possible, and follow it up with quick clean up with a wet rag and a bit of dish soap.
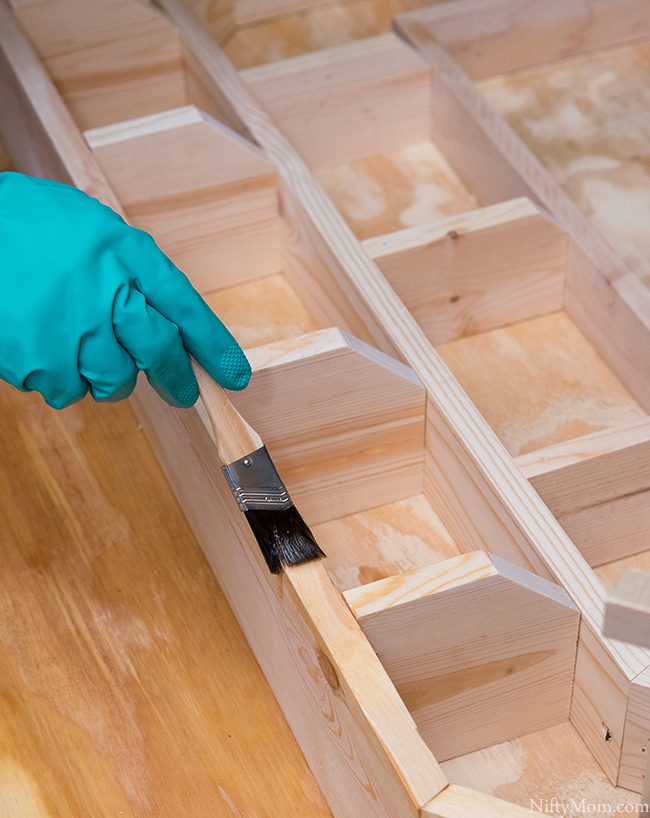
For our stadium we just chose to cover the natural wood using a butcher block finish to make the wood food-safe. Make sure to understand what product you use and allow ample time for drying / cure time.
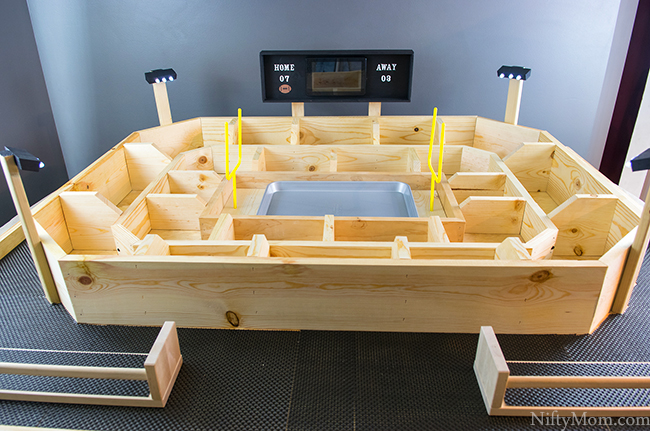
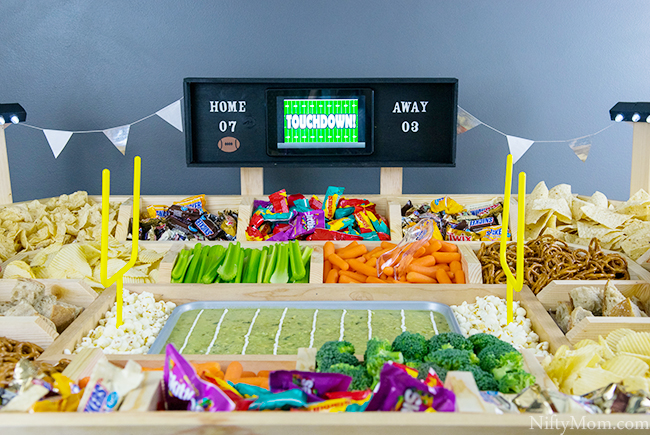
We painted the scoreboard and top of the lights poles black for a little contrast. The scoreboard fits a 7″ tablet (attached with removable velcro strips) and stickers can be used to add teams and scores.
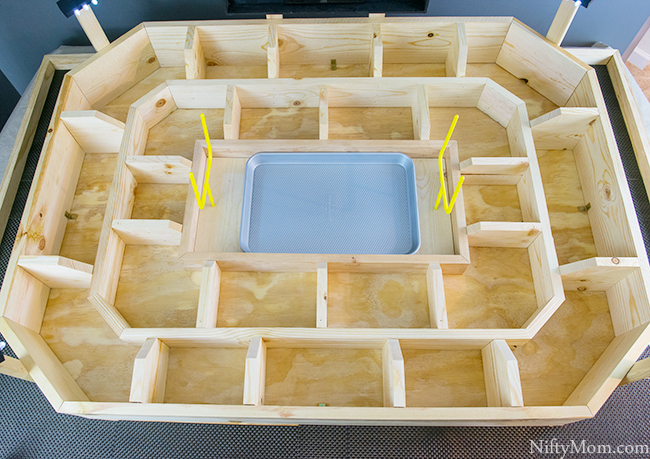
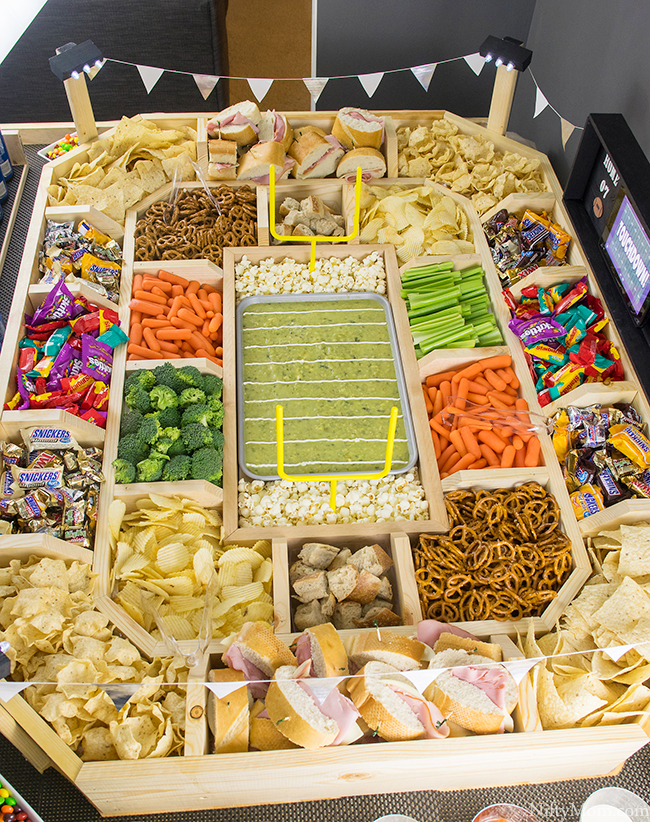
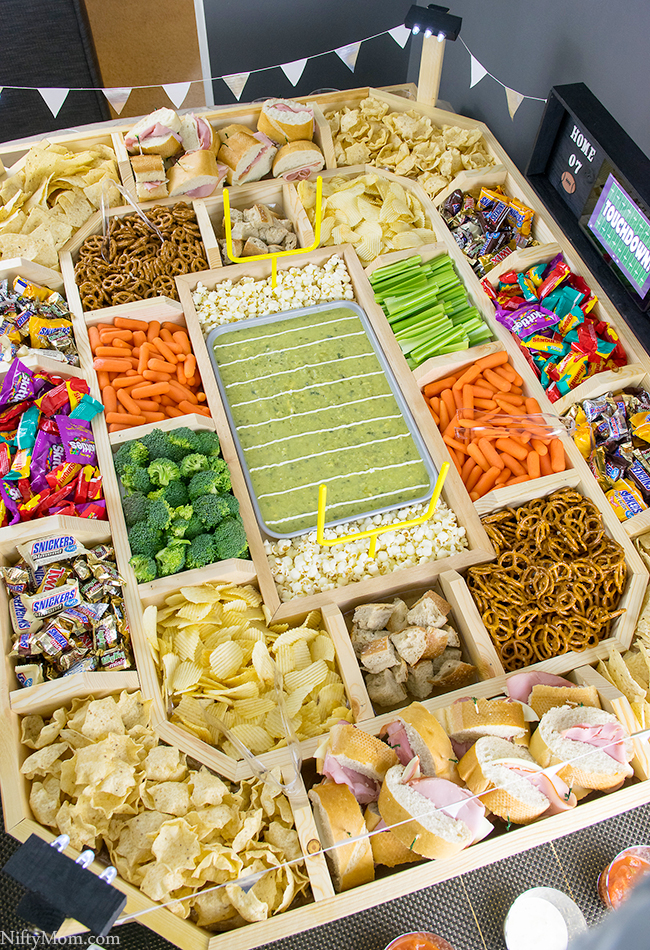
A 10×15″ shallow baking sheet fits in the middle. We used some plastic goal posts in the ‘end zones’.
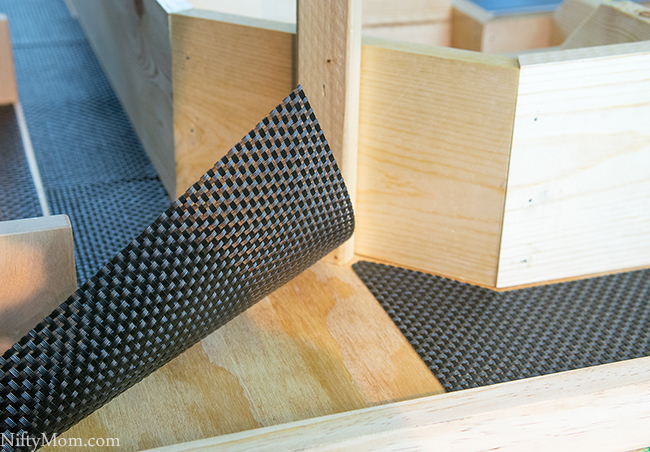
Around the stadium we cut 8 14×14″ plastic placemats to fit accordingly. We didn’t attach them so they can easily be cleaned.

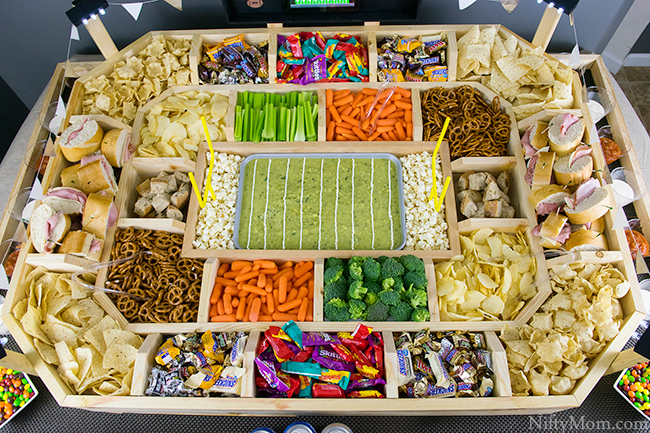
Now it is time to fill in with snacks! Each of the larger bins take about whole party size bag of chips to fill up.
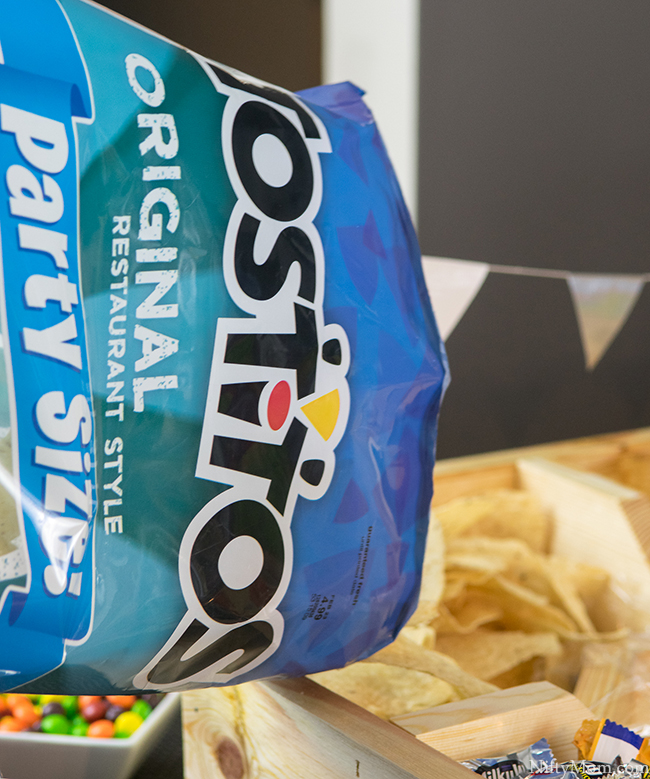
TOSTITOS® Scoops Party Size and TOSTITOS® Original Party Size were in each corner.
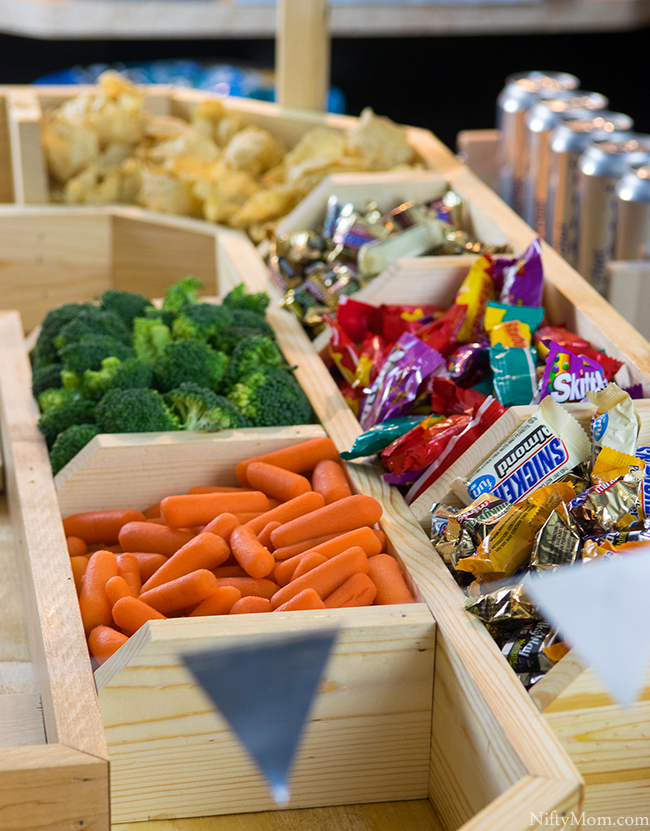
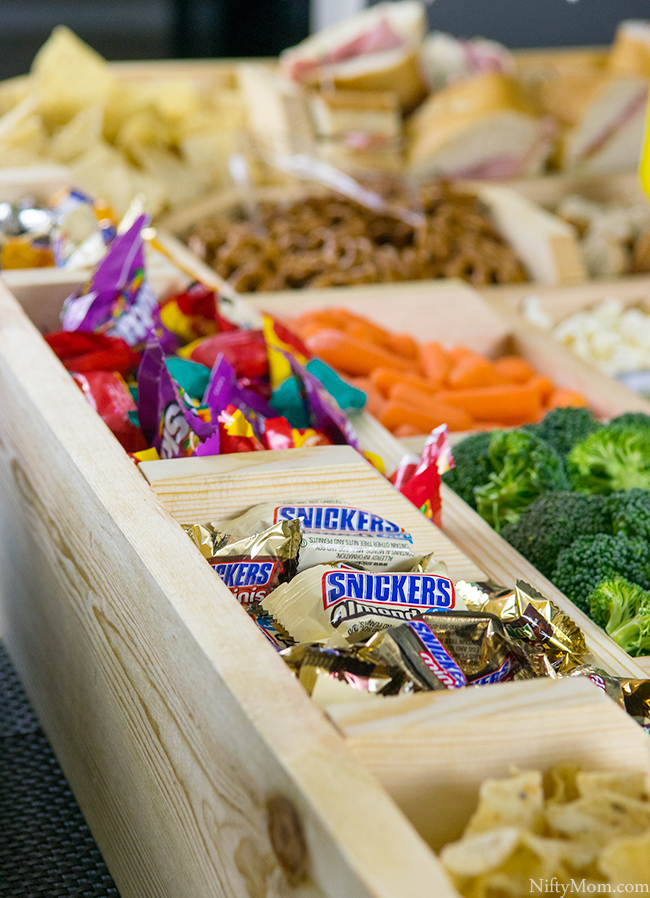
When feeding a party, buying the largest size package of products is important. We filled some of the outer bins with SNICKERS® FUN SIZE® Variety 35 oz., SNICKERS® Minis 40oz. and other chocolate and candy.
The interior bins included more chips, rye bread, pretzels, and raw vegetables.
TIP: For easy clean up, line the sections with foil, plastic wrap, or wax paper before filling with food.
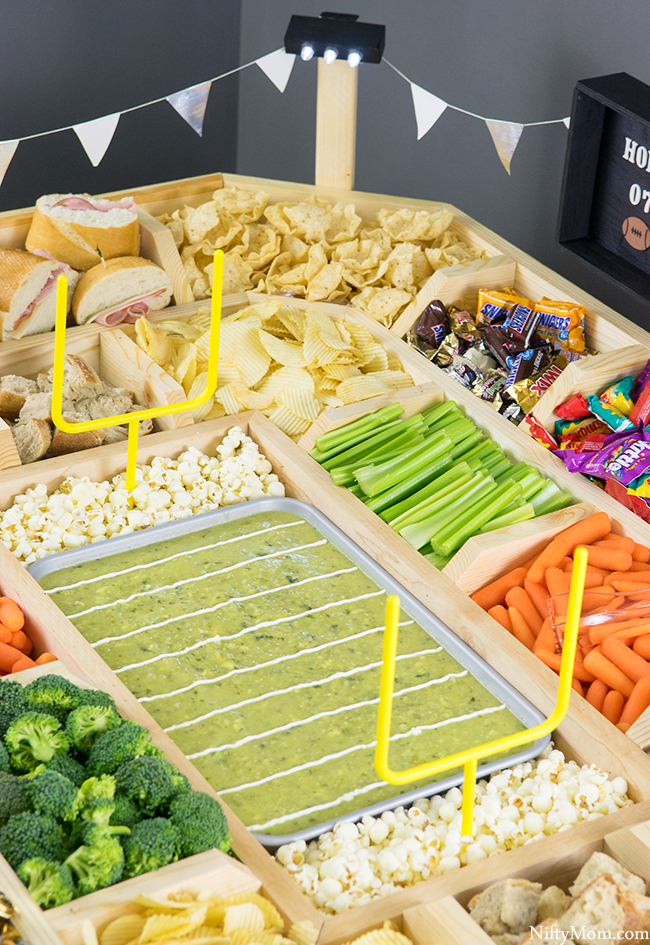
Avocado verde dip was used for the ‘field’ and I piped on sour cream ‘field lines’ with a snipped storage bag.
Cut sub sandwiches fit perfectly in the upper end zone bins.
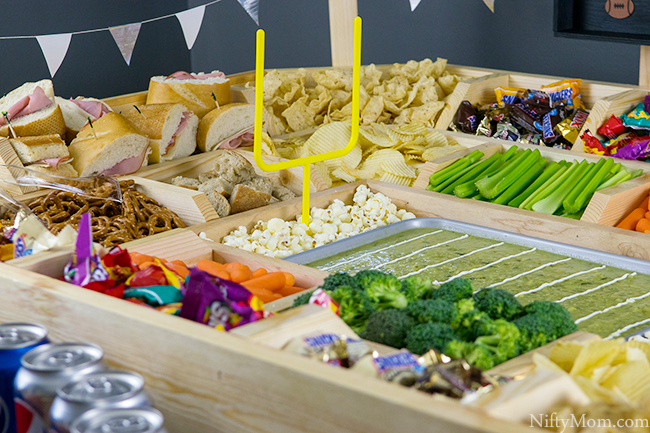
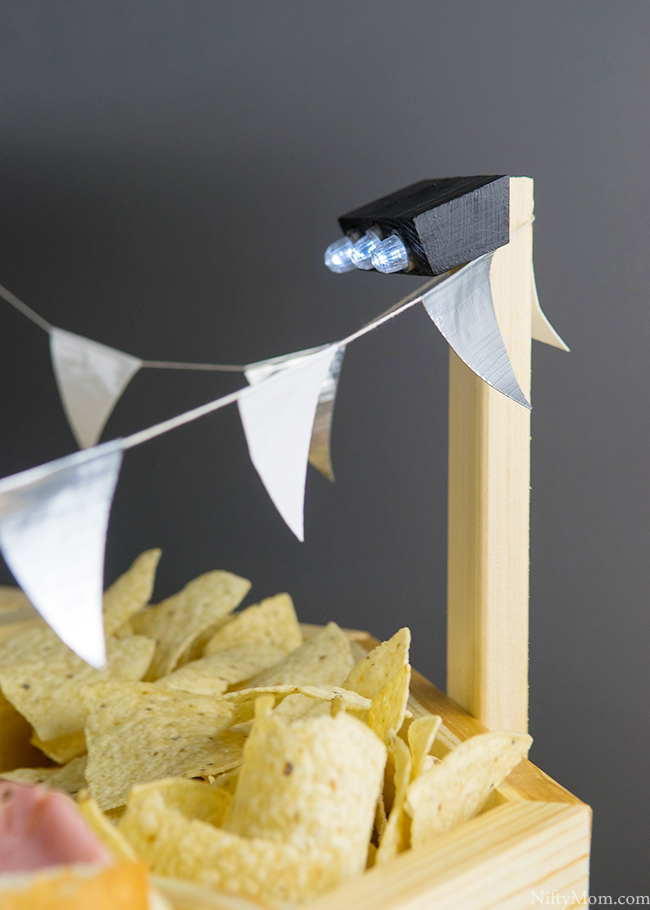
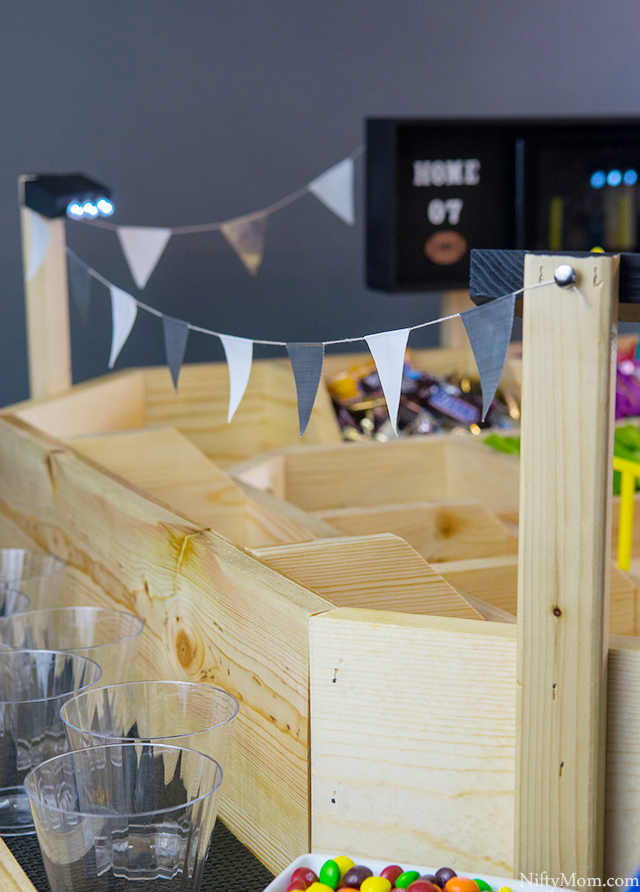
Around the outside of the stadium, I made a little flag banner. I simply folded large colored tape over string and cut into a pennant. The banner was hung on push tacks pushed into each light pole and the back sides of the scoreboard.
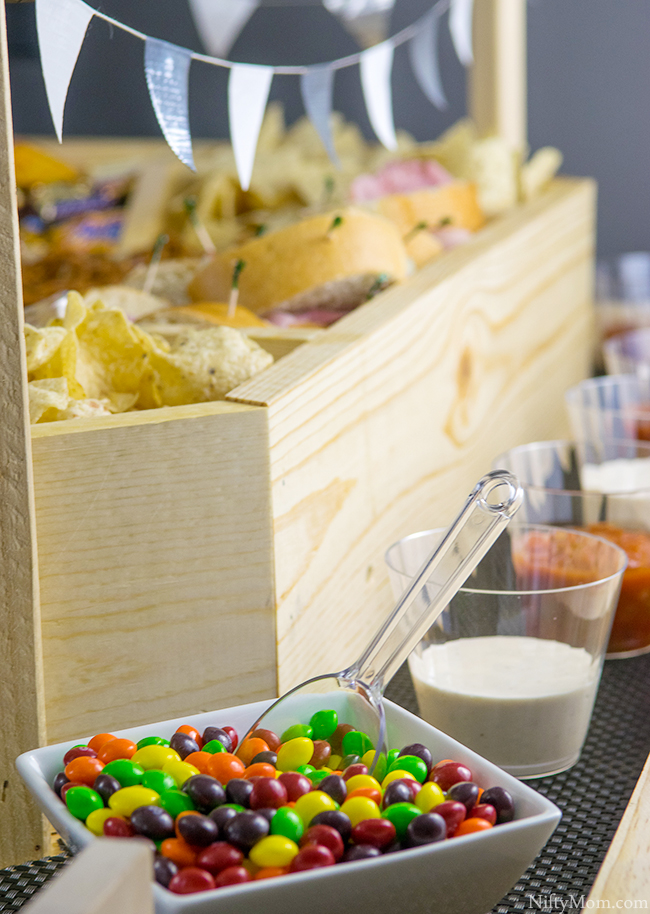
Skittles® from the XL 41 oz. bag was poured into a few bowls around the stadium.
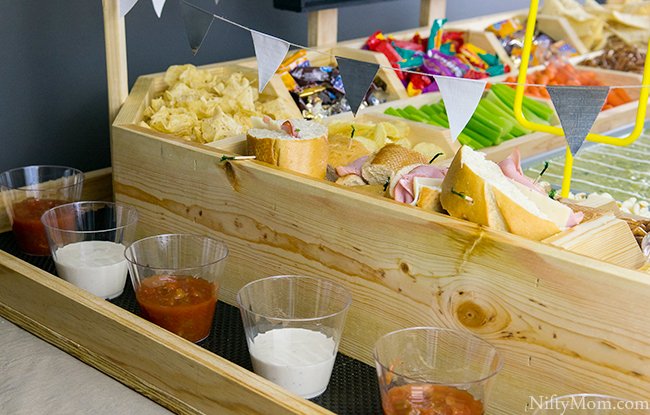
Plastic cups filled with TOSTITOS® Medium Chunky Salsa and other dips fit perfectly along both sides of the stadium. This is great for guests to take their own dip easily.
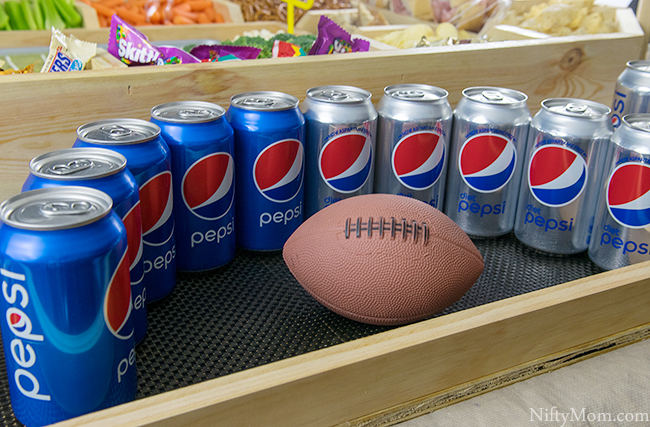
We placed Pepsi™ and Diet Pepsi™ 12oz cans from 12 packs around the front and outside of the stadium.
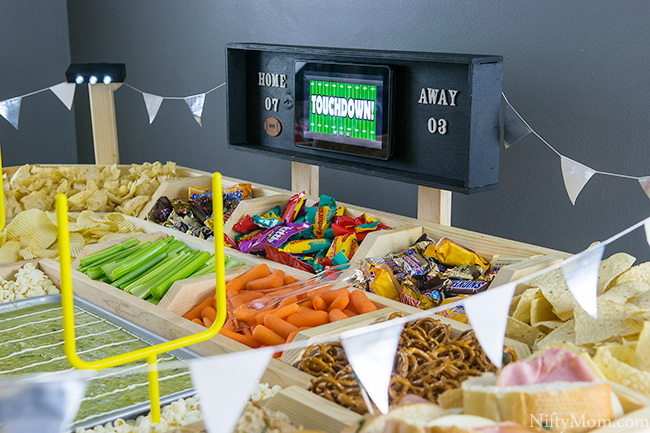
The tablet screen can be used to show the game so no one misses that big play.
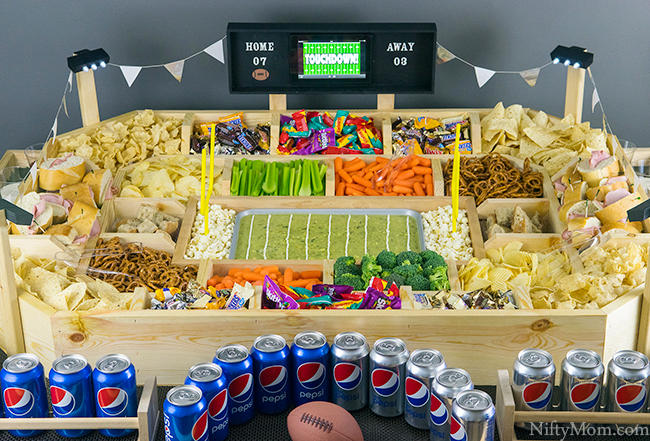
The awesome thing about this snack stadium is that it is reusable. It is sturdy, durable, solid and looks amazing. Each year you can wow your guests!
**CLICK HERE TO PIN NOW**
For more football recipes and snack stadium ideas, check out these game day ideas.
