This DIY initial sign tutorial and gift ideas post has been compensated by Collective Bias, Inc. and its advertiser. All opinions are mine alone. #SendSmiles #CollectiveBias
When my oldest started Kindergarten last year, I wasn’t prepared for a lot of things. One of those things happen to be birthday parties. Don’t get me wrong, we attend plenty of birthdays with family and friends, but when your 5 year old wants to go to everyone’s birthday that has a party (with a room of kindergartners), it’s a little different.
I have to always be prepared. There are those times when Ethan forgets to give me the birthday invitation until a few days before the party date. Then I have to scrabble around and find time for use to get a gift. The best way to be prepared is to always have extra birthday cards around. I have a photo box that I keep all kinds of cards in for year-round. It is also full of tissue paper, stickers, gift card holders, confetti, and other things to add to greeting cards.
Ethan’s last day of school is actually this week and he is already lining up birthday parties through the summer. This also includes his own, his papa, and cousins.
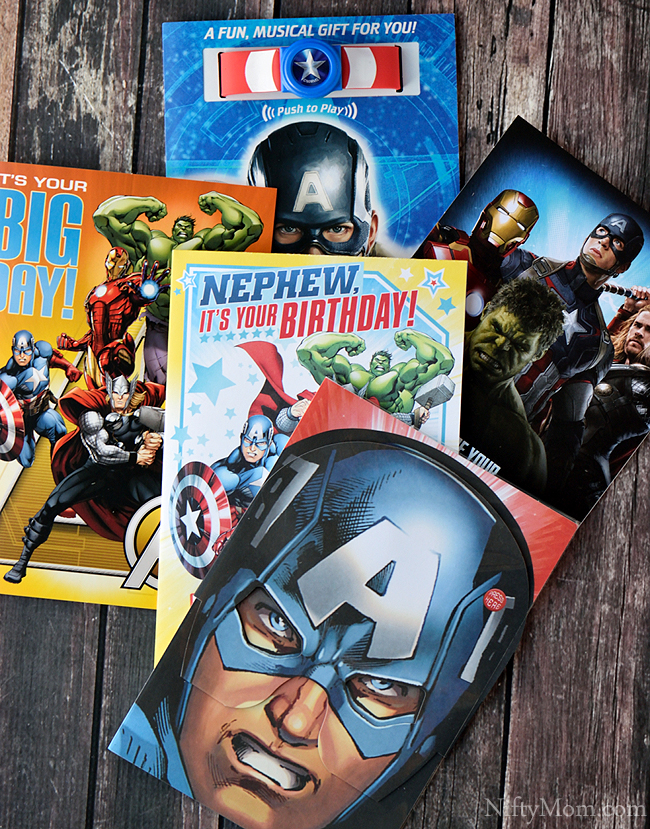
While I was at Walmart over the weekend, I decided to re-stock my box of greeting cards. I couldn’t help be drawn to the ©2015 MARVEL Avengers Hallmark birthday cards. With a house full of boys, superheros play a huge role in our day-to-day lives. Anything that shows any characters from ©2015 MARVEL Avengers, my boys MUST to have it. That doesn’t mean they always get it, but it does always get pointed out.
Since I didn’t have any kids with me that day (extremely rare), I purchased a lot of birthday cards, stickers and wrapping paper. The ©2015 MARVEL Avengers Hallmark wrapping paper had a great design, so I grabbed two. That way I could use one just for DIY gifts. Wrapping paper shouldn’t be just to cover presents that will be torn up to open. I saw some wood letters and decided to give one of my ideas a go.
DIY Initial Sign with Wrapping Paper
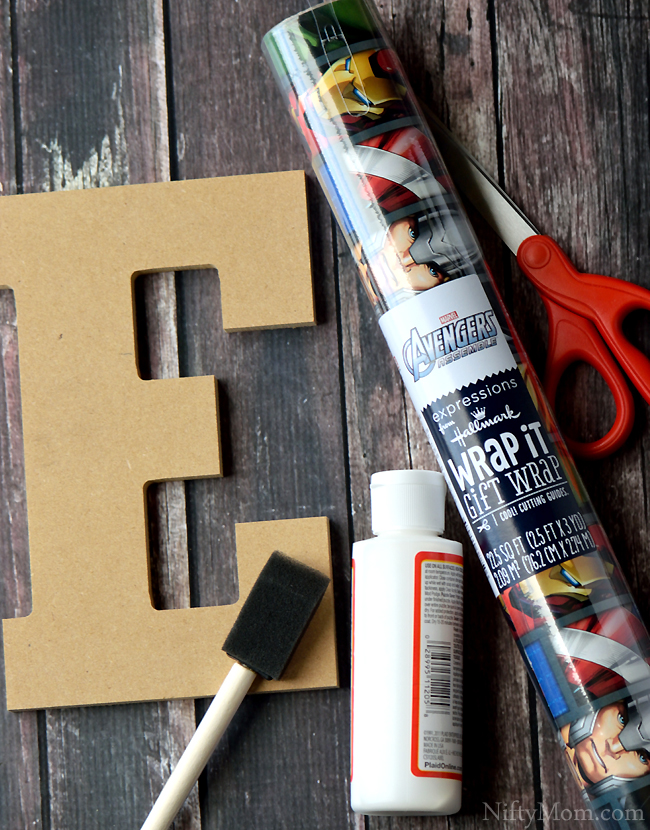
When selecting a wood (or cardboard) letter, I find that the box/square letters work the best. Too many curves can be harder to cover with the wrapping paper. The other other supplies needed are glue, scissors, and a brush for the glue.
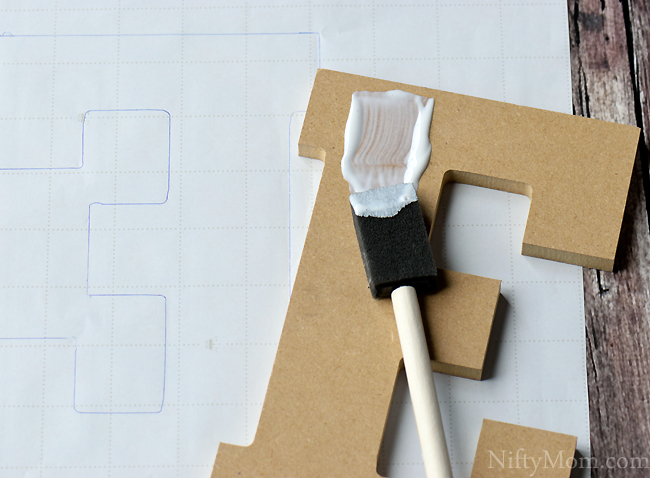
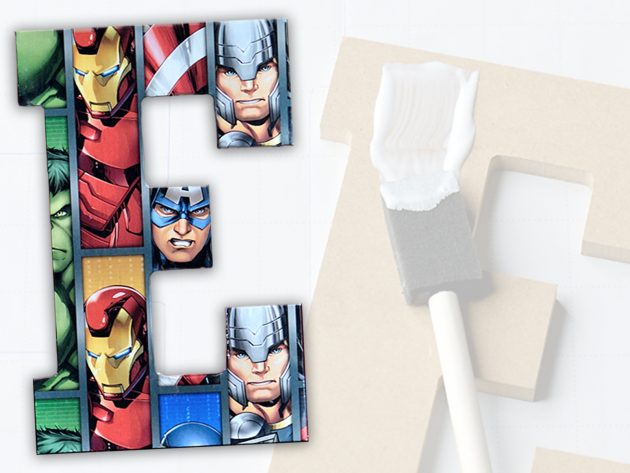
I like to hold the wood letter behind the a section of wrapping paper lining it up and creating folds so I can see what parts of the wrapping paper will be on shown on the front. Once I find a look I like, I trace the letter on the back of the wrapping paper. Put a very thin coat of glue on the front of the letter and place on the wrapping paper upside down in the outline. Too much glue will wrinkle the wrapping paper.
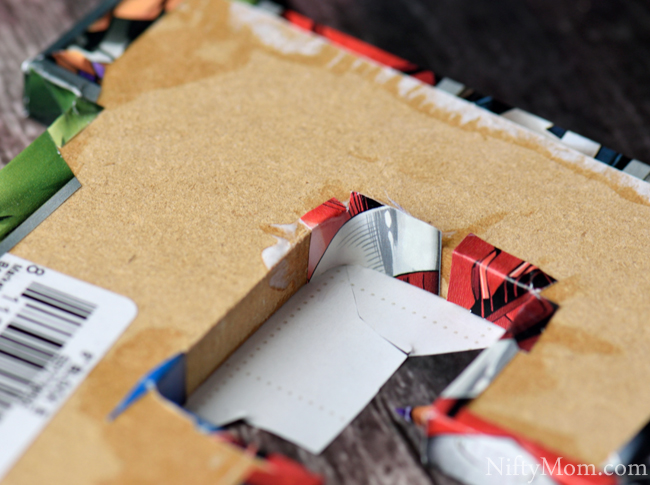
Slowly go around the letter, cutting, gluing and covering the sides. If there are curves, you may need to glue a little ‘filler’ piece of wrapping paper over the curve to ensure full coverage.
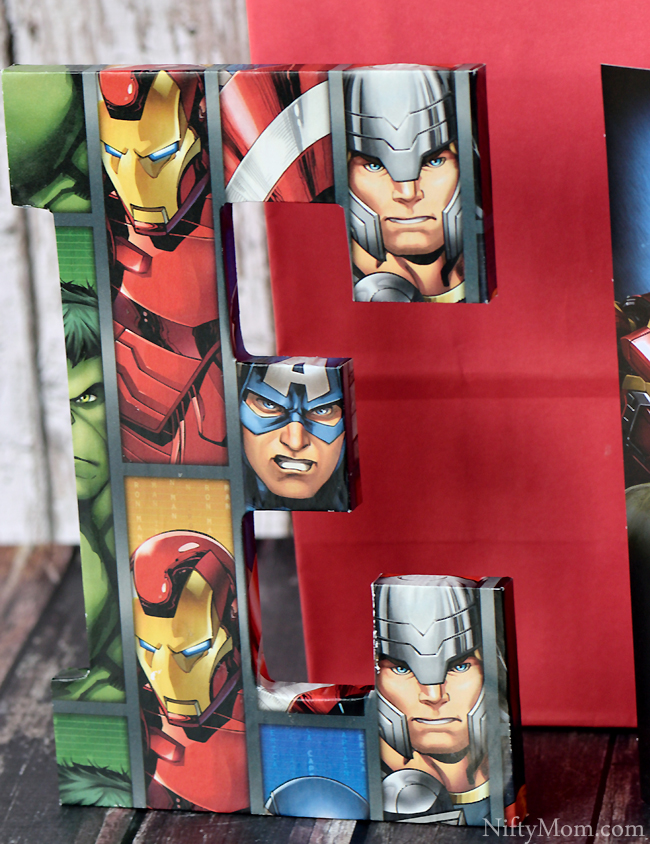
The finished product is something any ©2015 MARVEL Avengers will fall in love with and was under $5 to make.
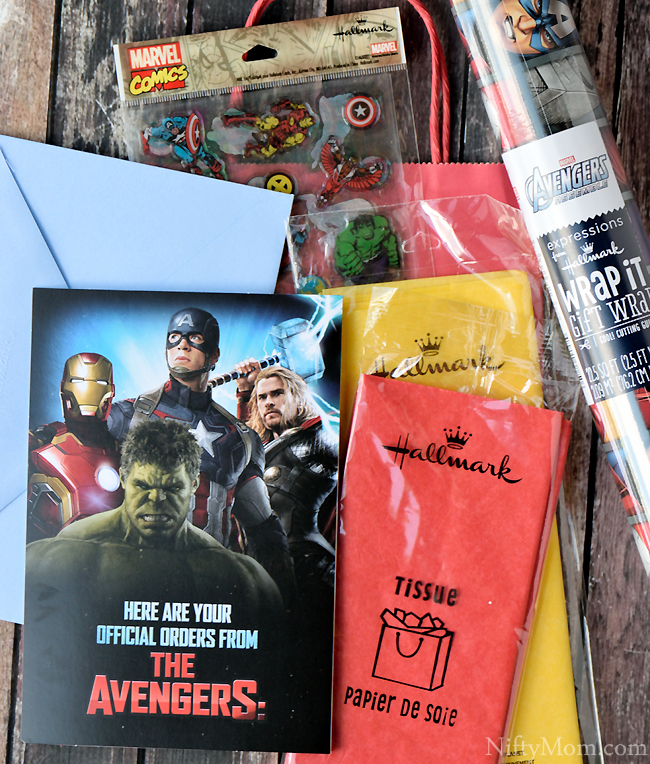
To finish off a gift for my son, I pulled out some ©2015 MARVEL Avengers Hallmark gifts. A birthday card that is sure to capture his superhero love, tissue paper, stickers, a basic gift bag, and some wrapping paper.
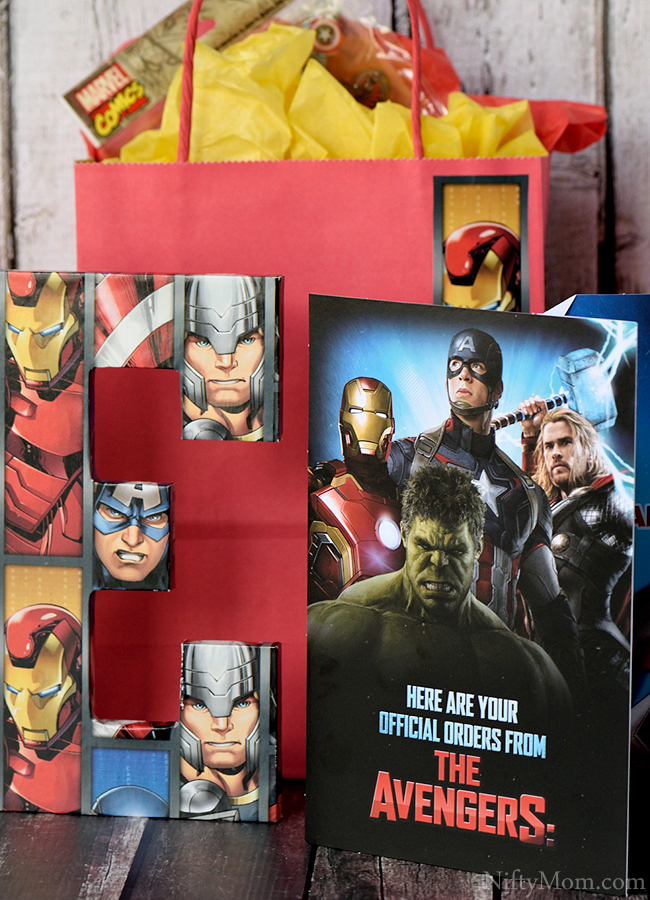
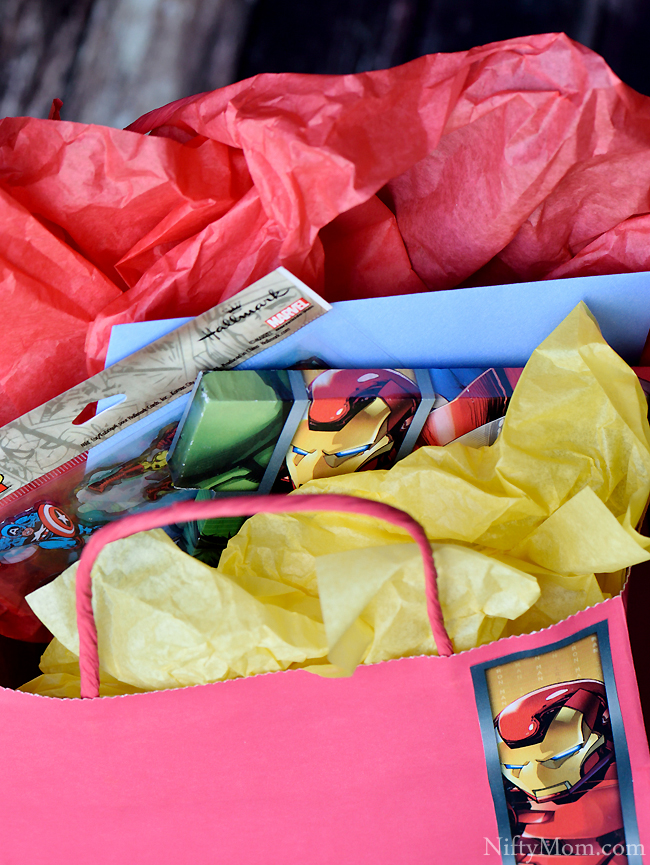
To finish off the gift bag, I added a cutout from the wrapping paper and used tissue paper that matched that of one of his favorite superheros.
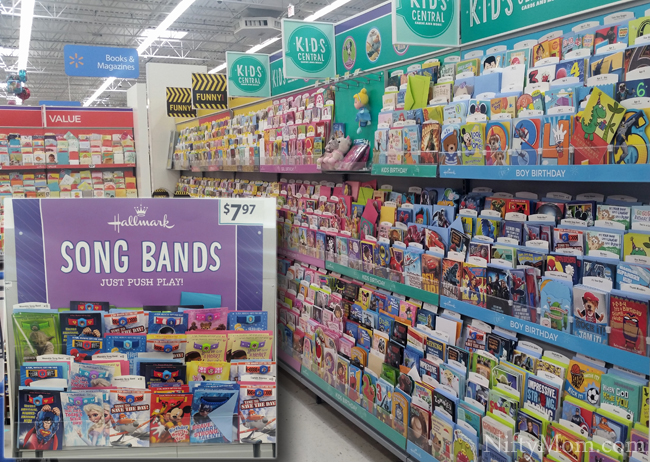
I purchased everything for this project, including all the awesome greeting cards, at Walmart. Visit here for more fun gift ideas.
Who is the superhero fan in your life?
