This shop has been compensated by Collective Bias, Inc. and ConAgra Brands. All opinions are mine alone. #SweetenYourSpring #CollectiveBias
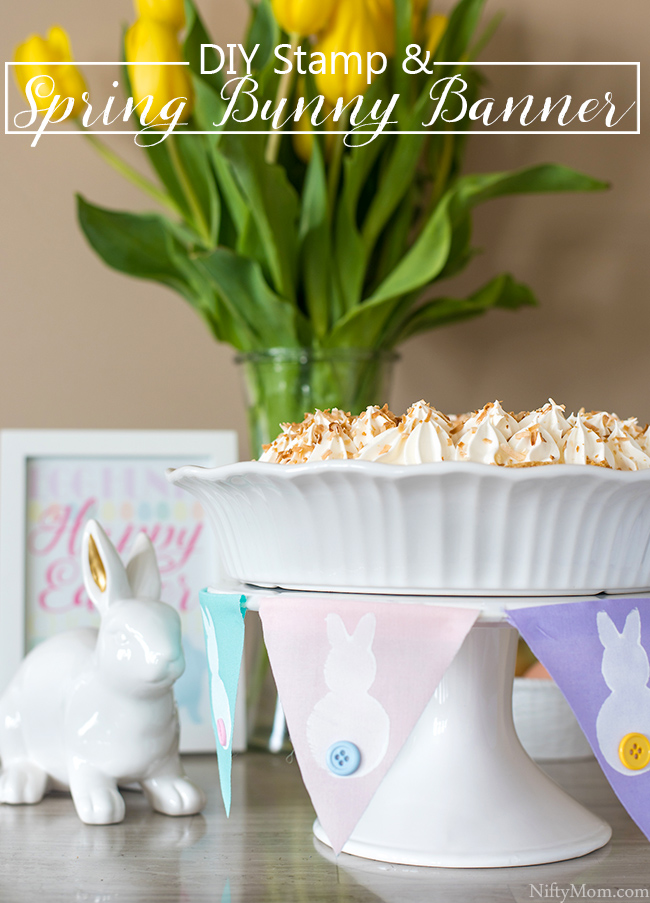
This weekend marks the beginning of April and I am ready for the spring weather to follow. In just over two weeks is Easter. A holiday that brings together family & friends and we celebrate with fun activities and delicious food. Today I am sharing an easy DIY stamp and spring bunny banner you can make for your Easter and Spring decor.
Here in the Midwest, our temperatures have really been all over the place. The first day of Spring was record highs with summer-like weather. Then the following days were rainy, windy and chilly. I feel like we haven’t seen the sun in weeks (well, actually since the first day of Spring). I am not going to let the weather get me down though. I headed to Walmart last weekend to find some Easter decorations and start stocking up for our Easter events.
I love making desserts, but honestly, I don’t make pies that often. Don’t get me wrong, I enjoy eating them (as does my family). So during family gatherings, one of my go-to‘s for desserts are Marie Callender’s® pies. No other frozen pies deliver homemade quality and taste like Marie’s. They are affordable and save me a lot of time, making them extremely convenient.
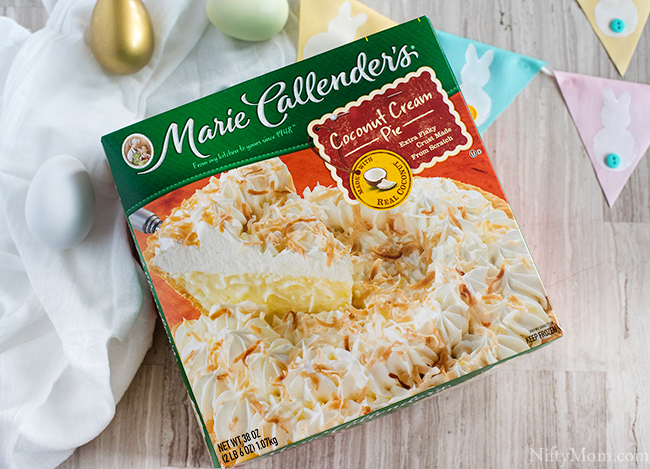
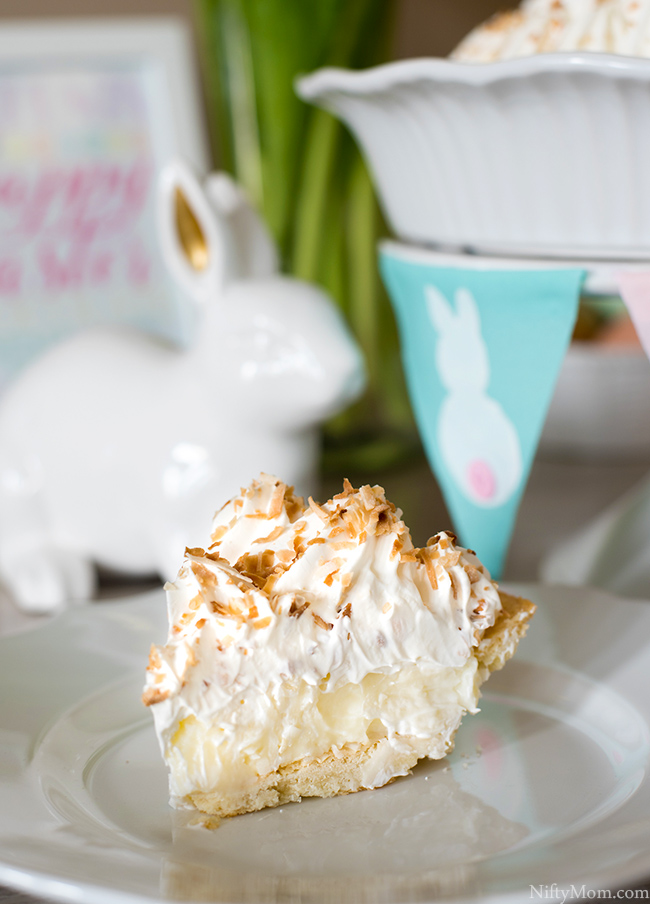
For our Easter afternoon, I grabbed Marie Callender’s® Coconut Cream Pie, but I will probably be back before Easter for Marie Callender’s® Chocolate Satin Pie so we have variety.
While I was there, I saw some pastel fabrics and cute little buttons. That gave me an idea to make fabric decorations for some Spring decor.
How to Make a Stamp & a Spring Bunny Banner
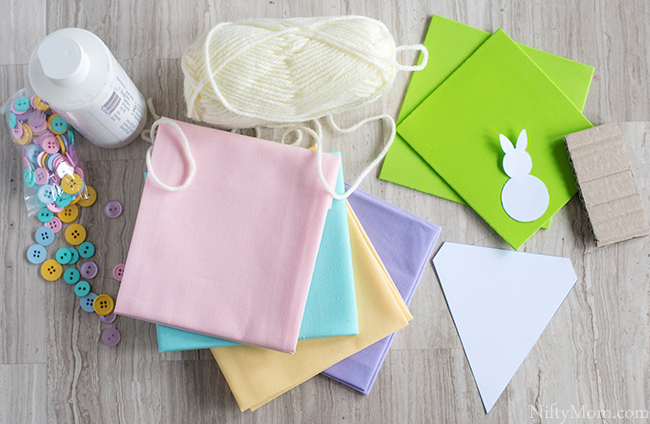
Supplies needed:
- Pastel Fabrics (I got fat quarters)
- Small variety of buttons (or small pom poms would work)
- My Template (printed on cardstock and cut out)
- Permanent marker
- Foam craft sheet
- Piece of cardboard (or small wood block)
- White paint
- yarn
- scissors
- hot glue
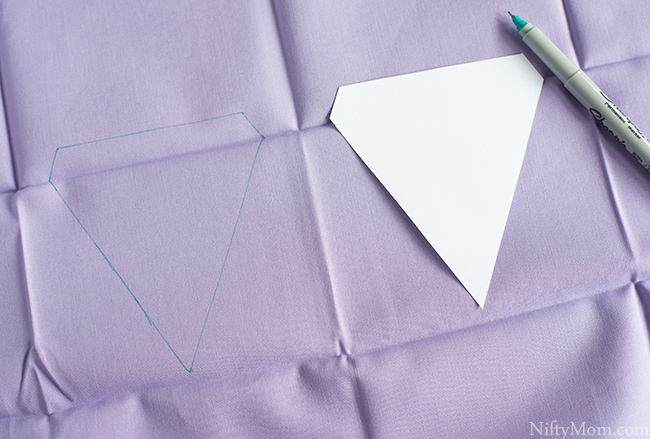
Using the triangle template, trace out triangles on the fabric. On the template, the top of the triangle is what gets folded over the string. Since I used fat quarters that came with folds, I used the folds to guide where I traced, as shown above. If you don’t have folds in your fabric, I would recommend ironing some before you cut them out so it will be easier to fold the fabric around the string.
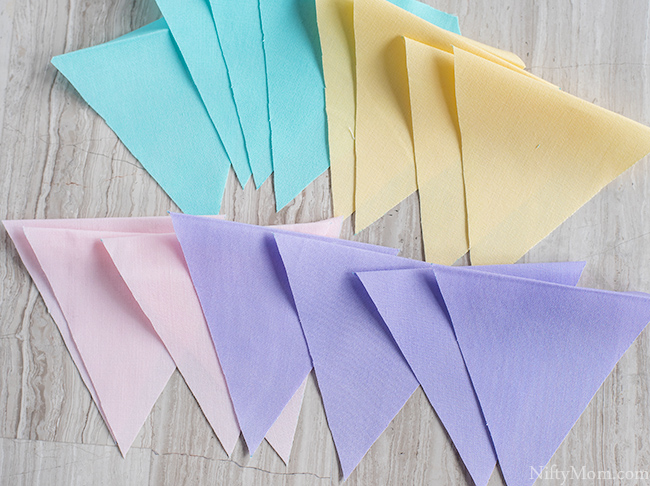
Once you have as many as you would like traced, cut them out. I used 12 triangles for my mantle banner and 8 to go around the cake stand.
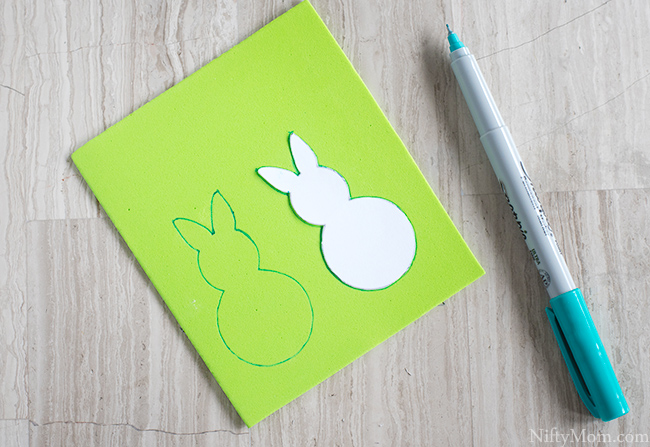
Next, I made a bunny stamp. Using the bunny cutout from my template, trace two bunnies on the foam sheet and cut them out carefully.
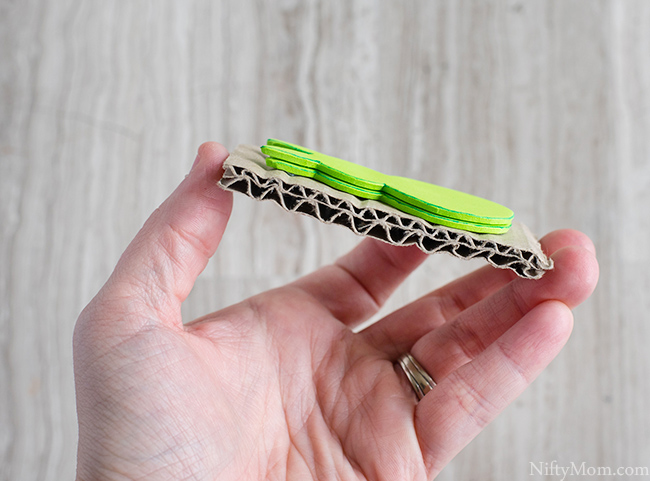
Glue them together, then onto your cardboard or foam.
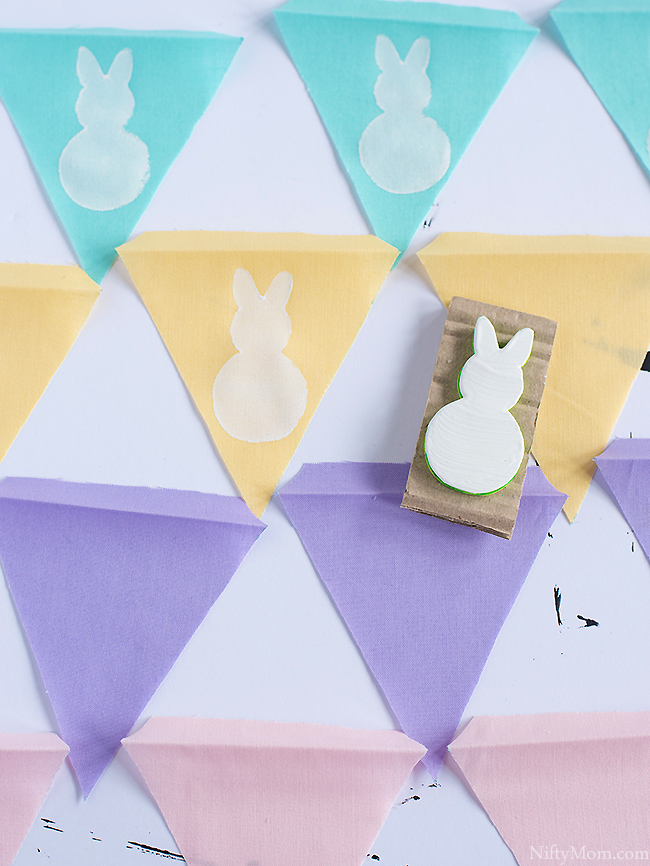
Place all the fabric pennants onto cardboard or foam board. This will catch any paint that goes through the fabric.
Using white paint, stamp bunnies on all the fabric triangles. I found it easier to use a paint brush and brush on the paint to the stamp to get an even finish.
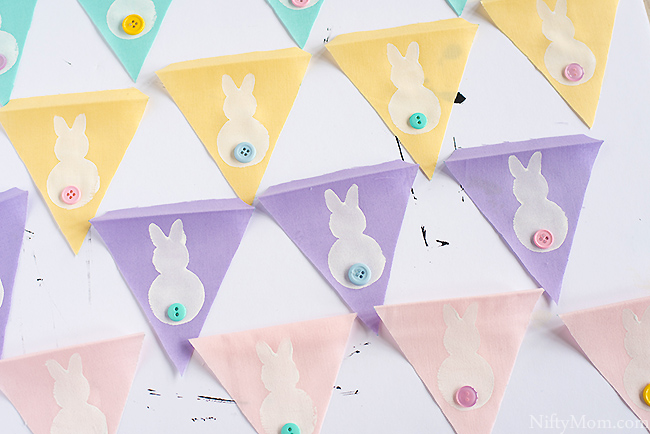
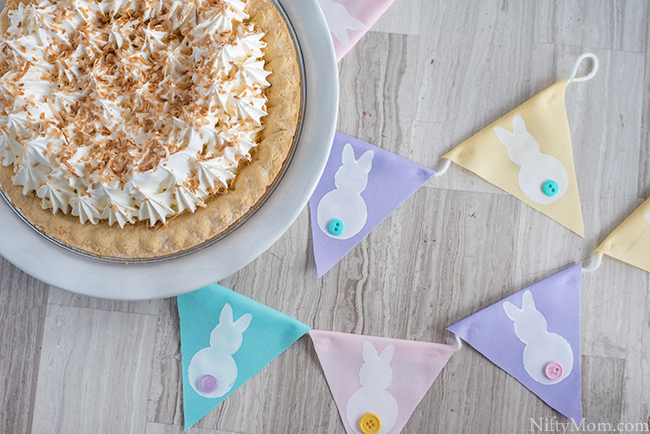
Once dried (mine only took a few minutes), hot glue buttons onto the bottom part of the bunny stamp.
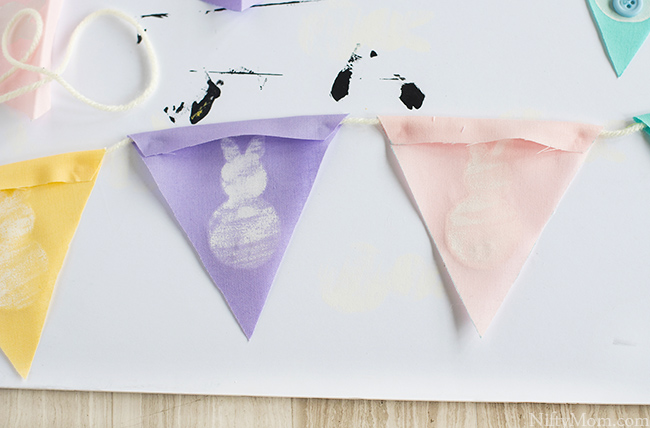
To make a banner, lay the triangles face down. Place the string or yard over the triangles at the fold. I hot glued each side down, making it easier to move each of them on the string.
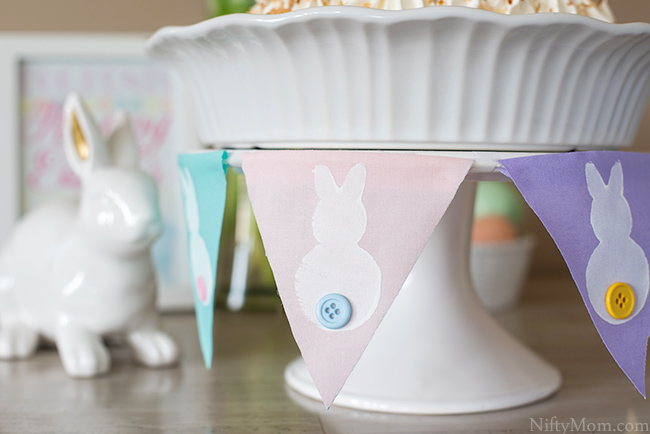
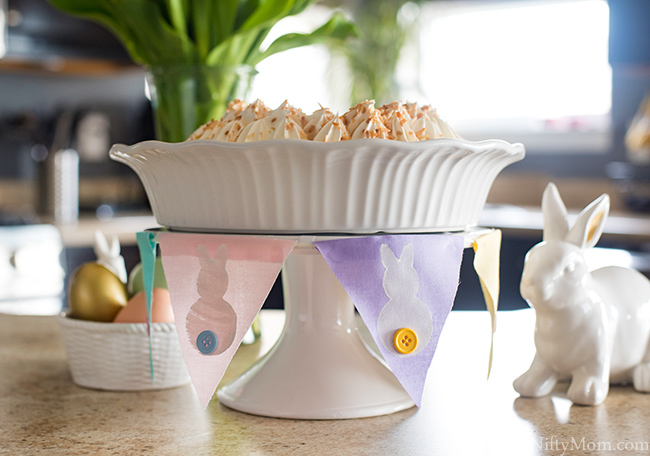
The banner makes a great addition to a cake/pie stand as a centerpiece on the kitchen counter or the center of the dessert table.
With 12 pennants, I made as made a banner for my fireplace mantle.
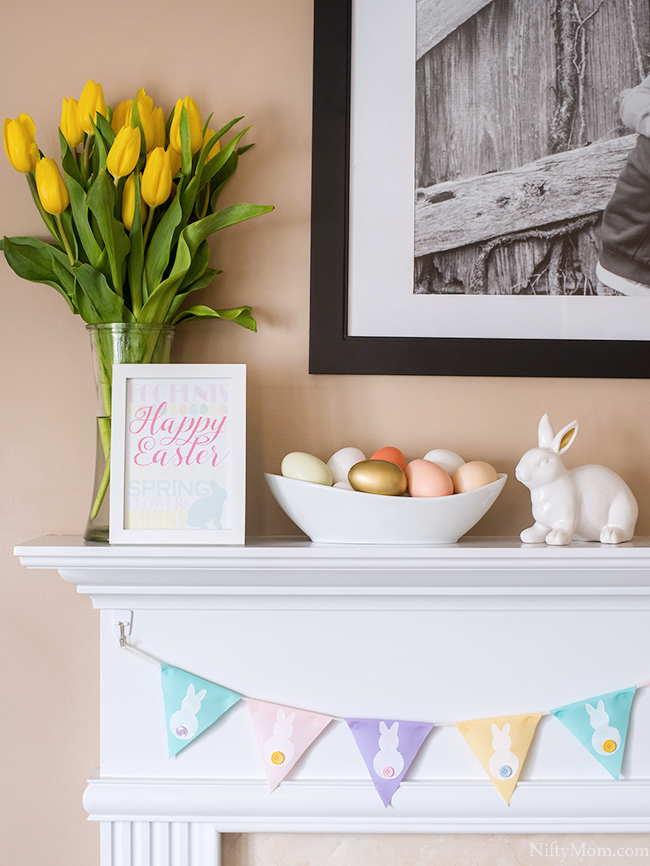
Click here for the free HAPPY EASTER 5×7 printable art.
How do you bring spring into your home?
