Posts Tagged“Finger Painting”

Homemade Photo Ornament

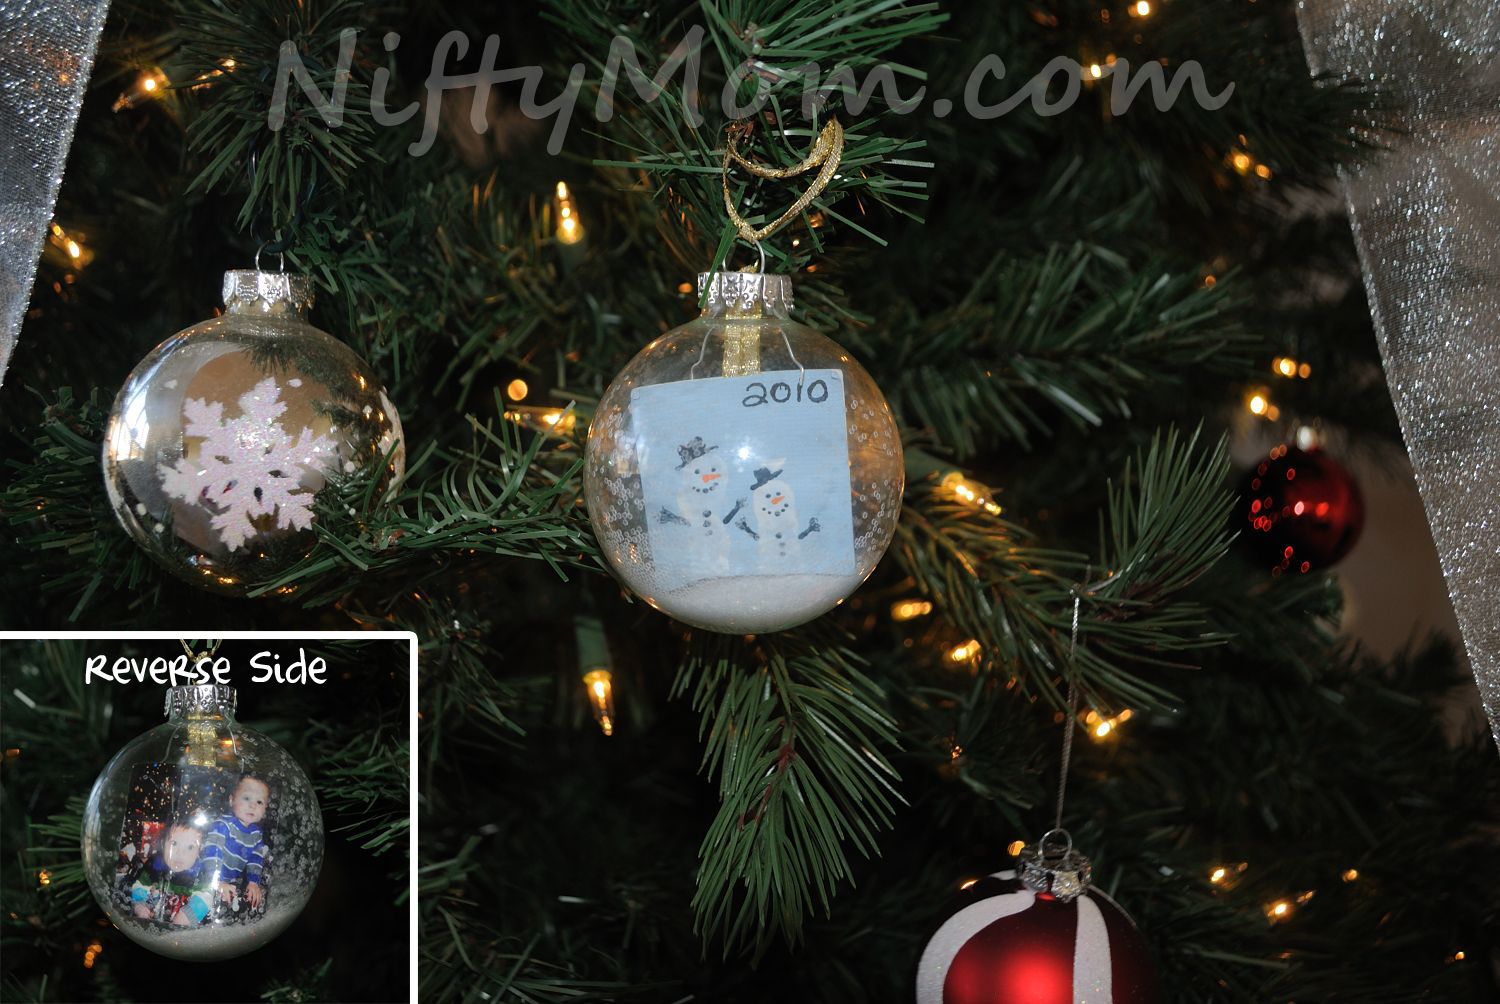
My favorite gifts to give family members are ones that are homemade and personalized. Last year I wanted to start a tradition of giving the Grandmas a different homemade ornament with a picture of my sons on it. This is the first one I did (I hope they don’t expect them to get more elaborate each year).

Homemade Photo Ornament(Click to image to enlarge)

Unfortunately, Nifty Mom was non-existent last year so it never crossed my mind to take step-by-step pictures. It was a little more difficult than I would have liked it to be, but it was worth it.

NEED:

  • Glass Ornament (sold at craft stores)
  • Ribbon (ribbon with wire works best)
  • Super Glue (only thing I could get to hold good)
  • White Glitter
  • 2 Photos cut to fit in the ornament, mine are approx 1.5″ squares
    • I used 1 photo and 1 small scrapbook paper and made snowmen out of my sons’ thumbprints

INSTRUCTIONS:

  1. Cut two pieces of ribbon a few inches long and glue them side-by-side in the middle of the back of one picture. Glue the other picture on top of the ribbon. Place under a heavy book to hold the two together for a few minutes to allow the glue to dry completely.
  2. Detach the metal top of the ornament and temporarily remove the wire loop attachment. Pull the ribbon from attached to the pictures up through the holes on the metal top piece (the holes on mine were too small, so I used a screw to widen them). Replace the wire attachment.
  3. (this is the most difficult part) Roll the picture vertically and put it into the ornament. Once in, I used a pen to stick in there and flatten the picture out as best as possible.
  4. Using a paper funnel, pour some white glitter in ornament.
  5. Adjust the two ribbons on the top of the ornament so the picture is center and tie. Cut the extra off and put a small amount of super glue over the knot to secure.
  6. Add an ornament hook or ribbon on the loop to hang.

Please let me know if you have any questions! I hope yours comes out even better than mine did!


Mother’s Day Gift Idea – Handprint Flower

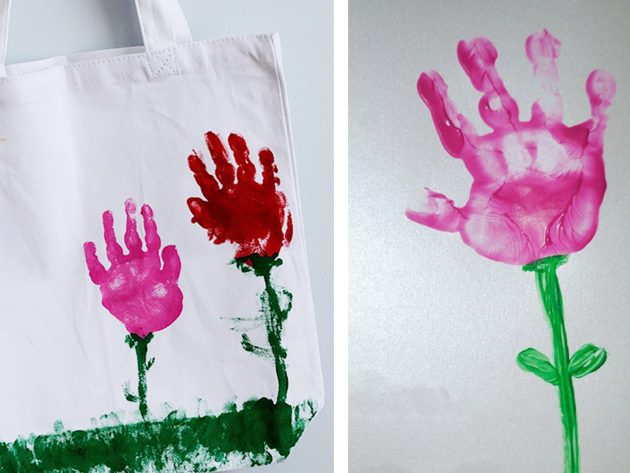
Finger Paint Handprint FlowerIf you are looking for something cute to do with your toddlers or kids for Mother’s Day, this is easy and there are so many things you can do with it! Use pink or red finger paint for the ‘flower’ and paint a stem/grass (this was the best I got out from my 22 month old). I always use card stock instead of copy paper, because it is thicker and shouldn’t warp from the paint.

Here are some different ideas you can do for gifts for Moms, Grandmas, etc.:

  • Make a card with the flower on the cover
  • Attach a picture of your little one next to the flower and frame it
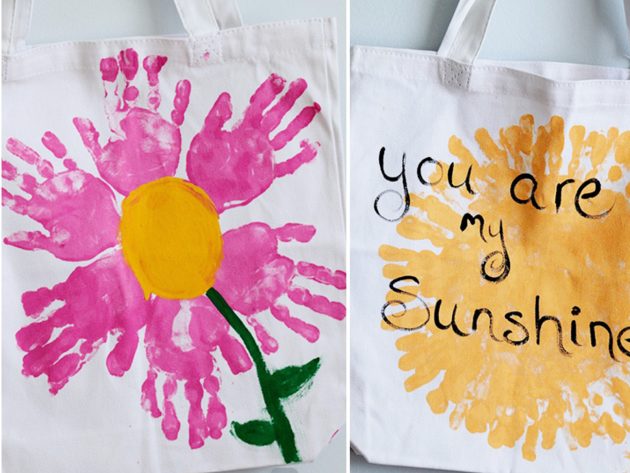
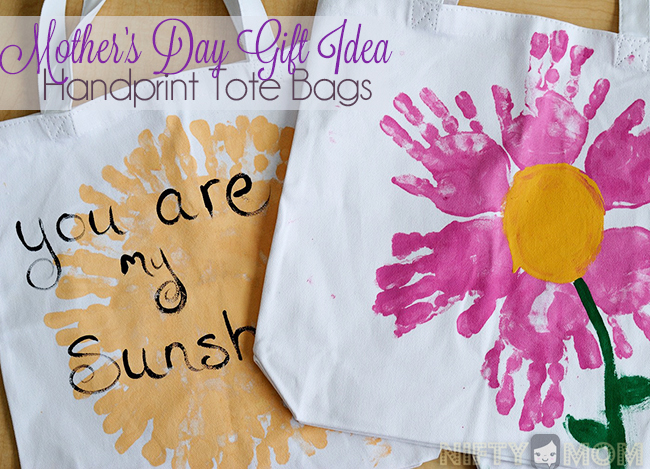
  • Do some ‘flowers’ on wrapping paper for the present or on a gift bag

Nifty Tip:

I always take a picture of the artwork and upload it on my computer. Then not only is it forever saved, but you can use it to print copies, make photo gifts (mug, shirt, mouse pad, etc), or use it in a photo book.

***Click here for another finger paint gift I did with my son.

***Or you can make a Handprint Sun or Footprint Butterflies.

UPDATE: Check out the Handprint Tote Bags we made!


Father’s Day Gift Idea – Framed Finger Paint Picture

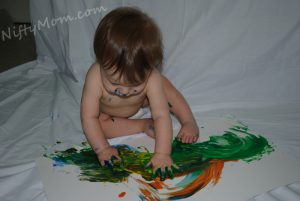
I came up with this idea for a gift for my husband last Fathers Day. Our son was 11 months old at the time and I decided it was time for him to do his first artwork and finger paint. It was so much fun and so easy to do!
NEED:

  • Crayola Washable Fingerpaints
  • Poster Board
  • Waterproof mattress protector ($10-$15 at Target) – Easy clean up, a great back drop, & reusable
  • Camera
  • Picture frame
  • Tape

I draped the sheet over a table so it was a background and covered the floor area.

I put down one paint color at a time and let him paint. And after it was all done, I was very happy with his artwork! It was perfect to use as a picture mat. *Nifty Tip: Take a picture of the finished artwork. This way you can use it as a digital background or just have a copy of it.

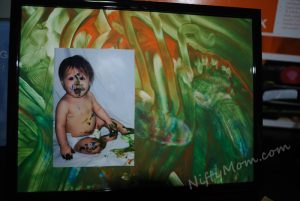
I picked my favorite section and cut out the size of the frame I was using. *Nifty Tip: Take the frame (with the backing and inserts removed) and hold it over the artwork to see what it will look like before you start cutting.

I then picked my favorite picture (which was not easy, there were too many good ones!) and cut it to down, allowing more room to see the painting. Tape to picture anywhere on the painting and put it in the frame.  Now you have a wonderful gift or decor you can keep for yourself!Other Ideas you can do with the left over artwork:
  • Make another frame or two
  • Use it as a scrapbook background and scrapbook the pictures you took
  • Use a section on a homemade greeting cards

Paint Color Ideas:

  • I used green, orange, and blue because it was for my husband
  • Use red, white, pink, purple for Mothers Day, Valentines Day
  • Use pastels for a spring picture
  • The possibilities are endless :)

***See the hand print flower I did with my son for more ideas.