This DIY ‘Catch-All’ Wooden Organizer post has been compensated by Collective Bias, Inc. and its advertiser. All opinions are mine alone. #GIVEEXTRAGETEXTRA #Walmart #CollectiveBias
Where do you or your spouse put everything as you empty your pockets once home? Does it go all over the counter or on the nightstand? Do you have special spot for it in the entryway? How to you keep things together so you don’t lose anything?
Most of my stuff stays in my purse or at the end of my home office desk. The only time I can’t find my keys are on days after my husband drives my truck and he threw them on a counter. There they get pushed around, covered and almost lost at times.
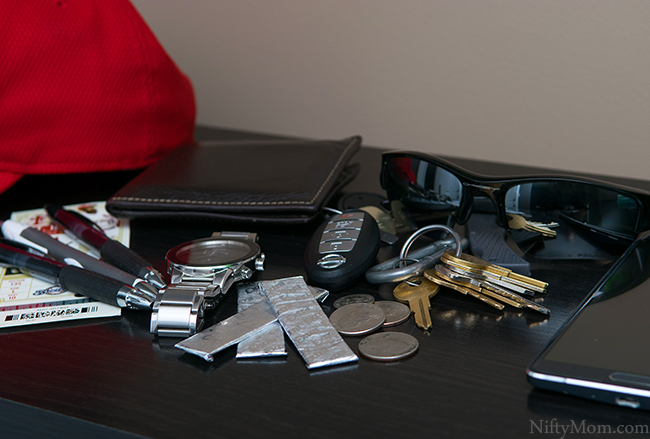
My husband has a designated small drawer in the kitchen he throws a lot of his stuff in daily. It doesn’t all make it there most evenings. Everything from his wallet to loose change to gum is scattered all over the counter or entryway credenza. Honestly, it drives me crazy; especially those times (at least once a week) he forgets something at home or can’t find that one thing he really needs.
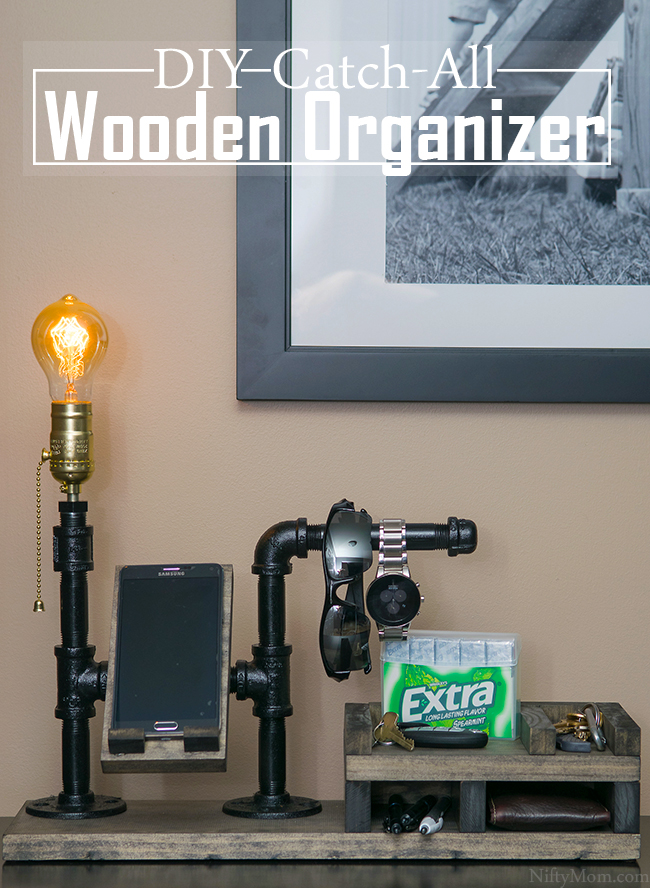
As I was complaining about the lack of organization for his pocket items, he decided we could make something to hold it all; something that would also look more like decor when not in use. We decided to have a little fun and make a wooden organizer with pipes and a vintage light bulb.
How to Make a Wooden Organizer with Lamp
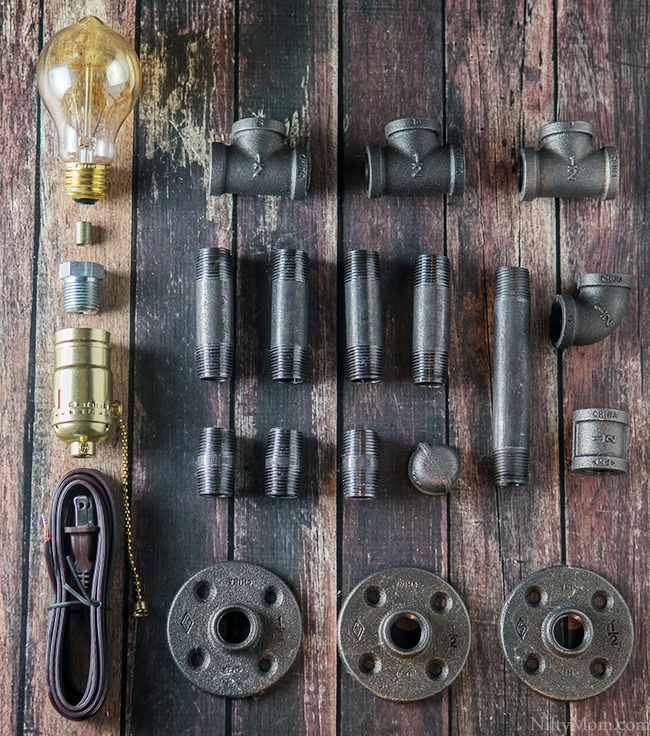
This isn’t really as hard as it looks. It doesn’t take long to put together at all. There are essentially 3 parts to the organizer: the pipes, the wooden base and the lamp.
Parts for the Lamp & Pipes:
- Vintage light bulb
- Make-a-lamp kit
- ½” to 1/8″ bushing/reducer
- ½” schedule 40 black iron pipe
- (4) 3″ Nipples
- (3) 1/2″ Nipples
- (1) 5″ Nipple
- (1) Cap
- (3) Tees
- (1) 90° Elbow
- (1) Coupling
- (3) Floor flanges
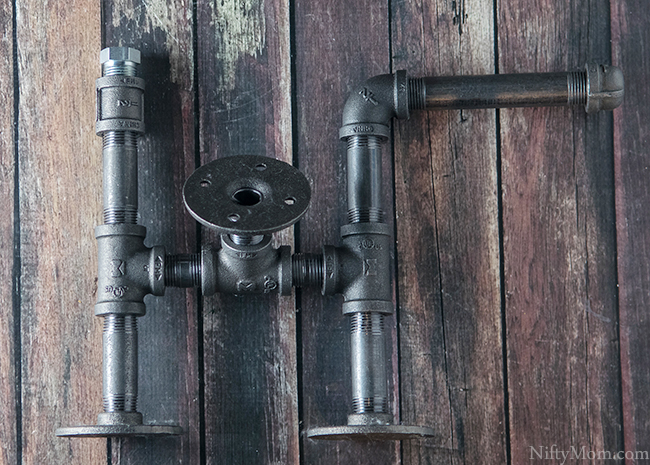
Start by putting the iron pipe pieces together as shown above.
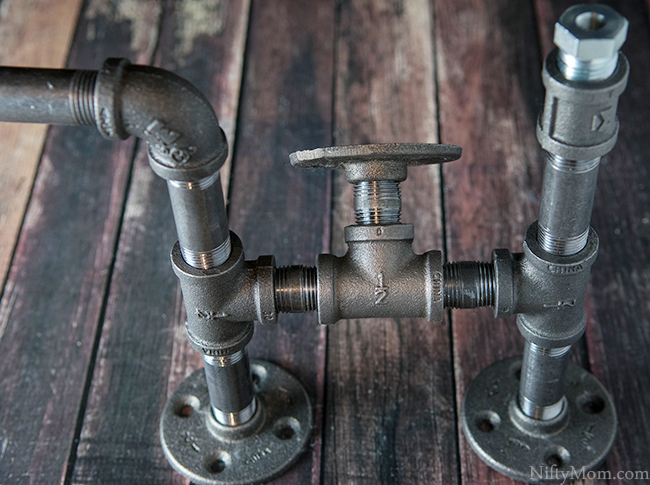
Tighten each part the best you can, but be sure to check to make sure it sits flat and the middle flange for the phone is at an angle.
You can either leave the pipes as is or paint using metal spray paint. We painted ours black.
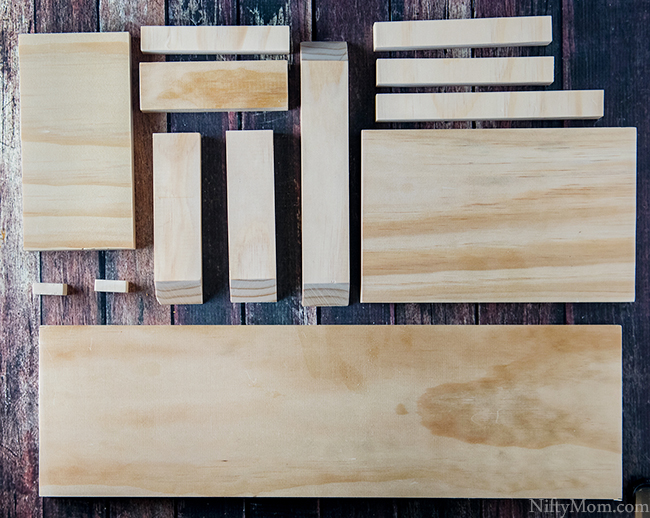
For the wood base and organizer, we used 1″ thick select pine.
The following are the pieces we cut
- BASE: 1″ x 6″ , cut at 18.5″
- SHELF: 1″ x 6″, cut at x 8.5″
- PHONE BASE: 1″ x 3.5″ x 6.75″ (can be cut to fit phone)
- PHONE HOLDER: (2) .5″ x 1″ x .75″
- BOTTOM SIDES: (2) 1″ x 2″, cut at x 5.5″
- BOTTOM BACK: 1″ x 2″, cut at x 8.5″
- BOTTOM DIVIDER: 1″ x 2″, cut at x 4.5″
- TOP SIDES: (2) .75″ x .75″ x 5.5″
- TOP BACK: .75″ x .75″ x 8.5″
- TOP DIVIDERS: .75″ x .75″ x 4.5″
Stain the wood if desired, then finish with a varnish. This step can be completed after it is put together.
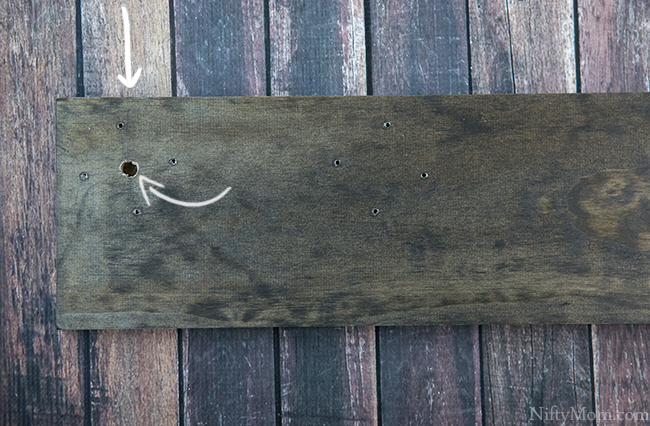
Pre-drillling your screw holes with a small bit is critical to ensure you do not split the wood when securing the fixture. Using the metal flange, mark on the back of the wood for the cell phone holder when the screws will be fastened, and drill about 3/4 of the way through the wood. Use a drill bit that is around half the thickness of your screws to achieve a good hold.
On the base (largest piece), place the completed pipe fixture to the back left. Mark the holes to drill out (four on each flange). On the lamp side, use a straight edge to connect opposing holes and determine the middle. Drill a 3/8″ hole approximately 3/4 of the way through the material to allow room for the light cord. Using the same drill bit, drill from the back of the material in the middle of the board until the two holes meet.
Thread the electric cord from the hole in the back of the wood and up. Carefully push it up the pipe and through the bushing.
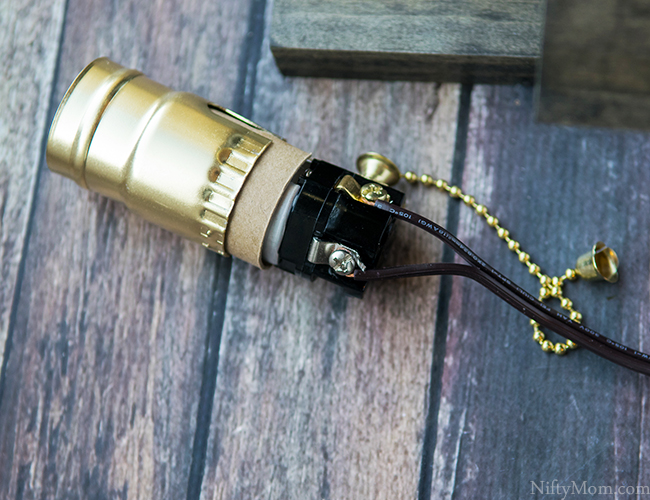
Next, connect the lamp kit together, per the instructions. We just had to twist the two wires from the power cord to the designated screws at the bottom of the light socket. Test the lamp before screwing down the pipe fixture.
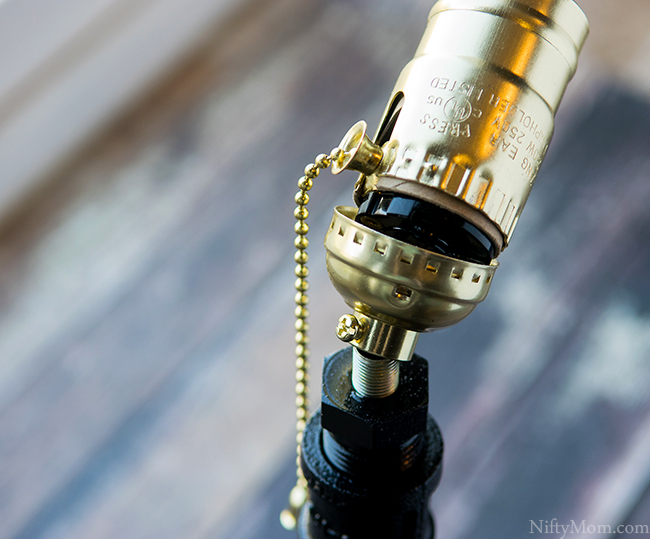
Be sure all the of the excess power cord is pulled through and tighten all the pieces. Screw the whole metal piece to the base.
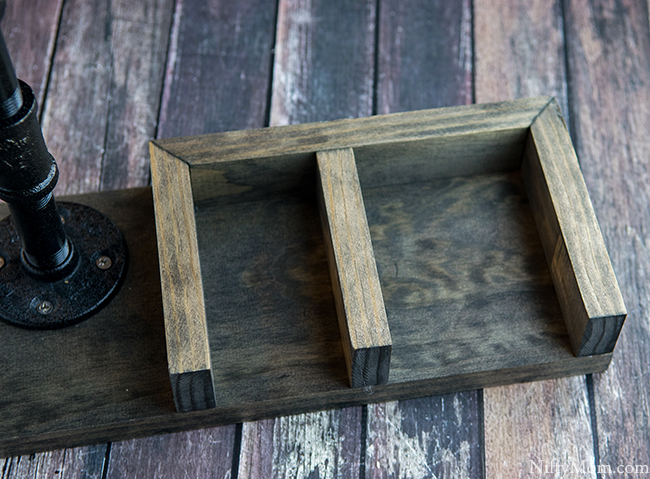
Nail or glue the bottom divider pieces as shown above. You can put the middle divider in at any spot or simply do without it.
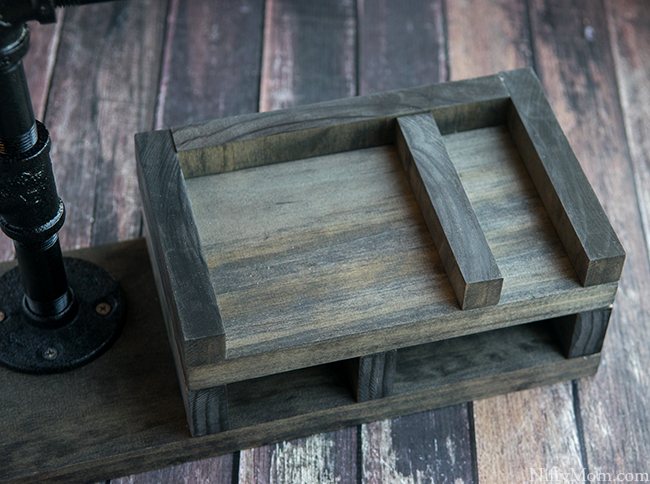
Same for the top shelf. Customize it to fit your needs.
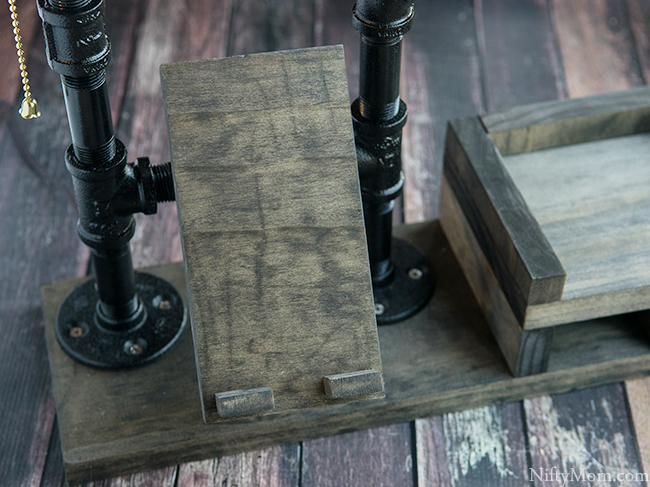
Screw on the phone base and attach the small wooden pieces to hold the phone. Leave a space in the middle of the pieces for a phone charger.
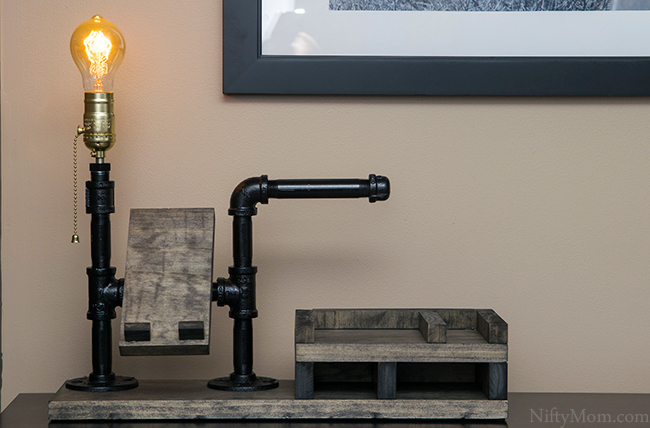
To finish it off, place felt pads on the bottom of the base.
Now it’s time to select a great spot for the organizer. The entryway or nightstand are two perfect places. Whereever everything normally gets tossed is the best place to pick to ensure those items start getting organized.
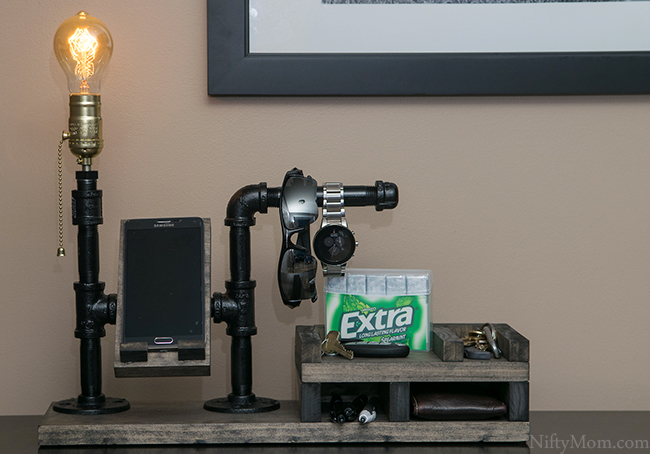
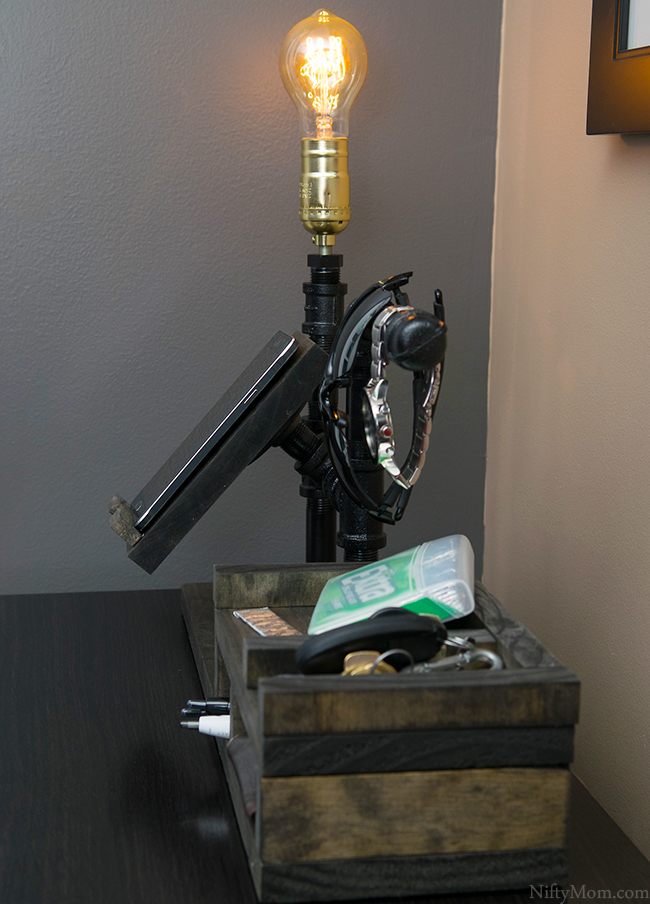
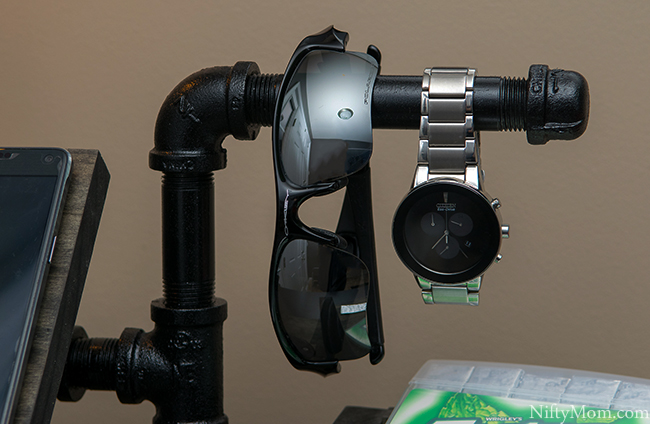
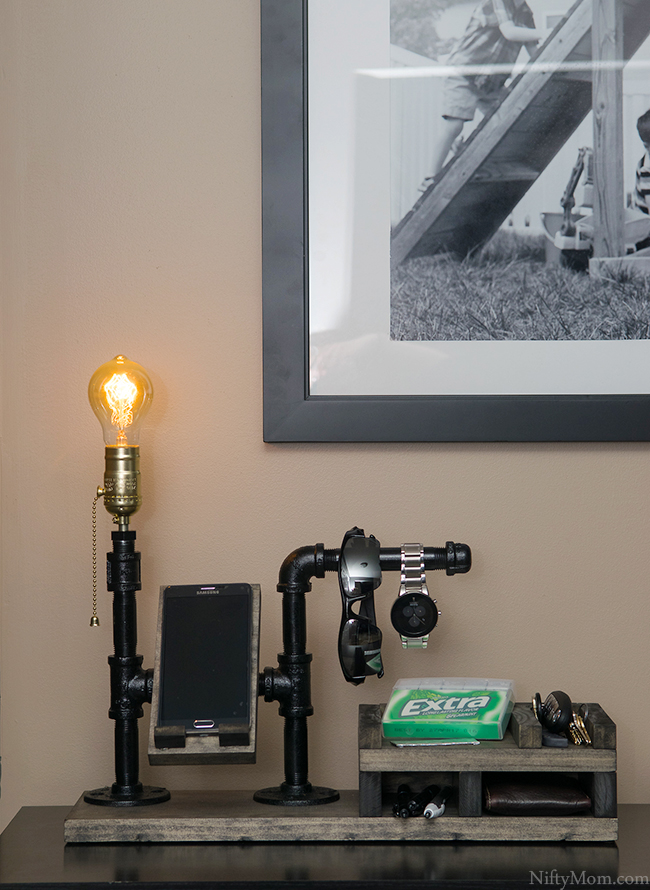
Everything fits nicely in the sections and on the base. There is a spot for a a phone or tablet, wallet, keys, loose change, pens, gum and anything else that gets pulled out of the pockets. Watches and glasses can be hung from the long pipe.
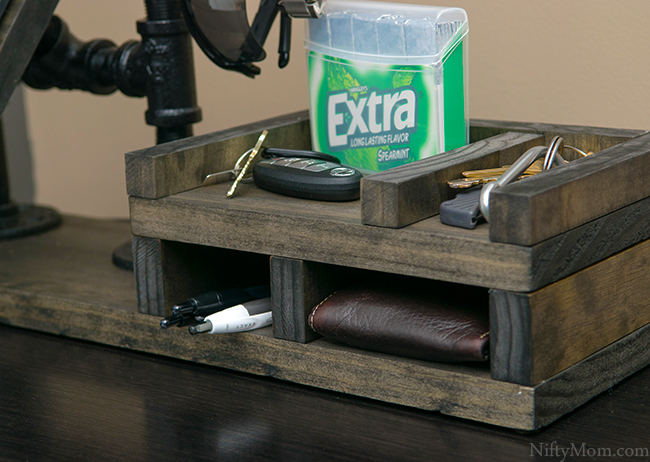
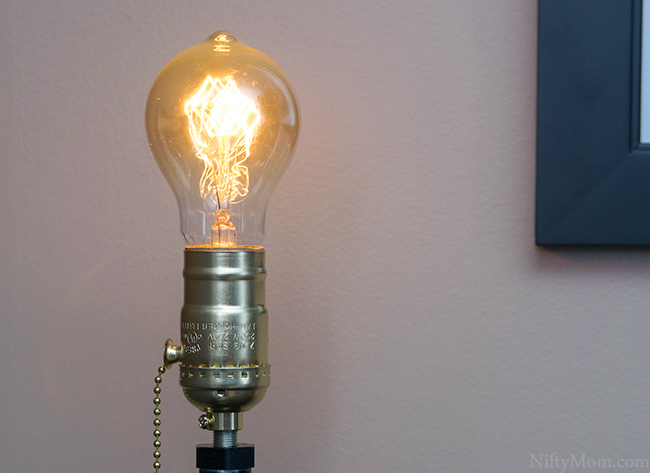
I always find sticks of gum on the counter and my husband is often on the hunt for open packs, so I knew I had to find a better solution.
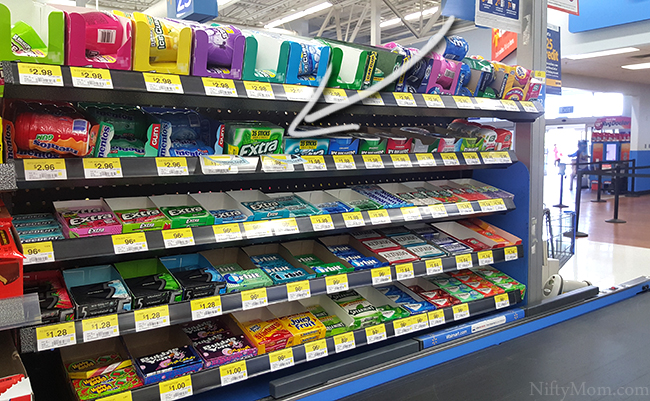
While checking out at Walmart over the weekend, I noticed two new Extra® 35-stick packs.
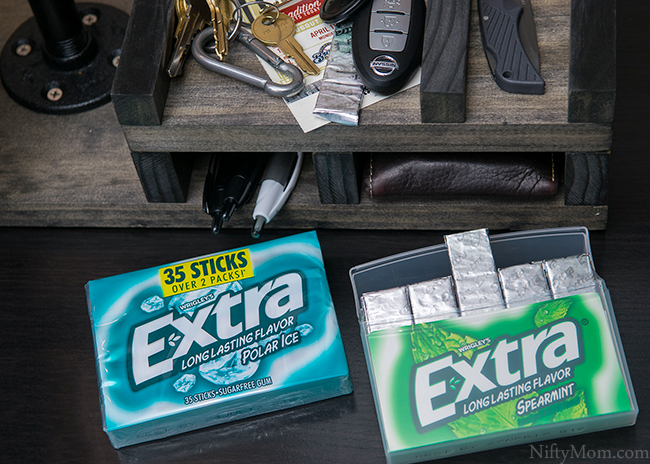
Not only do they hold more gum, they feature durable, recycled packaging. A package of Extra® Gum Spearmint and Extra® Gum Polar Ice® 35-pack means I can set one on the organizer and he can take one to work and grab a stick of gum as needed.
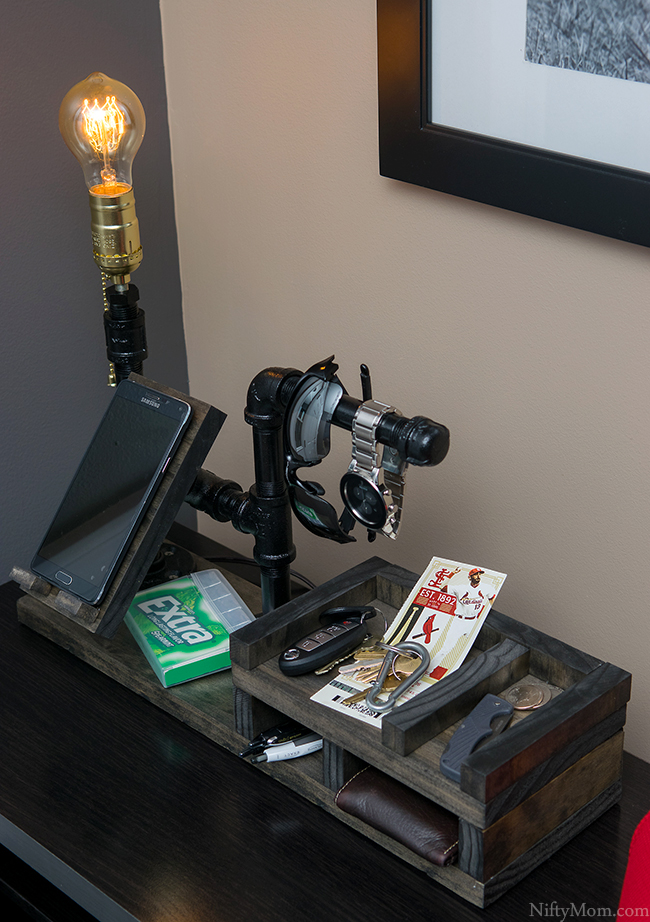
Making a fun ‘catch-all’ organizer is definitely more rewarding than buying one. It is custom to our own needs and makes it easier to remember to use it daily.
*CLICK TO PIN NOW*
Check out more ideas for inspiration for your day with Extra® here.
